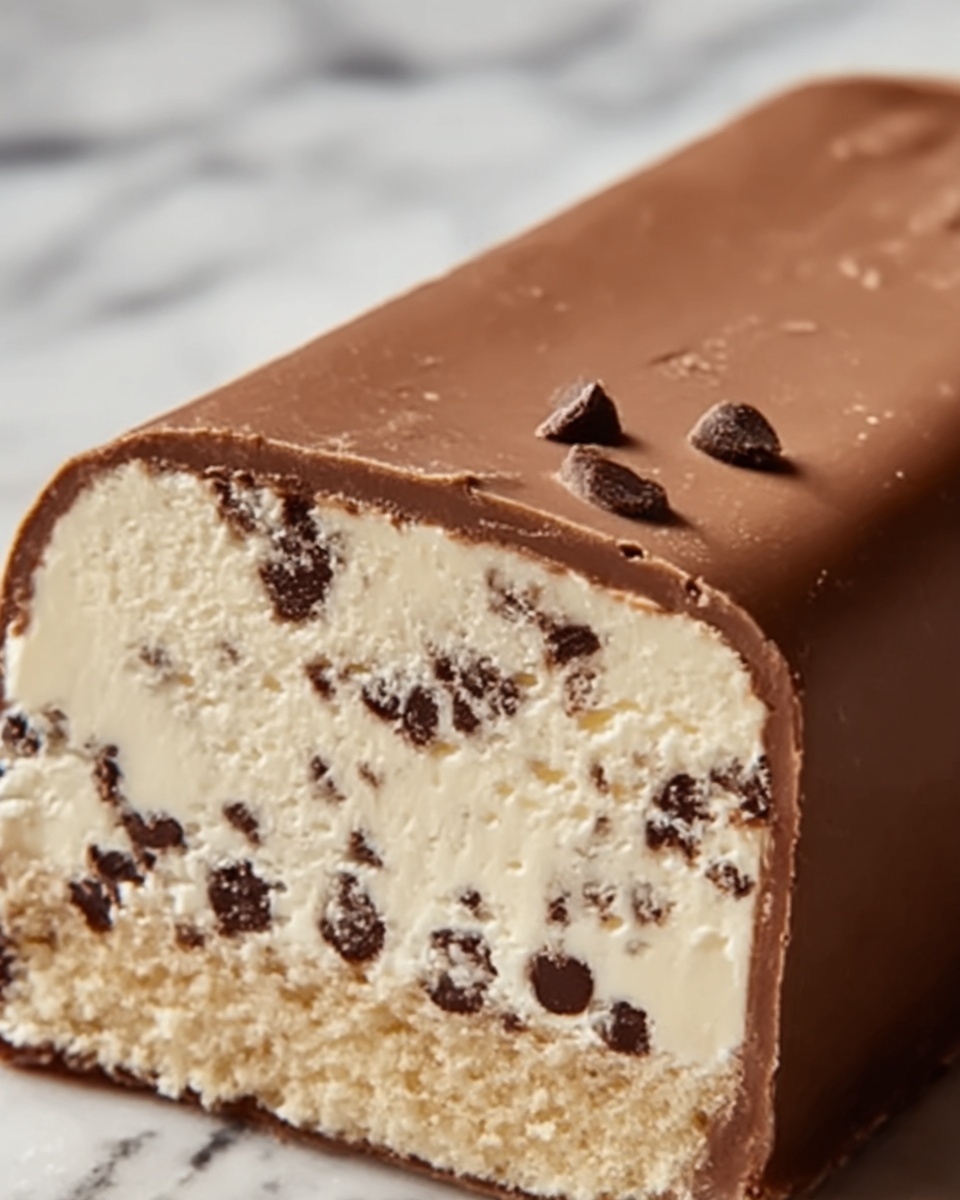
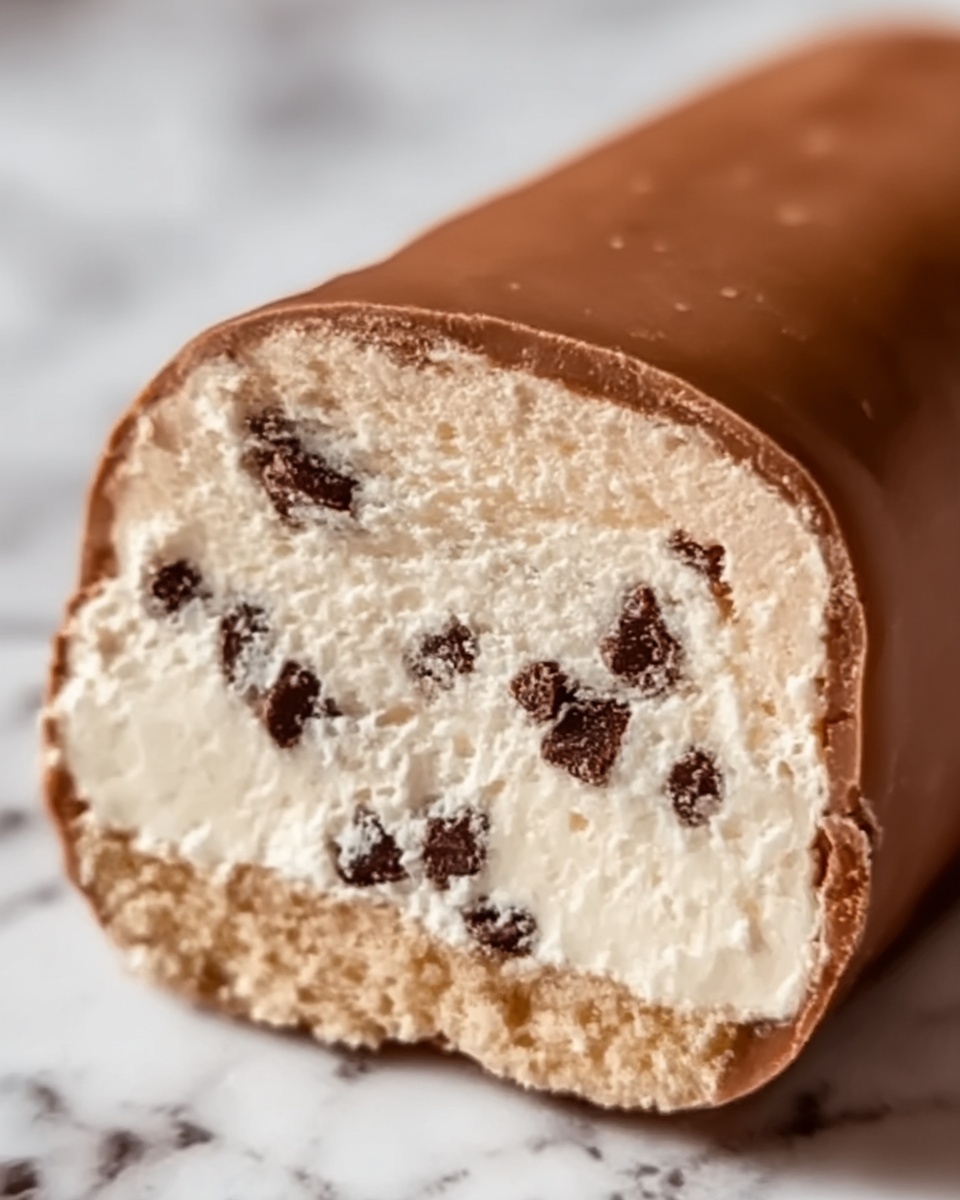
If you are a coffee lover with a sweet tooth, this Homemade Coffee Ice Cream Recipe is about to become your new favorite treat. Imagine the rich, creamy texture perfectly balanced with the bold, deep flavors of freshly brewed coffee, all coming together in a luscious frozen dessert you made yourself. It’s indulgent, smooth, and surprisingly approachable to create at home—turning ordinary coffee into an extraordinary ice cream experience that will impress your friends and delight your taste buds with every spoonful.

Ingredients You’ll Need
To craft this dreamy Homemade Coffee Ice Cream Recipe, you only need a handful of simple, wholesome ingredients. Each plays a crucial role in building that silky texture, rich flavor, and irresistible aroma that makes this ice cream so special.
- Heavy cream: Provides the rich, creamy base essential for that lush mouthfeel every great ice cream needs.
- Whole milk: Lightens the heavy cream just enough for balance and perfect scoopability.
- Brewed strong coffee (cooled): Delivers bold coffee flavor, so make sure it’s robust and freshly prepared.
- Granulated sugar: Sweetens the mixture just enough to enhance the coffee without overpowering.
- Large egg yolks: The magic behind the custard base, adding creaminess and thickness.
- Vanilla extract: Adds warmth and depth to round out the flavor profile beautifully.
- Pinch of salt: Elevates flavors by balancing the sweetness and bitterness harmoniously.
How to Make Homemade Coffee Ice Cream Recipe
Step 1: Make the Custard Base
Start by combining the heavy cream, whole milk, and brewed coffee in a saucepan. Warm the mixture gently over medium heat until it’s hot but not boiling, stirring occasionally. This warming process infuses the dairy with coffee’s rich aroma and prepares the base to blend flawlessly with the eggs.
Step 2: Whisk the Eggs
In a separate bowl, vigorously whisk together the egg yolks and granulated sugar. You want the mixture to turn pale and slightly thickened. This step is key because it introduces air and helps you achieve a creamy, custard-like texture in the final ice cream.
Step 3: Temper the Eggs
To prevent scrambled eggs, slowly pour the hot cream mixture into the whisked egg yolks while continuously whisking. This gradual blending balances the temperature, ensuring the eggs integrate smoothly without curdling, setting the stage for a silky custard.
Step 4: Cook the Custard
Return this combined mixture to the saucepan and cook over medium heat. Stir constantly until it thickens enough to coat the back of a wooden spoon—your target temperature is between 170° and 175°F (77° to 80°C). Avoid letting it boil to maintain that perfect creamy texture.
Step 5: Cool the Custard
Remove from heat and stir in the vanilla extract and a pinch of salt to enhance the flavor layers. Let the custard cool to room temperature before refrigerating it for at least 4 hours or overnight to chill completely. Chilling is essential for the custard to firm up properly for churning.
Step 6: Churn the Ice Cream
Pour your chilled custard into the ice cream maker and churn according to the manufacturer’s instructions. Usually, it takes about 20 to 25 minutes to reach a soft-serve consistency, where the flavors meld and the texture becomes luxuriously smooth.
Step 7: Freeze
Transfer the churned ice cream to an airtight container and freeze for at least 4 hours to firm up. This step transforms your soft-serve into a scoopable delight that’s ready to impress on any occasion.
Step 8: Serve and Enjoy
Serve your Homemade Coffee Ice Cream Recipe with pride—scoop it directly into bowls or cones and savor the perfect balance of coffee’s boldness and ice cream’s creamy sweetness.
How to Serve Homemade Coffee Ice Cream Recipe

Garnishes
A sprinkle of cocoa powder, a few chocolate shavings, or even a dusting of cinnamon can elevate your coffee ice cream visually and taste-wise. Fresh mint leaves add a refreshing contrast that brightens each bite beautifully.
Side Dishes
Pairing your homemade coffee ice cream with a warm brownie, a crisp biscotti, or a rich chocolate cake creates a decadent memento of contrasting textures and temperatures, making dessert time truly unforgettable.
Creative Ways to Present
For a wow factor, serve your ice cream inside a hollowed-out espresso cup or alongside a shot of espresso for an affogato twist. You could even layer it in a parfait glass with crushed amaretti cookies and whipped cream for a delightful coffee-inspired sundae.
Make Ahead and Storage
Storing Leftovers
If you have any leftovers of this Homemade Coffee Ice Cream Recipe, keep them in an airtight container to protect against freezer burn and maintain flavor. Proper storage will keep your ice cream tasting fresh for up to two weeks.
Freezing
Freeze the ice cream in a flat, shallow container if possible to speed up the freezing process and ensure even texture. Using plastic wrap pressed directly onto the surface before sealing can help prevent ice crystals from forming.
Reheating
While you won’t exactly reheat ice cream, letting it sit at room temperature for 5 to 10 minutes before scooping makes it much easier to serve and intensifies the creamy texture without losing its chill.
FAQs
Can I use instant coffee instead of brewed coffee?
You absolutely can! Just dissolve instant coffee granules in a little hot water to match the quantity of brewed coffee required. This way, you still get that intense coffee flavor without brewing a fresh pot.
Do I need an ice cream maker for this recipe?
An ice cream maker is recommended for the best texture, but you can also freeze the custard in a shallow pan and stir vigorously every 30 minutes to break up ice crystals until firm. It takes more time but still yields tasty results.
Can I make this recipe dairy-free?
To make a dairy-free version, substitute coconut milk and coconut cream for the dairy ingredients, keeping the same proportions. The flavor will be slightly different, but it still makes a lovely, creamy coffee ice cream.
How long does the Homemade Coffee Ice Cream Recipe last in the freezer?
Stored properly in an airtight container, it should stay delicious for up to two weeks. After that, the texture may change slightly, but it will still be safe to eat for up to a month.
Can I add mix-ins to the ice cream?
Definitely! Chopped chocolate, nuts, or swirls of caramel can be folded in during the last few minutes of churning to add exciting texture and flavor to your homemade coffee ice cream.
Final Thoughts
Trust me, once you try this Homemade Coffee Ice Cream Recipe, your dessert game will never be the same. It’s a perfect blend of bold coffee flavor and creamy indulgence that feels both luxurious and comforting. Make it for yourself, share it with friends, and watch how quickly it becomes a beloved staple. Just one scoop, and you’ll be hooked for life.
Print
Homemade Coffee Ice Cream Recipe
- Prep Time: 15 minutes
- Cook Time: 20 minutes
- Total Time: 5 hours 35 minutes
- Yield: 1 quart (about 4 servings)
- Category: Dessert
- Method: Stovetop
- Cuisine: American
Description
This luscious Homemade Coffee Ice Cream recipe combines rich coffee flavor with a creamy custard base, creating a perfect frozen treat for coffee lovers. Made with heavy cream, whole milk, brewed coffee, and egg yolks, it’s creamy, smooth, and full of robust coffee taste. This recipe involves gently cooking a custard on the stovetop, chilling it, then churning in an ice cream maker for delightful homemade ice cream.
Ingredients
Ice Cream Base
- 2 cups heavy cream
- 1 cup whole milk
- 1 cup brewed strong coffee (cooled)
- 3/4 cup granulated sugar
- 4 large egg yolks
- 1 teaspoon vanilla extract
- Pinch of salt
Instructions
- Make the custard base: In a medium saucepan, combine the heavy cream, whole milk, and brewed coffee. Heat over medium heat until hot but not boiling, stirring occasionally to blend the ingredients.
- Whisk the eggs: In a separate bowl, whisk together egg yolks and sugar until pale and slightly thickened, which helps create a smooth texture.
- Temper the eggs: Slowly pour the hot milk mixture into the egg yolks while whisking constantly to prevent curdling, gradually raising the temperature of the eggs.
- Cook the custard: Return the combined mixture to the saucepan and cook over medium heat, stirring constantly, until it thickens and coats the back of a spoon at 170°F-175°F (77°C-80°C). Avoid boiling to prevent scrambling.
- Cool the custard: Remove from heat, stir in vanilla extract and a pinch of salt. Allow to cool to room temperature, then refrigerate for at least 4 hours or overnight until fully chilled.
- Churn the ice cream: Pour the chilled custard into an ice cream maker and churn according to the manufacturer’s instructions for 20-25 minutes until it reaches a soft-serve consistency.
- Freeze: Transfer the churned ice cream to an airtight container and freeze for at least 4 hours or until firm enough to scoop.
- Serve: Scoop and enjoy your decadent homemade coffee ice cream.
Notes
- Ensure the coffee is brewed strong and completely cooled before use to maintain the right flavor and texture.
- Tempering the egg yolks is crucial to avoid scrambled eggs when cooking the custard.
- Use an accurate cooking thermometer to achieve the perfect custard temperature for thickening.
- Refrigerate the custard base well before churning to ensure optimal ice cream texture.
- If you don’t have an ice cream maker, pour the mixture into a shallow container, freeze, and stir every 30 minutes until firm.


