“`html
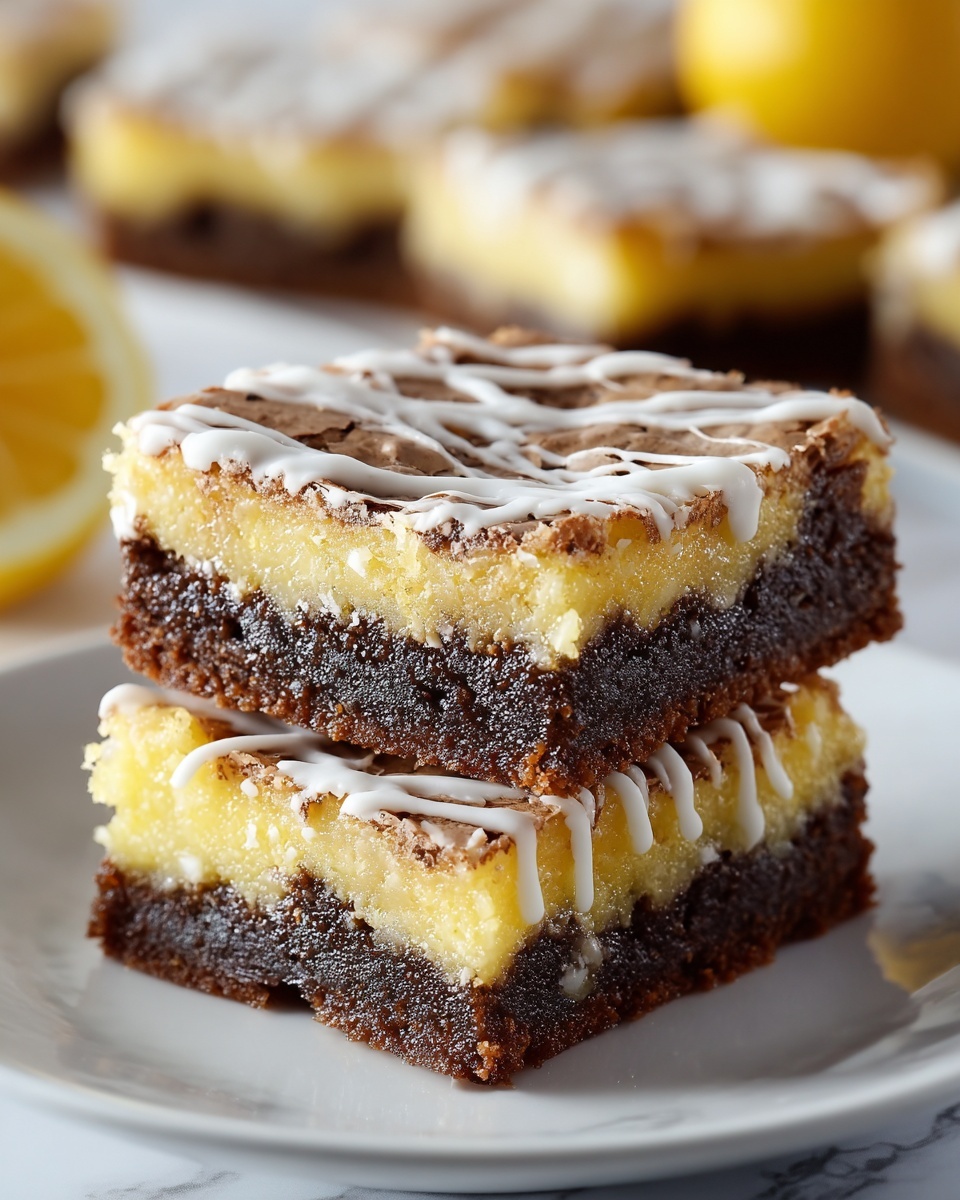
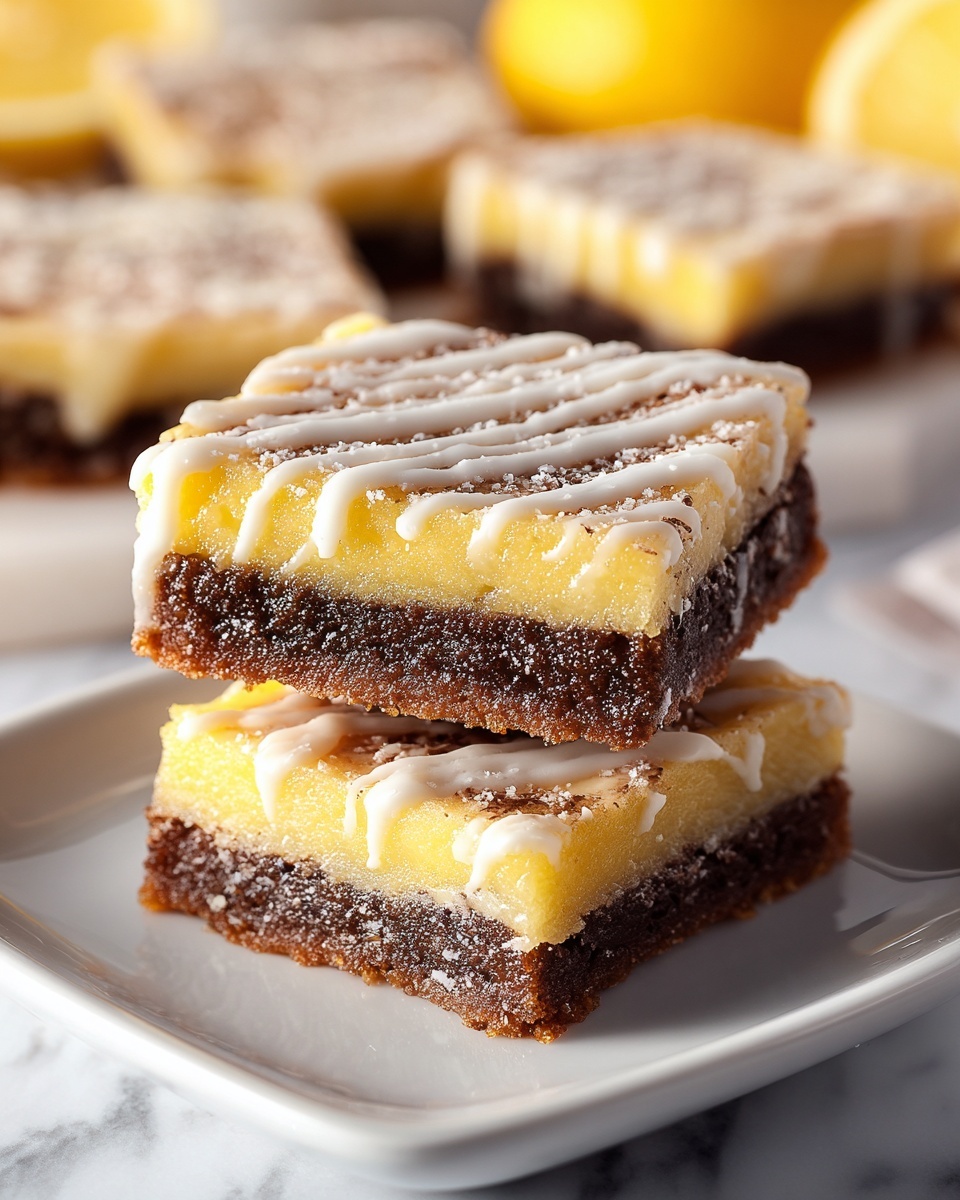
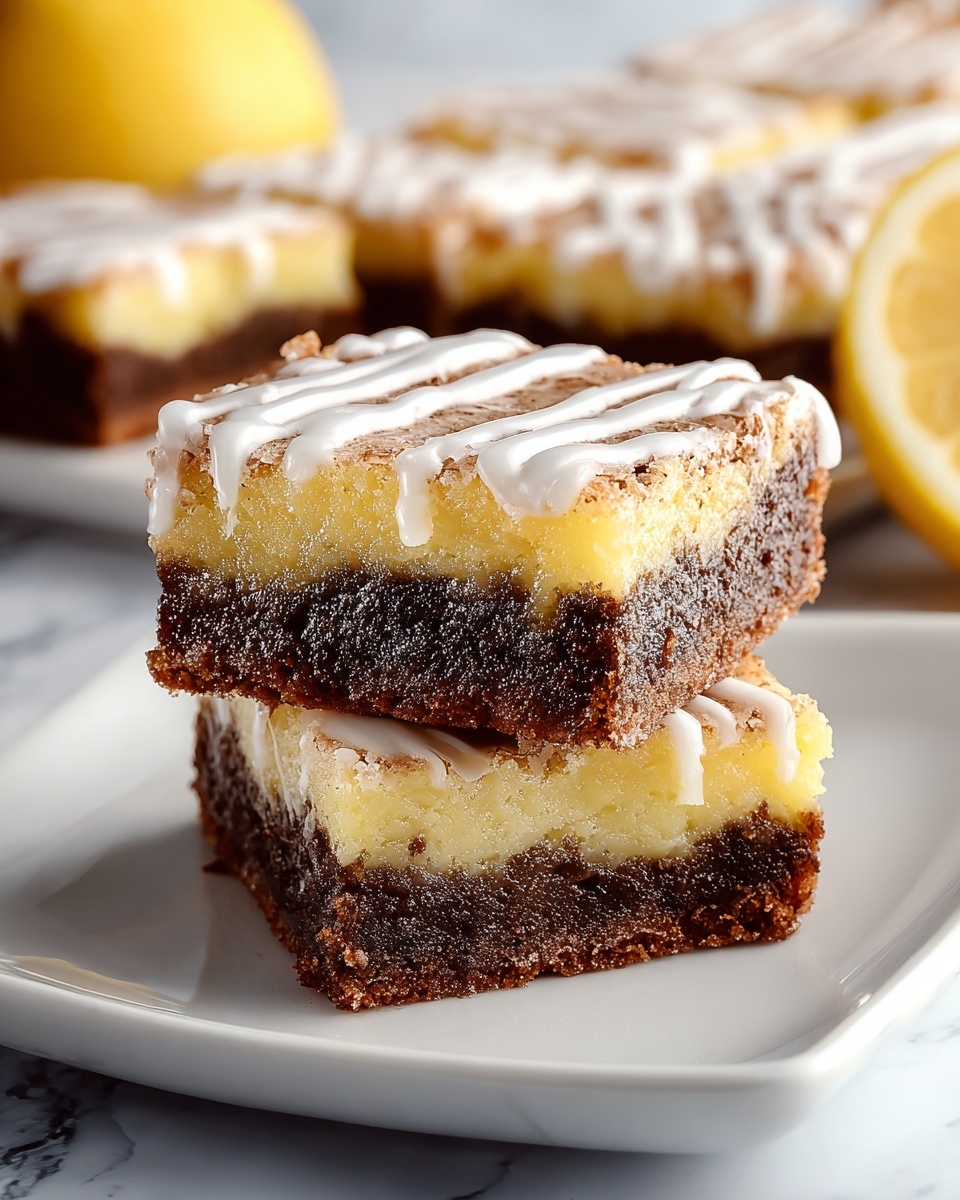
If you adore the bright, refreshing zing of lemon but also need to avoid gluten, this Gluten-Free Lemon Brownies Recipe is your new best friend in the kitchen. Imagine chewy, moist brownies that carry a sunny citrus punch in every bite—balanced perfectly with a sweet-tart lemon glaze that melts on your tongue. This recipe is so simple yet so satisfying, proving that gluten-free treats can be just as indulgent and decadent as their traditional counterparts. Whether you’re baking for a special occasion or simply craving a unique dessert that lifts your spirits, these lemon brownies will not disappoint.
Ingredients You’ll Need
Each ingredient in this recipe may look straightforward, but they all play an essential role in achieving that perfect balance of texture, flavor, and color. From the gluten-free flour that provides the base texture, to fresh lemon juice and zest that infuse brightness, every component is a must-have for creating the deliciously tangy and tender brownies you’ll love.
- 1 cup gluten-free all-purpose flour: This is the foundation for the brownies, ensuring a light, tender crumb without any gluten.
- 1/2 teaspoon baking powder: Helps the brownies rise just enough to be fluffy yet dense.
- 1/4 teaspoon salt: Balances the sweetness and enhances the lemon flavor.
- 1/2 cup unsalted butter, melted: Adds richness and moisture for that perfect fudgy texture.
- 3/4 cup sugar: Sweetens the batter, countering the tartness of the lemon juice.
- 2 large eggs: Bind the ingredients together and contribute to the structure.
- 2 tablespoons fresh lemon juice: The bright star ingredient, providing natural tartness and freshness.
- 1 tablespoon lemon zest: Packs an intense lemon aroma and flavor burst.
- 1/2 teaspoon vanilla extract: Adds warmth and depth to the citrusy notes.
- 1 cup powdered sugar: Used in the glaze, it creates a silky-smooth, sweet topping.
- 2 tablespoons fresh lemon juice (for glaze): Brings that perfect citrus zing to the glaze.
- 1 teaspoon lemon zest (for glaze): Finishes the glaze with an extra lemony pop.
How to Make Gluten-Free Lemon Brownies Recipe
Step 1: Prep Your Pan and Oven
Start by preheating your oven to 350°F (175°C). Then, grease an 8×8-inch baking pan and line it with parchment paper to ensure the brownies come out easily without sticking. This prep ensures even baking and hassle-free removal.
Step 2: Mix Dry Ingredients
Whisk together the gluten-free flour, baking powder, and salt in a medium bowl. This dry mixture will provide the structure for your lemon brownies while creating a light crumb that isn’t dense or heavy.
Step 3: Combine Wet Ingredients
In a separate bowl, whisk the melted butter with sugar until smooth. Then add in the eggs, fresh lemon juice, lemon zest, and vanilla extract, mixing until everything is fully combined. These ingredients deliver moisture, flavor, and sweetness that balance perfectly with the tangy lemon.
Step 4: Bring it All Together
Gradually fold the dry ingredients into the wet mixture. Be gentle and avoid overmixing; this helps keep the brownies tender rather than tough. Once combined, the batter will be luscious and lemony, ready to go into the pan.
Step 5: Bake Your Lemon Brownies
Pour the batter evenly into your prepared pan, smoothing the top with a spatula. Bake for 20 to 25 minutes, until a toothpick inserted in the center comes out clean. Let the brownies cool completely in the pan, which allows them to set to that perfect chewy texture.
Step 6: Make the Lemon Glaze
Whisk together powdered sugar, fresh lemon juice, and lemon zest until smooth. This glaze brings an irresistible shiny finish and an extra layer of sweet-tart lemon flavor that transforms these brownies from simple to spectacular.
Step 7: Glaze and Serve
Spread the glaze evenly over the cooled brownies. Allow it to set before cutting into squares to ensure each bite has that delicate, glossy lemon topping.
How to Serve Gluten-Free Lemon Brownies Recipe
Garnishes
Fresh berries like raspberries or blueberries complement these lemon brownies beautifully, adding a juicy contrast and a pop of color. A light dusting of extra lemon zest on top can boost the citrus notes, or even a few mint leaves for a refreshing touch.
Side Dishes
If you want to get fancy, serve these brownies alongside a scoop of vanilla ice cream or dollops of whipped cream to balance the tanginess with creamy sweetness. A hot cup of tea or a light white wine can also round out the experience perfectly.
Creative Ways to Present
Try stacking your lemon brownies on a pretty cake stand for a party or arranging them in a decorative box for a delightful gift. You can also cut them into small bite-sized squares and serve on a platter as part of a dessert buffet for a fresh twist on traditional brownies.
Make Ahead and Storage
Storing Leftovers
Once glazed and cooled, store your Gluten-Free Lemon Brownies Recipe in an airtight container at room temperature for up to three days to keep them moist and flavorful. For longer storage, the fridge works too but may slightly firm up the texture.
Freezing
You can freeze these brownies by wrapping them tightly in plastic wrap and placing them in a freezer-safe bag or container. They keep well for up to two months. Thaw them overnight at room temperature before glazing or enjoy them chilled.
Reheating
If you prefer warm brownies, pop a piece in the microwave for 10 to 15 seconds, just enough to soften but not melt the glaze. Warm serving enhances the buttery, lemony aroma and makes every bite feel freshly baked straight from the oven.
FAQs
Can I use other citrus fruits instead of lemon?
Absolutely! While this Gluten-Free Lemon Brownies Recipe shines with lemon’s bright tartness, you can experiment with lime or orange zest and juice. Just keep in mind the flavor balance might shift slightly.
Is gluten-free flour necessary, or can I use regular flour?
Since this recipe is intended to be gluten-free, using a gluten-free all-purpose flour blend is essential. Regular flour will change the texture and make it not suitable for those avoiding gluten.
Can I make these brownies vegan?
For a vegan version, try substituting butter with coconut oil and eggs with flax eggs. The texture might be a bit different, but the lemon flavor will still be delightful!
How do I know when the brownies are done baking?
Insert a toothpick into the center; if it comes out clean or with just a few moist crumbs, your brownies are perfectly baked. Overbaking can dry them out, so keep a close eye towards the end.
Can I double this recipe?
Yes, simply double all the ingredients and bake in a larger pan (like 9×13 inches). Just watch the baking time closely, as it might take a few extra minutes to finish baking through.
Final Thoughts
There’s something truly special about a dessert that’s easy to make, gluten-free, and bursting with fresh lemon flavor. This Gluten-Free Lemon Brownies Recipe is a beautiful balance of tangy and sweet, offering a luscious treat for anyone craving something different yet irresistibly delicious. I encourage you to give this recipe a try—you will love the way the cheerful lemony brightness cuts through the rich, buttery base, leaving you wanting more!
“`
Print
Gluten-Free Lemon Brownies Recipe
- Prep Time: 10 minutes
- Cook Time: 25 minutes
- Total Time: 35 minutes
- Yield: 9 to 10 servings
- Category: Dessert
- Method: Baking
- Cuisine: American
- Diet: Gluten Free
Description
Delight in these tangy and moist Gluten-Free Lemon Brownies, perfect for a refreshing twist on a classic treat. Made with gluten-free flour and fresh lemon zest and juice, these lemon brownies are topped with a luscious lemon glaze that enhances their citrus flavor. Ideal for gluten-sensitive dessert lovers craving a zesty, sweet bite.
Ingredients
Dry Ingredients
- 1 cup gluten-free all-purpose flour
- 1/2 teaspoon baking powder
- 1/4 teaspoon salt
Wet Ingredients
- 1/2 cup unsalted butter, melted
- 3/4 cup sugar
- 2 large eggs
- 2 tablespoons fresh lemon juice
- 1 tablespoon lemon zest
- 1/2 teaspoon vanilla extract
Glaze
- 1 cup powdered sugar
- 2 tablespoons fresh lemon juice
- 1 teaspoon lemon zest
Instructions
- Preheat and prepare pan: Preheat your oven to 350°F (175°C). Grease and line an 8×8-inch baking pan with parchment paper to ensure easy removal of the brownies after baking.
- Mix dry ingredients: In a medium bowl, thoroughly whisk together the gluten-free all-purpose flour, baking powder, and salt. Set this mixture aside for later incorporation.
- Create wet mixture: In another bowl, whisk the melted unsalted butter with sugar until smooth. Then add eggs, fresh lemon juice, lemon zest, and vanilla extract. Mix well until fully combined and smooth.
- Combine mixtures: Gradually fold the dry ingredients into the wet mixture until just combined. Be careful not to overmix to keep the brownies tender.
- Bake the batter: Pour the batter evenly into the prepared baking pan. Bake in the preheated oven for 20 to 25 minutes, or until a toothpick inserted into the center comes out clean. Once baked, allow the brownies to cool completely in the pan.
- Prepare lemon glaze: While the brownies cool, whisk together the powdered sugar, fresh lemon juice, and lemon zest until the glaze is smooth and pourable.
- Glaze and set: Spread the lemon glaze evenly over the cooled brownies. Let the glaze set fully before cutting into 9 or 10 squares for serving.
Notes
- Ensure the brownies are completely cool before applying the glaze to prevent it from melting.
- You can substitute lemon zest and juice with lime for a different citrus flavor.
- Store brownies in an airtight container at room temperature for up to 3 days or refrigerate to extend freshness.
- To make the glaze thicker, add more powdered sugar; to thin it, add more lemon juice.
