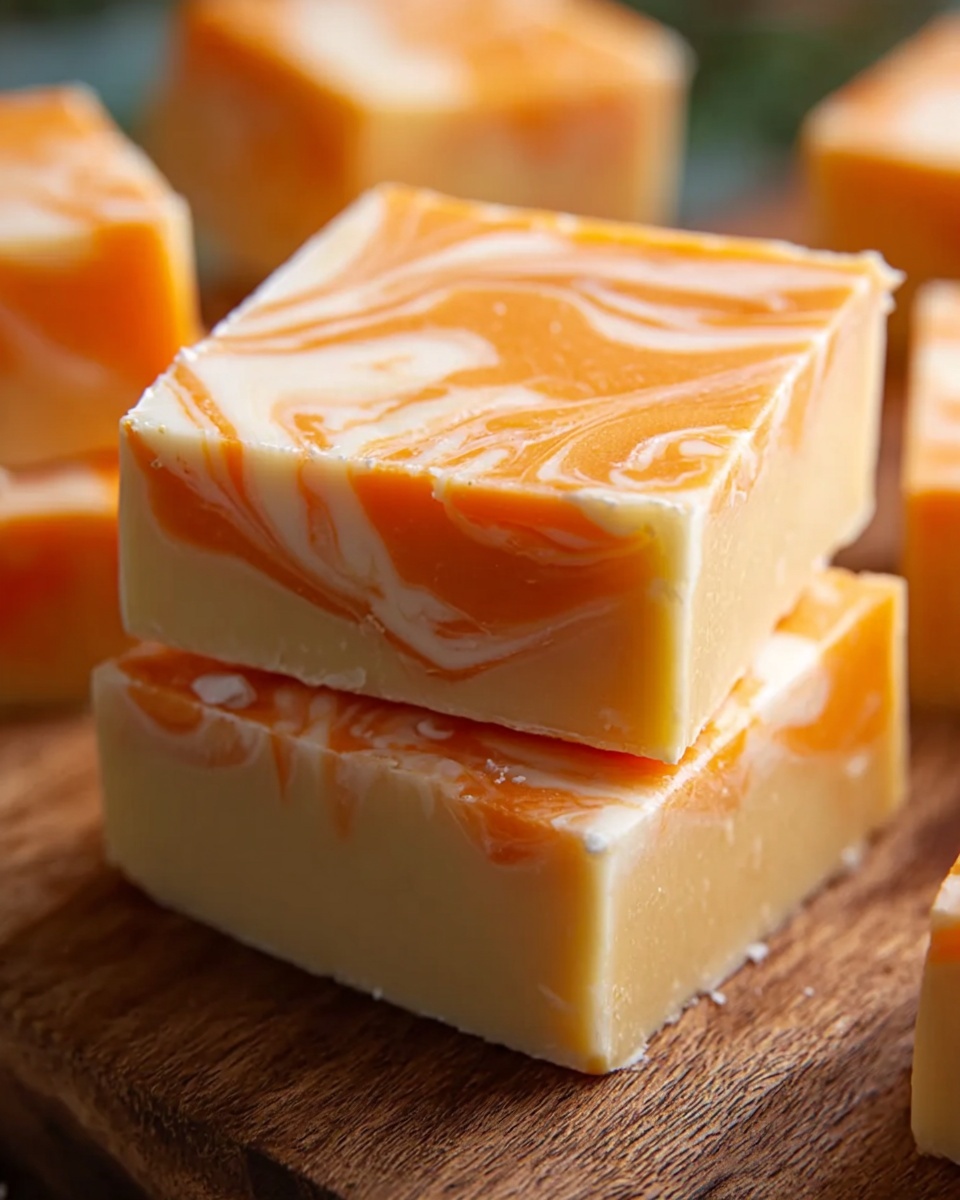
If you’ve ever wished you could bottle up the nostalgic joy of a classic ice cream treat, get ready to fall in love with this Orange Dreamsicle Fudge Recipe. It captures that iconic creamy vanilla orange flavor combo in a rich, velvety fudge that melts in your mouth and dances on your taste buds. Perfect for brightening up holidays, gifting, or simply treating yourself, this fudge blends smooth white chocolate, luscious marshmallow creme, and vibrant orange zest to create something truly magical and irresistibly delightful.
Ingredients You’ll Need
Every ingredient in this Orange Dreamsicle Fudge Recipe plays a starring role, coming together in a simple yet perfectly balanced way. From the creamy white chocolate chips to the bright citrusy zest, each adds its own layer of flavor, texture, and beautiful color to make your fudge pop both visually and on the palate.
- White chocolate chips: The foundation of the fudge, providing a creamy, sweet base that melts smoothly.
- Sweetened condensed milk: Adds richness and helps bind everything together with its silky texture.
- Unsalted butter: Enhances creaminess and adds a subtle buttery depth.
- Marshmallow creme: Gives a soft, fluffy texture while boosting sweetness for that classic fudge feel.
- Orange extract: The star ingredient delivering authentic, zesty citrus flavor.
- Vanilla extract: Balances the orange with a warm, comforting undertone.
- Orange zest (optional): Introduces a fresh burst of natural orange aroma and a bit of texture.
- Orange food coloring (optional): For a vibrant, eye-catching marbled effect that makes this fudge irresistible.
How to Make Orange Dreamsicle Fudge Recipe
Step 1: Prepare Your Pan
Kick off by lining an 8×8-inch square baking dish with parchment paper or giving it a light greasing. This simple step ensures your fudge will come out easily once it sets, saving you any sticky struggles later.
Step 2: Melt the Base Ingredients
Over low heat in a medium saucepan, combine your white chocolate chips, sweetened condensed milk, and unsalted butter. Stir constantly as they melt down into a silky smooth blend. This gentle slow melt prevents scorching and ensures your fudge will have that perfect creamy texture.
Step 3: Add the Flavor Magic
Remove the saucepan from the heat and quickly whisk in the marshmallow creme, orange extract, vanilla extract, and if you opt for it, the vibrant orange zest. These ingredients bring your fudge alive with that iconic dreamsicle flavor, balancing sweetness with refreshing citrus notes.
Step 4: Add a Pop of Color
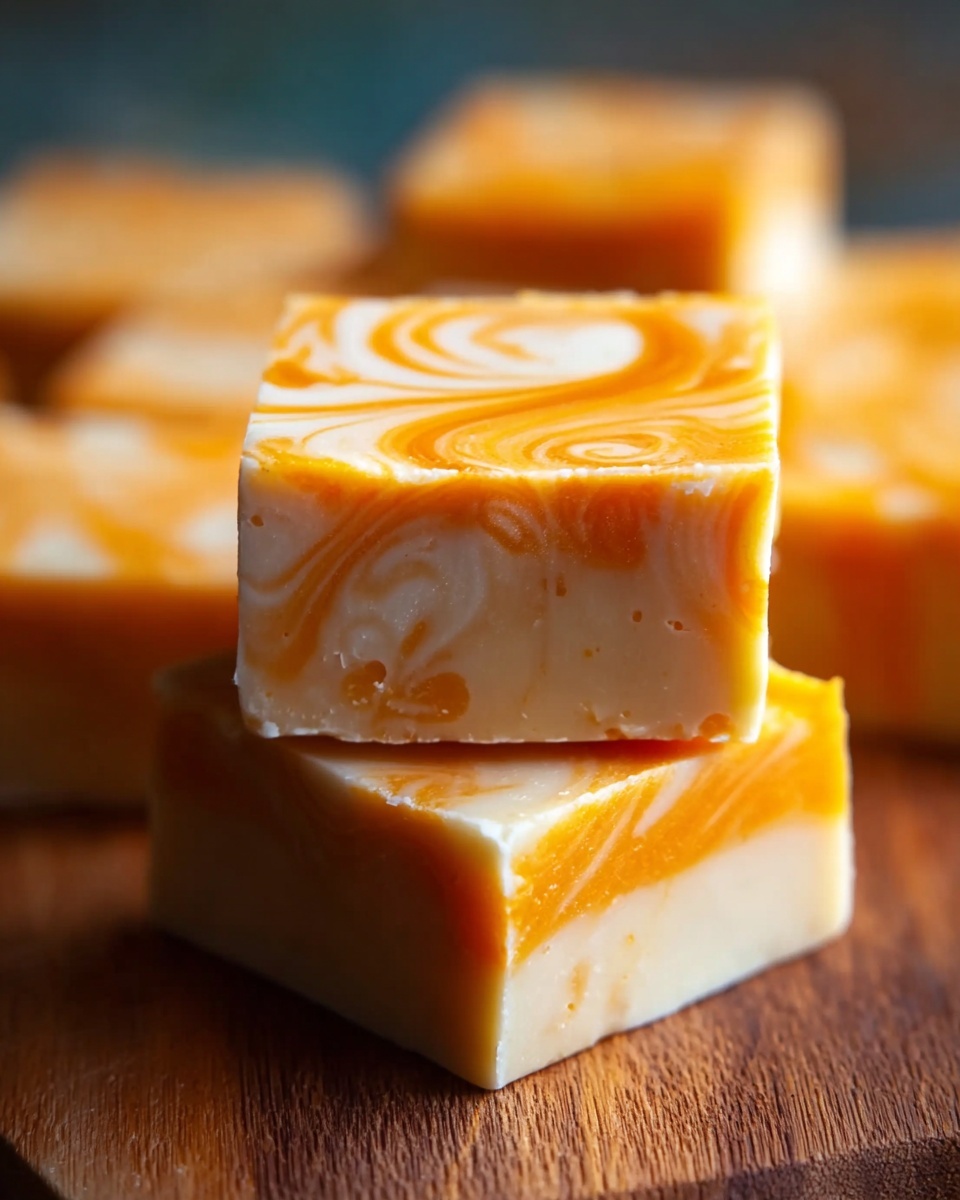
If you fancy a stunning presentation, drop in a few drops of orange food coloring and swirl gently to create a marbled effect. This not only looks beautiful but also hints at the luscious flavor inside, making your fudge as eye-catching as it is delicious.
Step 5: Set the Fudge
Pour your flavorful mixture into the prepared baking dish and spread it evenly with a spatula. Pop it into the refrigerator and chill for at least 3 hours, allowing the fudge to set firm and ready to be cut into perfect little squares.
How to Serve Orange Dreamsicle Fudge Recipe

Garnishes
Enhance your fudge presentation with a sprinkle of finely grated orange zest or a light drizzle of melted white chocolate to add a touch of elegance. You can also try topping with tiny candied orange peel bits for an extra burst of flavor and texture.
Side Dishes
This Orange Dreamsicle Fudge pairs wonderfully with a hot cup of tea or coffee, perfectly balancing its sweet richness. Alternatively, serve alongside fresh berries or a dollop of whipped cream for a simple and satisfying treat.
Creative Ways to Present
Wrap the fudge squares in colorful parchment or cellophane tied with a ribbon for lovely homemade gifts. Or layer them in a glass jar with alternating fudge and orange zest layers to create a stunning dessert display that’s sure to impress guests.
Make Ahead and Storage
Storing Leftovers
Because this fudge is so rich and creamy, storing leftovers properly is key. Keep them in an airtight container in the refrigerator, where they will stay fresh and flavorful for up to one week. This helps maintain that perfect soft yet firm texture.
Freezing
If you want to enjoy your Orange Dreamsicle Fudge Recipe for longer, freezing is a great option. Wrap the fudge squares tightly in plastic wrap and place them in an airtight container before freezing for up to 3 months. Thaw in the fridge overnight before serving for best results.
Reheating
Fudge is best enjoyed chilled, but if you prefer it slightly softer, let it sit out at room temperature for 10 to 15 minutes before digging in. Avoid microwaving as it can cause the fudge to lose its smooth texture and become grainy.
FAQs
Can I use regular marshmallows instead of marshmallow creme?
While marshmallow creme melts more smoothly into the fudge, you can substitute mini marshmallows by melting them inside the mixture. Just be sure to stir constantly to avoid clumping and maintain that creamy fudge consistency.
Is there a substitute for orange extract?
If you don’t have orange extract on hand, fresh orange juice or a little orange liqueur can work as alternatives, though the flavor might be less concentrated. Use them sparingly to avoid altering the fudge’s texture.
Can I make this fudge vegan?
This particular Orange Dreamsicle Fudge Recipe relies on dairy ingredients, so to make a vegan version, you’d need to use dairy-free white chocolate, vegan butter, and a marshmallow substitute. The flavor will be close but the texture might differ slightly.
How long will the fudge last at room temperature?
Due to the dairy content, it’s best to keep the fudge refrigerated. It can safely sit out for short periods when serving, but leaving it at room temperature for more than a couple of hours isn’t recommended to maintain freshness and safety.
Can I add nuts or other mix-ins to this fudge?
Absolutely! Chopped toasted almonds or pecans add a lovely crunch that contrasts beautifully with the smooth texture. Just fold them in at the final mixing step before pouring into the pan.
Final Thoughts
This Orange Dreamsicle Fudge Recipe is a little slice of sunshine wrapped in creamy sweetness, a guaranteed crowd-pleaser that’s as fun to make as it is to eat. Whether you’re new to fudge-making or looking for a fresh twist on a classic treat, this recipe is sure to become a new favorite. So grab your ingredients, invite some friends over, and dive into the blissful world of dreamsicle-inspired indulgence.
Print
Orange Dreamsicle Fudge Recipe
- Prep Time: 10 minutes
- Cook Time: 10 minutes
- Total Time: 3 hours 20 minutes
- Yield: 36 small squares
- Category: Dessert
- Method: Stovetop
- Cuisine: American
- Diet: Vegetarian
Description
This creamy Orange Dreamsicle Fudge combines the luscious flavors of white chocolate and bright citrus, creating a nostalgic treat reminiscent of classic dreamsicle ice cream. Made with simple ingredients and a smooth, melt-and-stir technique, this no-bake fudge is perfect for festive occasions or a sweet indulgence anytime.
Ingredients
Fudge Base
- 3 cups white chocolate chips
- 1 can (14 oz) sweetened condensed milk
- 1/4 cup unsalted butter
- 1/2 cup marshmallow creme
Flavoring and Add-ins
- 1/2 teaspoon orange extract
- 1/2 teaspoon vanilla extract
- Zest of 1 orange (optional, for added flavor and texture)
- Orange food coloring (optional, for marbled effect)
Instructions
- Prepare the Pan: Line an 8×8-inch square baking dish with parchment paper or lightly grease it to ensure easy removal of the fudge once set.
- Melt Ingredients: In a medium saucepan over low heat, combine the white chocolate chips, sweetened condensed milk, and unsalted butter. Stir constantly until the mixture is completely melted and smooth to prevent burning.
- Add Flavors and Marshmallow: Remove the pan from heat. Quickly stir in the marshmallow creme, orange extract, vanilla extract, and orange zest if you are using it, mixing well to combine all flavors.
- Optional Coloring: If desired, add a few drops of orange food coloring and gently swirl it into the mixture for a pretty marbled effect without fully blending the color.
- Set the Fudge: Pour the mixture evenly into the prepared pan and smooth the top with a spatula. Chill in the refrigerator for at least 3 hours or until the fudge is completely firm.
- Serve: Once set, remove the fudge from the pan using the parchment paper edges. Cut into 36 small squares and serve chilled.
Notes
- Use high-quality orange extract to enhance the citrus flavor.
- Swirling extra melted white chocolate on top before chilling can add a decorative finish.
- Store leftover fudge in an airtight container in the refrigerator for up to one week to maintain freshness.