
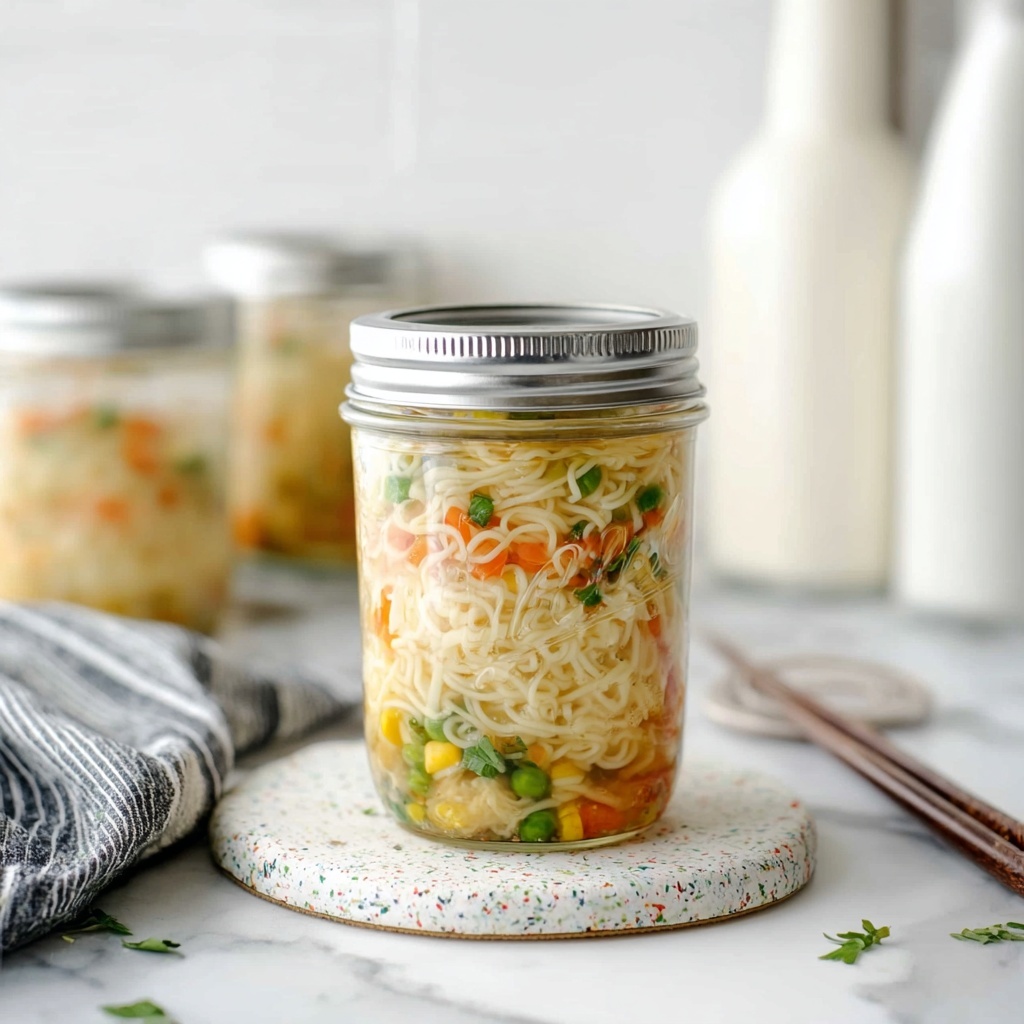
If you love quick, comforting meals that feel homemade yet perfectly convenient, you are going to adore this Ramen Cups Recipe. It’s a genius way to enjoy a flavorful bowl of ramen anytime, with all the goodness packed neatly into a mason jar. Simple ingredients come together to create a savory broth, tender noodles, and vibrant veggies that make each spoonful a warm hug. Whether you’re rushing through a busy day or craving something nourishing, this Ramen Cups Recipe is your new best friend in the kitchen.
Ingredients You’ll Need
Getting ready to make your ramen cups is delightfully straightforward, with each ingredient playing its own starring role in taste, texture, or color. These simple essentials come together to create a balanced and flavorful dish that’s easy to assemble and even easier to enjoy.
- 2 teaspoons Better Than Bouillon (chicken or mushroom flavored): This gives your ramen a rich, savory base packed with umami goodness.
- 2 teaspoons low-sodium soy sauce: Adds depth and a touch of salty body without overpowering the other flavors.
- ½ teaspoon dried parsley: Brightens up the broth with a subtle green freshness.
- ¼ teaspoon ground ginger: Offers a warm, zesty kick that complements the soy sauce perfectly.
- ¼ teaspoon garlic powder: Brings that classic comforting aroma and flavor that makes ramen irresistible.
- ½ cup frozen mixed vegetables: A colorful, nutritious mix that adds texture and a gentle sweetness to each bite.
- 2 ounces dried ramen noodles: The star of the dish, providing the perfect chewy base.
- 1 green onion (thinly sliced): Adds a fresh crunch and mild onion flavor as a finishing touch.
How to Make Ramen Cups Recipe
Step 1: Combine Your Seasonings
Start by adding the Better Than Bouillon, low-sodium soy sauce, dried parsley, ground ginger, and garlic powder into a 16-ounce wide-mouth mason jar. Give these a gentle mix so all those beautiful flavors meld together into a savory seasoning blend that will transform your noodles.
Step 2: Layer in the Vegetables
Next, carefully pour the frozen mixed vegetables right on top of the seasoning mix but don’t stir. This layering helps keep the veggies fresh and lets them steam perfectly when you add hot water later.
Step 3: Add the Noodles and Green Onion
Place the dried ramen noodles over the veggies; breaking them into smaller pieces can speed up cooking. Then sprinkle the thinly sliced green onion on top. Again, resist the urge to mix—it keeps the layers intact for even cooking.
Step 4: Seal and Store
Secure the lid tightly on your jar and pop it into the fridge. Your Ramen Cups Recipe can be stored for up to 4 days, making it a great grab-and-go option for busy weekdays.
Step 5: Prepare to Enjoy
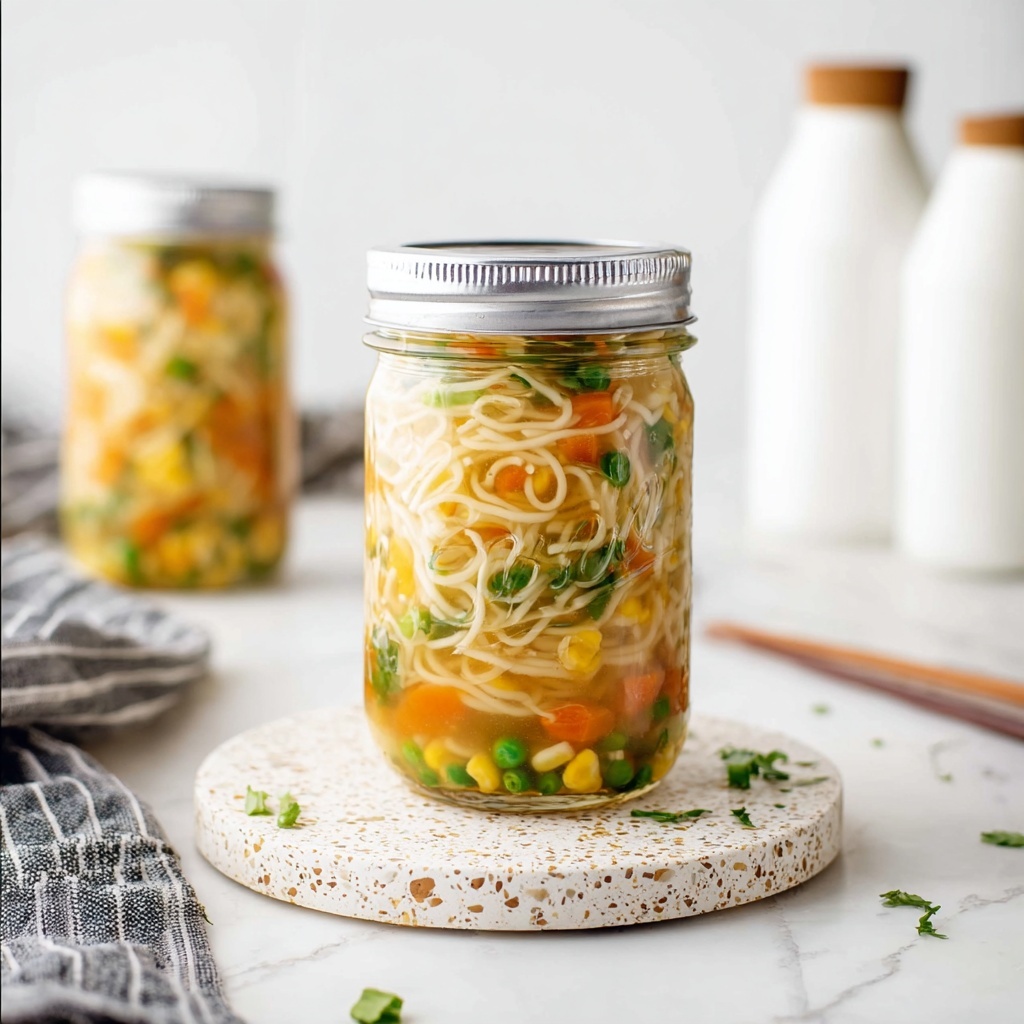
When you’re ready to indulge, pour 1¼ cups of boiling water over the noodles, cover the jar with the lid, and let everything soak for 5 minutes until the noodles soften beautifully. Stir the broth so the seasoning dissolves completely and dive in. If you’re short on time, microwaving with just enough water to cover the noodles for 2 minutes, then resting for another 2 minutes before stirring, works wonders too.
How to Serve Ramen Cups Recipe
Garnishes
To make your ramen cups extra special, consider adding a soft-boiled egg, a sprinkle of toasted sesame seeds, or a few chili flakes for a bit of heat. Fresh cilantro or a drizzle of chili oil can also elevate the flavors while adding vibrant color.
Side Dishes
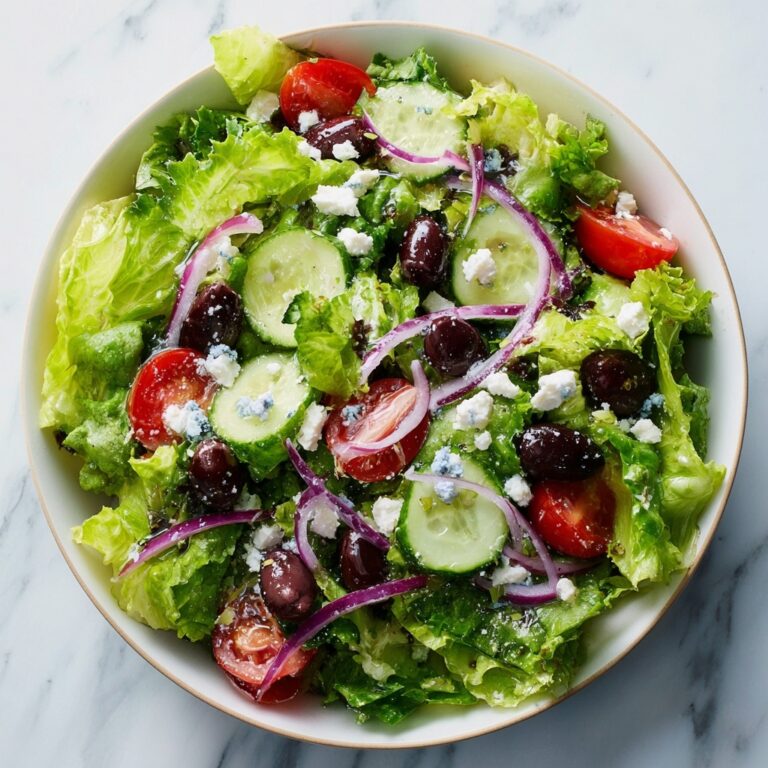
A simple side of pickled vegetables or a small salad with tangy dressing pairs beautifully with this ramen cup. You might also enjoy steamed edamame or a crispy tempura vegetable for texture contrast and extra satisfaction.
Creative Ways to Present
Present your ramen cups directly in the mason jar for easy, mess-free eating. Alternatively, you can transfer the hot ramen into a favorite bowl and top with your garnishes to impress guests or create a cozy dining experience.
Make Ahead and Storage
Storing Leftovers
If you happen to have any leftover prepared ramen cups, keep them sealed in the fridge for up to 4 days. The flavors actually deepen a bit over time, making each cup as delicious as the first day.
Freezing
Because of the layered fresh vegetables and noodles, freezing is not recommended for this Ramen Cups Recipe. It’s best enjoyed fresh or refrigerated short-term to retain its perfect texture and flavor.
Reheating
When reheating, add boiling water to the jar and let it sit covered for a few minutes to rehydrate evenly. Alternatively, microwave after adding water just to cover the noodles, then rest before stirring for best results.
FAQs
Can I use any type of ramen noodles?
Absolutely! While traditional dried ramen noodles work best for texture and quick cooking, you can experiment with gluten-free or other noodle varieties to suit your dietary preferences.
Why should I not stir the layers when assembling?
Keeping the ingredients layered ensures that the vegetables steam evenly and the noodles cook properly when hot water is added, giving you the best texture and flavor balance.
Can I make the broth vegetarian?
Yes! Use mushroom-flavored Better Than Bouillon and low-sodium soy sauce to create a rich and umami-packed vegetarian version of this ramen cup.
How long can I store the assembled ramen cups in the fridge?
You can safely keep the prepared jars in the refrigerator for up to 4 days, making them convenient to prepare ahead and enjoy throughout the week.
What if I don’t have a mason jar? Can I use something else?
Any wide-mouth jar or container that can hold heat safely works well. Just make sure it’s microwave safe if you plan to heat your ramen there.
Final Thoughts
This Ramen Cups Recipe has quickly become a staple for those days when you want a warm, tasty meal without the fuss. Its simplicity and flavor harmony make it a wonderful addition to any meal rotation. I truly encourage you to try it out—you might just find yourself reaching for your ramen cup more often than you expect!
Print
Ramen Cups Recipe
- Prep Time: 5 minutes
- Cook Time: 5 minutes
- Total Time: 10 minutes
- Yield: 1 ramen cup
- Category: Quick Meal
- Method: No-Cook
- Cuisine: Japanese
Description
This easy and convenient Ramen Cups Recipe is perfect for a quick meal or snack. Featuring a flavorful blend of Better Than Bouillon, soy sauce, and spices layered with frozen vegetables, dried ramen noodles, and fresh green onions, this recipe allows you to prepare a personalized ramen cup that can be stored in the fridge and quickly rehydrated with boiling water or microwaved for a comforting bowl of ramen in minutes.
Ingredients
Seasoning Mix
- 2 teaspoons Better Than Bouillon (chicken or mushroom flavored)
- 2 teaspoons low-sodium soy sauce
- ½ teaspoon dried parsley
- ¼ teaspoon ground ginger
- ¼ teaspoon garlic powder
Vegetables
- ½ cup frozen mixed vegetables
- 1 green onion, thinly sliced
Noodles
- 2 ounces dried ramen noodles
Instructions
- Prepare Seasonings: Add the Better Than Bouillon, soy sauce, dried parsley, ground ginger, and garlic powder into a 16-ounce wide-mouth mason jar. Stir well to combine these dry and flavorful ingredients evenly.
- Add Vegetables: Pour the frozen mixed vegetables on top of the seasoning layer in the jar, but do not stir. This layering helps separate ingredients for better texture after cooking.
- Layer Noodles and Onion: Place the dried ramen noodles atop the frozen vegetables. Breaking the noodles into smaller pieces will help them cook more thoroughly and quickly. Sprinkle the thinly sliced green onions over the noodles, keeping layers intact and unmixed.
- Store: Secure the lid tightly on the jar. Store the ramen cup in the refrigerator for up to 4 days, which allows you to prepare multiple servings ahead of time.
- Serve with Boiling Water: When ready to eat, pour 1¼ cups of boiling water over the noodles in the jar. Cover with the lid and let it sit for 5 minutes, allowing the noodles to soften and seasonings to dissolve thoroughly. Stir before enjoying.
- Microwave Option: Alternatively, add enough water to just cover the noodles. Microwave the jar (without metal lid) for 2 minutes. Let it stand covered for another 2 minutes, then stir to ensure the seasonings are fully mixed and the noodles are tender.
Notes
- Use low-sodium soy sauce to control salt content in the ramen cup.
- Breaking the ramen noodles into smaller pieces before layering helps speed up the cooking process.
- Do not mix layers before cooking to preserve texture and prevent sogginess.
- Store the assembled ramen cup in a sealed jar in the fridge for up to 4 days for meal prep convenience.
- Ensure boiling water is poured carefully into the jar to avoid burns.
- Microwave only in microwave-safe containers and avoid using metal lids.


