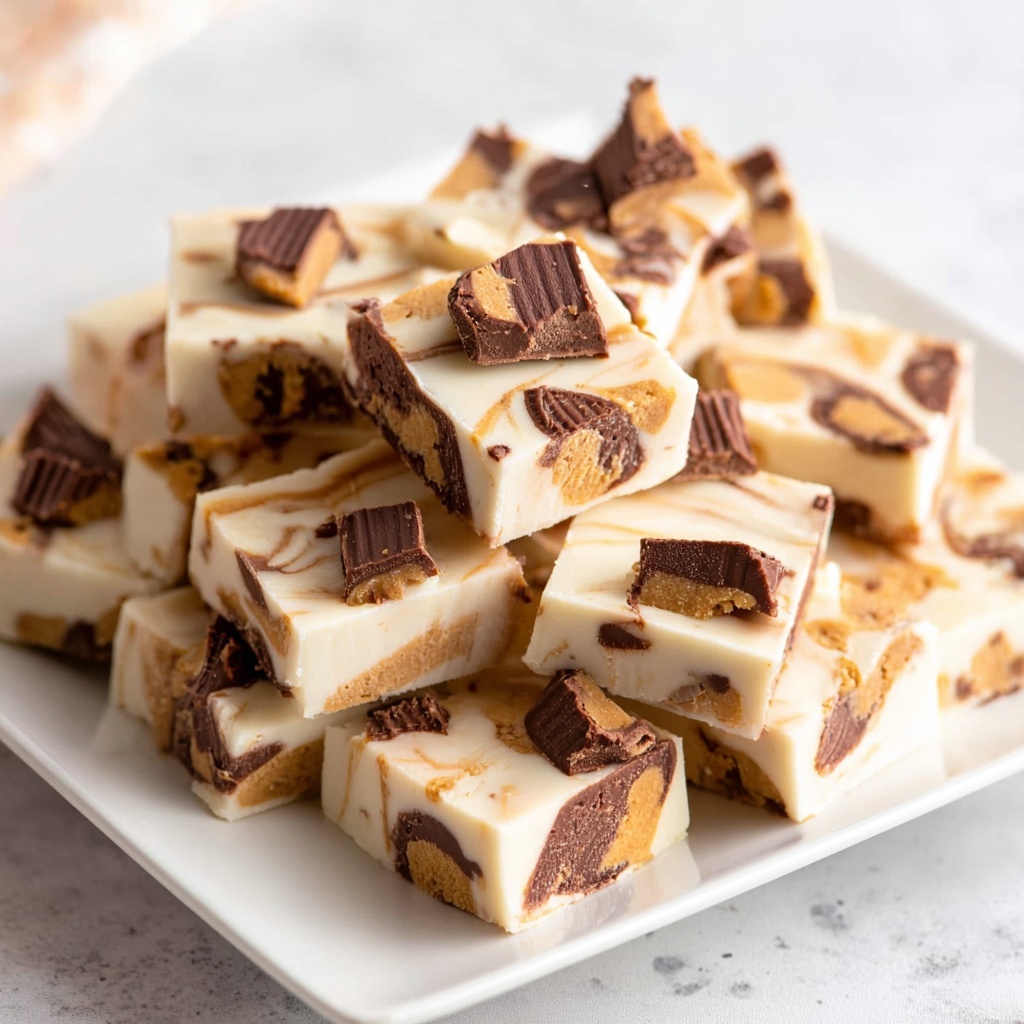
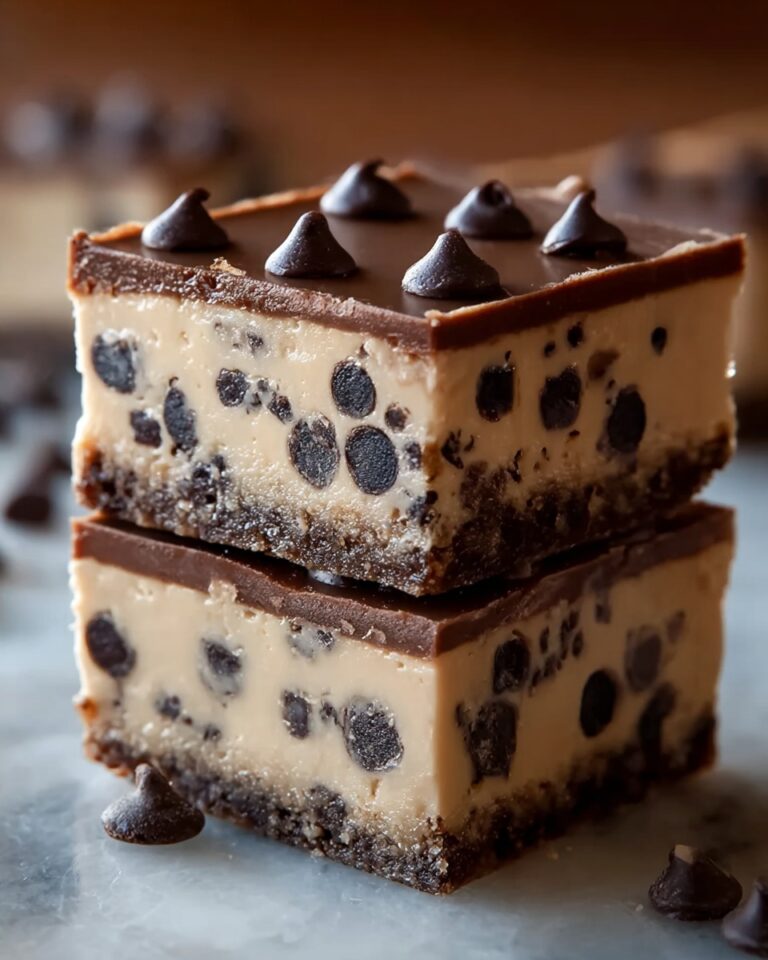
If you’ve been searching for a dessert that delivers rich, creamy sweetness with a delightful peanut butter twist, this Peanut Butter Cup Fudge Recipe is about to become your new obsession. It’s the perfect blend of smooth white chocolate, luscious condensed milk, and those iconic mini Reese’s Cups that add bursts of peanut butter magic in every bite. Whether you’re whipping this up for a party, a cozy night in, or to gift someone special, this fudge is irresistibly easy and guaranteed to impress.

Ingredients You’ll Need
All you need for this Peanut Butter Cup Fudge Recipe are a handful of simple, carefully chosen ingredients that come together for a balance of sweet, creamy, and nutty flavors. Each one contributes something unique, from the luscious texture to that classic peanut butter chocolate combo.
- White chocolate chips: Use 3 cups (510 grams) of good-quality chips for a smooth, creamy base that melts beautifully.
- Sweetened condensed milk: One 14-ounce can (396 grams) adds that silky, rich texture and the perfect amount of sweetness.
- Pure vanilla extract: Just 1 teaspoon (4 grams) enhances all the flavors with a subtle warmth.
- Mini Reese’s Cups: About 1 cup (20 grams), chopped into chunks, offer crunchy peanut butter pops that make this fudge unforgettable.
How to Make Peanut Butter Cup Fudge Recipe
Step 1: Melt the Chocolate and Condensed Milk
Begin by heating the white chocolate chips and sweetened condensed milk in a saucepan over medium heat. Stir continuously to ensure the chocolate melts evenly and everything blends into a smooth, glossy mixture. This step sets the creamy foundation for your fudge.
Step 2: Add Vanilla Extract
Once the chocolate has completely melted, remove the pan from heat and stir in the pure vanilla extract. This little addition lifts the rich flavors, creating depth and a smooth finish that makes every bite more memorable.
Step 3: Fold in Half of the Reese’s Chunks
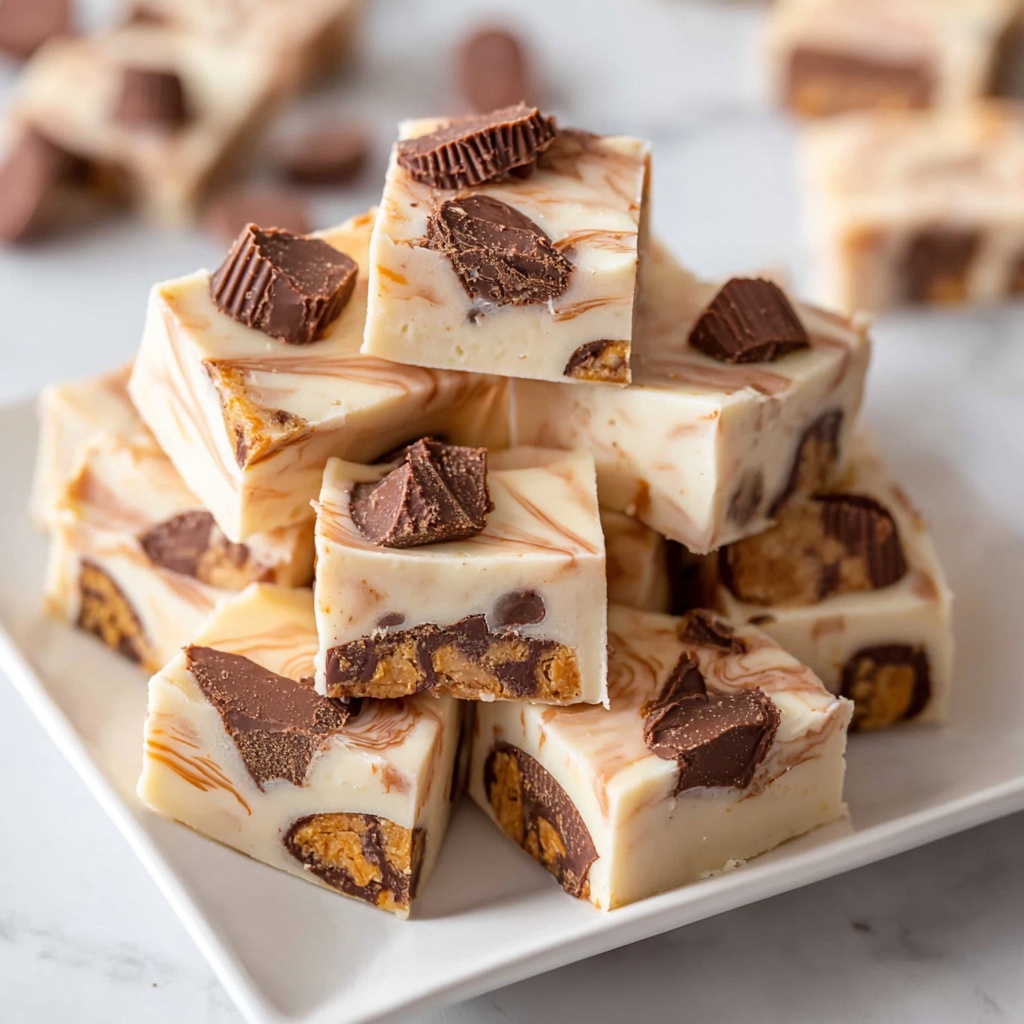
Add half of the chopped mini Reese’s Cups to the melted mix. Stir gently just 2-3 times to combine — this careful folding is key to creating that beautiful marbled effect with pockets of peanut butter goodness tucked throughout.
Step 4: Transfer to a Dish
Pour or scoop the fudge mixture into a prepared 9×9-inch square dish. Using a silicone pan here is a smart choice since the fudge will pop right out once set, and there’s no need for parchment paper, making clean-up a breeze.
Step 5: Top with Remaining Reese’s Chunks
Sprinkle the leftover Reese’s chunks evenly over the top of the fudge. These add extra texture and a delicious hint of peanut butter that makes your fudge visually appealing and even more tasty.
Step 6: Chill Until Set
Place the fudge in the refrigerator and let it chill for 2 to 3 hours. This allows it to harden perfectly so you can cut it into neat bite-sized squares without any crumbling or melting.
Step 7: Cut and Enjoy
Once set, remove the fudge from the dish and carefully slice it into small squares. Each piece is a heavenly little treasure packed with that amazing peanut butter cup flavor.
How to Serve Peanut Butter Cup Fudge Recipe
Garnishes
For a final flourish, consider sprinkling a little sea salt or drizzling melted dark chocolate over the top before chilling. This adds a delightful contrast to the sweetness and enhances the peanut butter flavor in a fancy yet simple way.
Side Dishes
This fudge stands beautifully on its own, but pairing it with a cup of strong black coffee or an icy glass of milk elevates the experience. The creamy, rich fudge and a beverage to balance its sweetness create a perfect dessert moment.
Creative Ways to Present
Gift the fudge by stacking the squares in a pretty box lined with parchment paper or wrap individual pieces in colorful foil for party favors. You could even layer the fudge in clear jars with ribbons for gifting that feels personal and homemade.
Make Ahead and Storage
Storing Leftovers
Store your leftover fudge in an airtight container at room temperature or in the fridge. It keeps best for up to two weeks, staying deliciously fresh and ready whenever you want a quick sweet treat.
Freezing
If you want to keep your Peanut Butter Cup Fudge Recipe longer, freezing is a great option. Wrap pieces individually in plastic wrap and place them in a freezer-safe container. This fudge can be frozen for up to three months without sacrificing texture or flavor.
Reheating
There’s no need to reheat the fudge before enjoying, but if you prefer softer bites, letting pieces sit at room temperature for about 20 minutes works wonders. Avoid microwaving as it can cause the chocolate to seize or become grainy.
FAQs
Can I use dark chocolate instead of white chocolate?
Yes, you can substitute dark chocolate, but keep in mind it will change the flavor profile and color of your fudge. The white chocolate provides a creamy sweetness that complements the peanut butter cups perfectly.
Do I have to use mini Reese’s Cups or can I use full-size?
Mini Reese’s Cups are ideal because their smaller size creates little pockets of peanut butter goodness throughout the fudge. However, chopping full-size cups into small pieces works fine if that’s what you have on hand.
How long does this fudge take to set?
Chilling the fudge in the refrigerator for 2 to 3 hours ensures it sets firm enough to cut cleanly. Leaving it longer won’t hurt, so you can prep it ahead of time if needed.
Is there a way to make this recipe dairy-free?
This recipe relies heavily on dairy for its creamy texture, so substituting with dairy-free alternatives can be tricky. You might try coconut milk condensed milk and vegan chocolate chips, but results may vary.
Can I add nuts or other toppings?
Absolutely! Feel free to add chopped peanuts, sea salt, or even swirl in some caramel for extra flair. Just be mindful that additional mix-ins might alter the texture or setting time.
Final Thoughts
This Peanut Butter Cup Fudge Recipe is one of those rare finds that feels both indulgent and simple to make. Every bite bursts with nostalgic flavors, creamy textures, and that unmistakable peanut butter charm. I seriously can’t recommend it enough — once you try it, it’ll be your go-to fudge recipe for every occasion!
Print
Peanut Butter Cup Fudge Recipe
- Prep Time: 5 minutes
- Cook Time: 5 minutes
- Total Time: 3 hours 10 minutes
- Yield: 20 pieces
- Category: Dessert
- Method: Stovetop
- Cuisine: American
Description
This Peanut Butter Cup Fudge recipe combines creamy white chocolate and sweetened condensed milk with crunchy mini Reese’s Cups for a rich, decadent treat. With a smooth, marbled texture and bursts of peanut butter flavor, this no-bake fudge is easy to make and perfect for sharing or gifting.
Ingredients
Fudge Base
- 3 cups white chocolate chips (510 grams)
- 14 ounces sweetened condensed milk (396 grams, 1 can)
- 1 teaspoon pure vanilla extract (4 grams)
Mix-ins & Topping
- 1 cup mini Reese’s Cups (20 grams, chopped into chunks and divided)
Instructions
- Heat Ingredients: Heat the white chocolate chips and sweetened condensed milk together in a saucepan set over medium heat. Stir continuously to ensure the chocolate melts evenly and the mixture is smooth without burning.
- Add Vanilla: Once the chocolate has fully melted and combined with the condensed milk, remove the saucepan from the heat. Stir in the pure vanilla extract thoroughly to enhance flavor.
- Mix-in Reese’s Chunks: Fold in half of the chopped mini Reese’s Cups carefully, stirring only 2-3 times to maintain a marbled effect and prevent over-mixing.
- Pour into Dish: Transfer the fudge mixture into a prepared 9×9-inch square dish. Using a silicone dish is recommended for easy removal without needing parchment paper.
- Add Topping: Sprinkle the remaining half cup of chopped Reese’s Cups evenly on top of the fudge.
- Chill to Set: Place the fudge in the refrigerator and allow it to chill for 2-3 hours or until completely hardened and set.
- Cut into Pieces: Remove the fudge from the dish carefully and cut it into about 20 small bite-sized squares.
Notes
- Use a silicone dish or line your pan with parchment paper to make it easier to remove the fudge once set.
- Do not over-stir the fudge after adding the Reese’s chunks to preserve the marbled look.
- Store fudge in an airtight container in the refrigerator for up to 1 week.
- For a firmer texture, chill fudge overnight.

