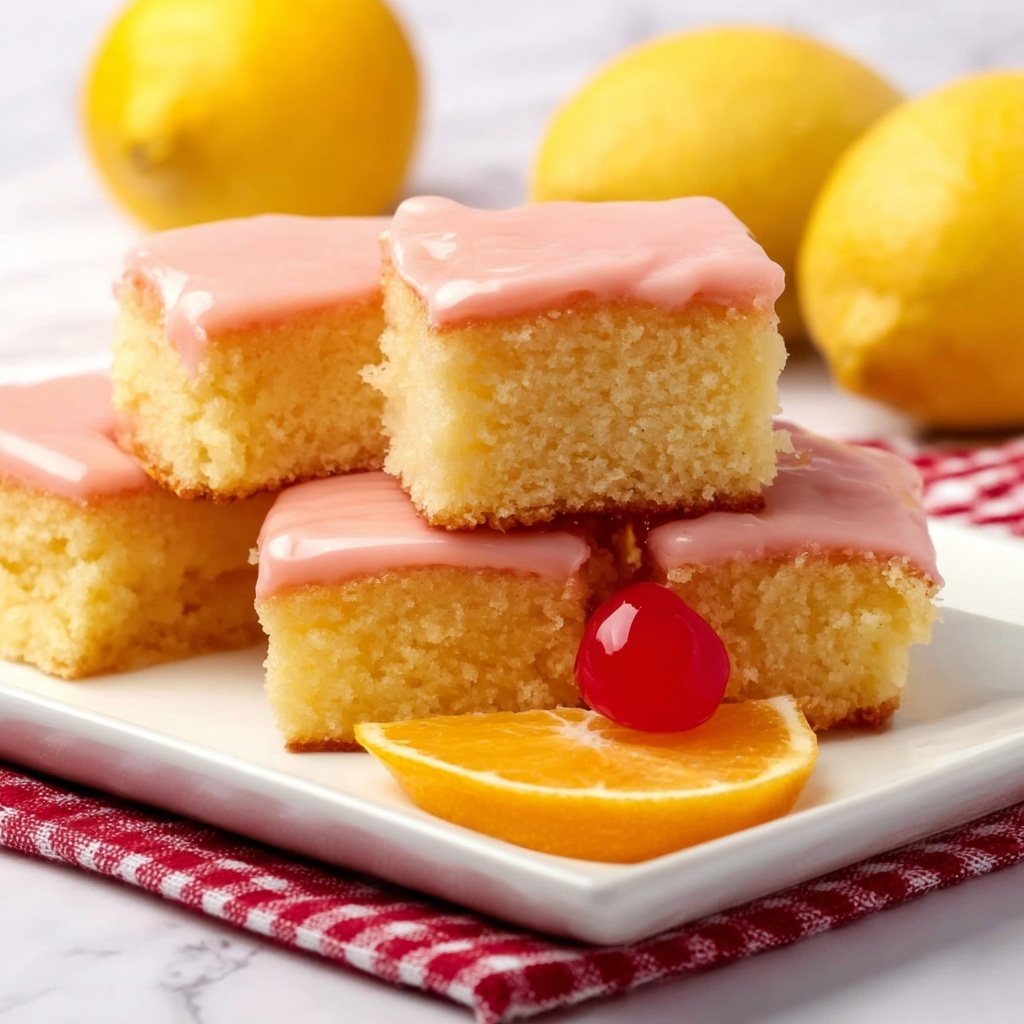
Imagine taking a sunny summer day and capturing its essence in a dessert — that is exactly what this Cherry Lemonade Bars Recipe offers. Bright, zesty lemon meets sweet, vibrant cherry in a tender bar that melts in your mouth, creating a perfect balance of tart and sweet. These bars are not only stunning with their glossy cherry glaze but also incredibly simple to make, making them an absolute must-try for anyone who loves a refreshing twist on classic treats. Whether you’re serving them at a picnic, a family gathering, or just indulging yourself, this recipe will quickly become a beloved favorite.
Ingredients You’ll Need
The beauty of this Cherry Lemonade Bars Recipe lies in its straightforward, wholesome ingredients that come together to create a burst of flavor. Each component plays a key role, from the smooth butter adding richness and texture to the fresh lemon juice and zest creating that essential tang, while the cherry juice brings a lively color and sweetness to the glaze.
- 1/2 cup unsalted butter softened: Provides a creamy, rich base that keeps the bars tender and moist.
- 3/4 cup sugar: Adds sweetness and helps achieve that golden top when baked.
- 2 large eggs: Bind the ingredients together and contribute to the bars’ soft, cakey texture.
- 1 tablespoon freshly squeezed lemon juice: Delivers the fresh, bright acidity central to the lemonade flavor.
- 1/4 teaspoon kosher salt: Balances the sweetness and enhances all the other flavors.
- 1 large lemon zested: Introduces aromatic citrus oils for a fragrant lemon punch.
- 3/4 cup flour: The foundation that gives the bars their structure without weighing them down.
- 1 cup powdered sugar (for glaze): Creates the sweet, smooth topping that contrasts beautifully with the tart lemon.
- 3-4 tablespoons Maraschino cherry juice (for glaze): Infuses the glaze with a lovely cherry flavor and a gorgeous rosy hue.
- 1 large lemon zested (for glaze): Brightens the glaze with extra lemon aroma and flavor.
How to Make Cherry Lemonade Bars Recipe
Step 1: Prepare Your Baking Dish
Start by preheating your oven to 350 degrees and lining an 8×8 baking dish with parchment paper. This little prep step ensures easy removal of your finished bars, keeping their beautiful shape intact while making cleanup a breeze.
Step 2: Cream the Butter and Sugar
In a large bowl, use a hand mixer to beat together the softened butter and sugar until creamy, then add the eggs, freshly squeezed lemon juice, and lemon zest. This combination creates a flavorful, velvety batter that’s the heart of your lemonade bars.
Step 3: Mix the Dry Ingredients
Whisk the flour and kosher salt together in a medium bowl. This step helps evenly distribute the salt throughout the flour, which will support the balance of sweet and tart flavors in the bars.
Step 4: Combine Wet and Dry Ingredients
Gradually add the flour mixture to the wet ingredients, beating just until everything is thoroughly combined. Be careful not to overmix, as that could make the bars dense rather than tender and light.
Step 5: Bake the Bars
Pour your luscious batter into the prepared baking dish and bake for about 15 to 18 minutes, or until the edges turn a gentle golden brown. You’ll immediately notice that wonderful citrus aroma filling your kitchen—pure happiness in the making.
Step 6: Cool Slightly
Remove the baking dish from the oven and let it cool for about 15 minutes. This rest time lets the bars set up just enough to handle the glaze without it melting into the bars themselves.
Step 7: Make the Cherry Lemonade Glaze
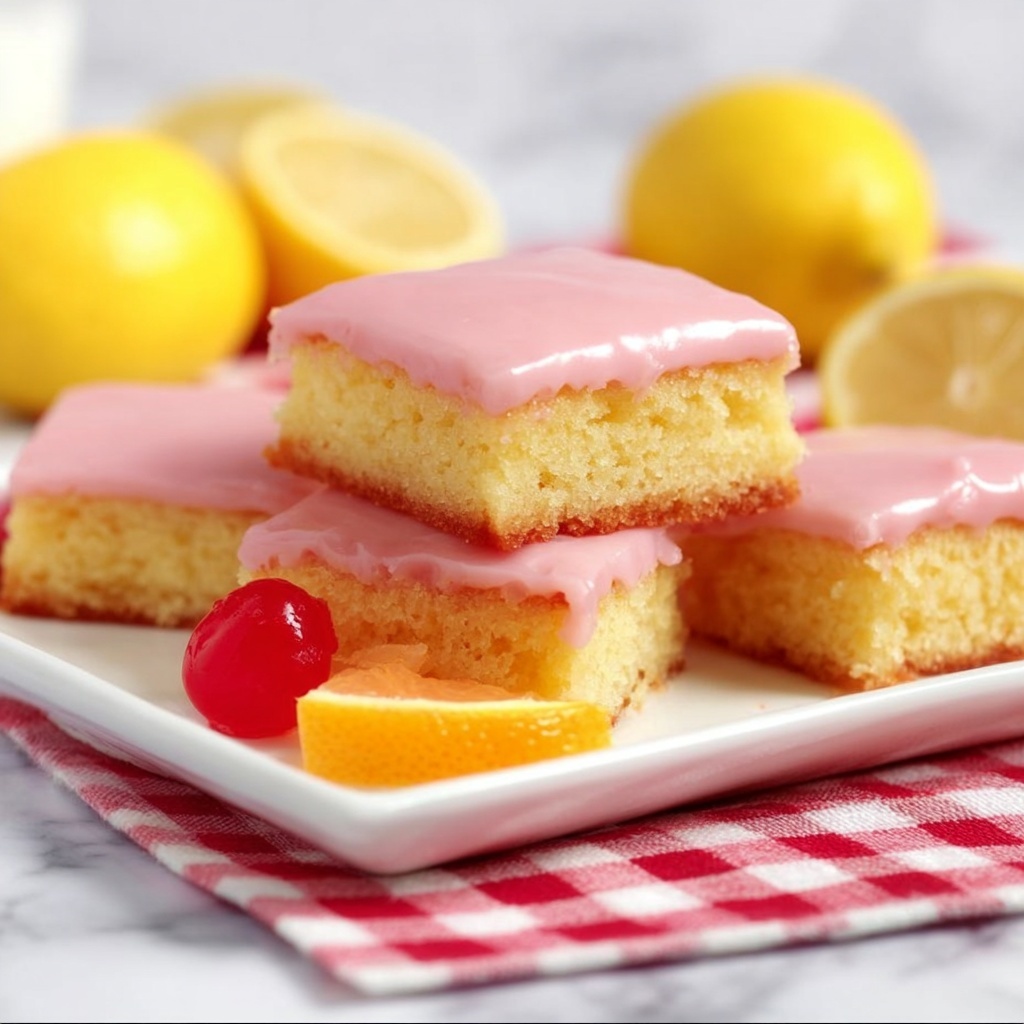
In a medium bowl, whisk together powdered sugar, Maraschino cherry juice, and lemon zest until smooth. This shiny glaze dances perfectly on top of the bars, adding sweetness and a gorgeous pink tint that’s as delicious as it is eye-catching.
Step 8: Glaze the Bars
Pour the cherry lemonade glaze evenly over the warm bars and spread it gently with an offset spatula or the back of a spoon. This step completes the flavor profile with a sweet-tart finish that’s irresistible.
Step 9: Let the Glaze Set and Serve
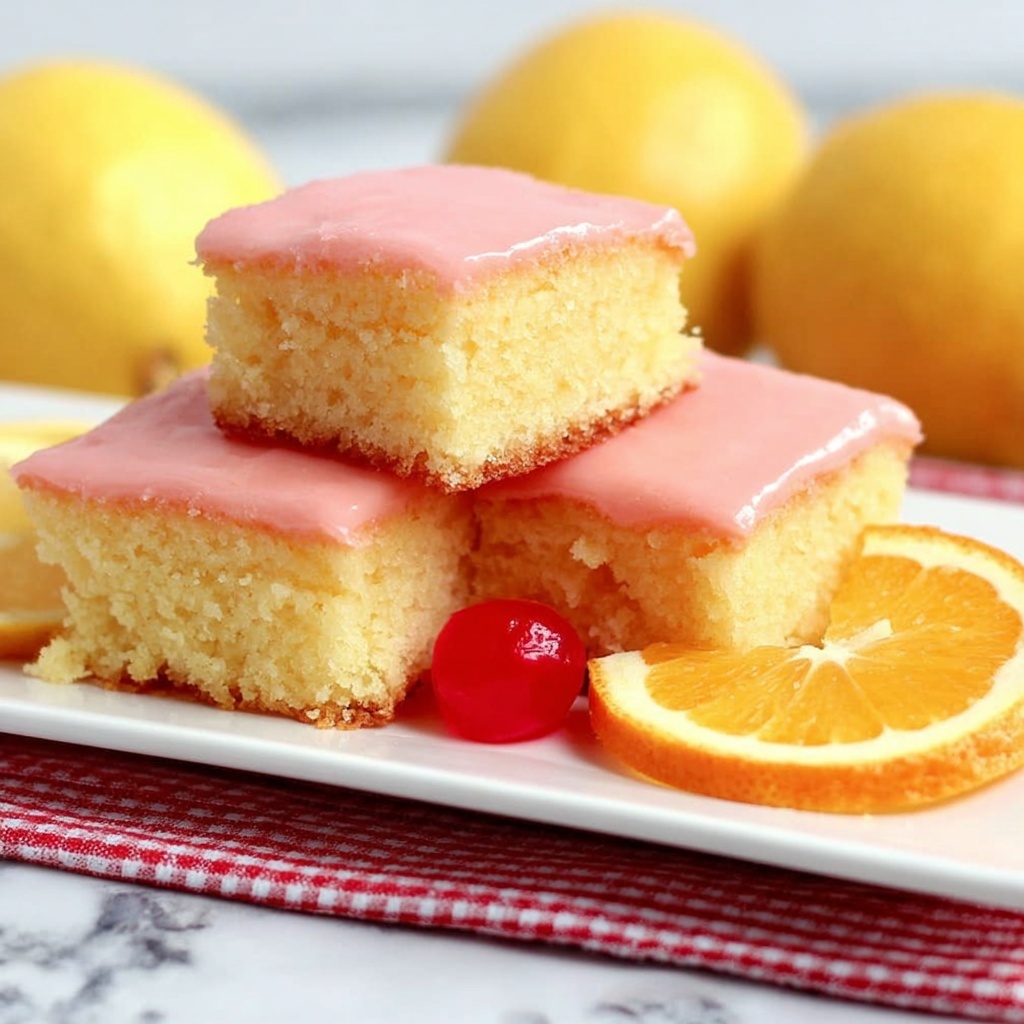
Allow the glaze to harden at room temperature before slicing the bars. This way, each piece comes out with a perfect, shiny finish and a delightful texture contrast between the tender lemon bar and the crisp glaze.
How to Serve Cherry Lemonade Bars Recipe
Garnishes
Adding a few fresh cherries, a light sprinkle of lemon zest, or even a small mint leaf on top of each bar can elevate the presentation and infuse an extra layer of fragrance. These simple garnishes signal a treat that’s as pretty as it is tasty.
Side Dishes
Cherry Lemonade Bars Recipe pairs beautifully with a scoop of vanilla ice cream or a dollop of whipped cream for an indulgent dessert experience. They also complement a crisp green salad or iced tea for a refreshing afternoon snack or light dessert.
Creative Ways to Present
Serve these bars on a rustic wooden board with fresh flowers or place them in colorful cupcake liners for a festive touch at parties. You can even cut into small bite-sized squares for easy grab-and-go treats at picnics or potlucks.
Make Ahead and Storage
Storing Leftovers
Store any uneaten Cherry Lemonade Bars Recipe in an airtight container at room temperature for up to 2 days or in the refrigerator for up to a week. The glaze will keep its lovely texture, and the bars will stay moist and flavorful.
Freezing
If you want to make these bars ahead, freeze them in an airtight container, separated by parchment paper, for up to 2 months. Thaw them overnight in the refrigerator, then bring to room temperature before glazing or serving.
Reheating
To enjoy warm bars, reheat individual slices in the microwave for 10-15 seconds. Be mindful not to melt the glaze too much—just enough to warm the bar and heighten those citrus-cherry aromas.
FAQs
Can I use fresh cherries instead of Maraschino cherry juice for the glaze?
Fresh cherries are delicious but don’t release the same amount of juice or sweetness needed to achieve the glaze consistency. You can blend fresh cherries and strain to use some juice, but Maraschino cherry juice offers the perfect balance of color and flavor with ease.
Is it possible to make these bars gluten-free?
Yes! Replacing all-purpose flour with a gluten-free flour blend that measures cup for cup will work well. Just ensure your blend contains xanthan gum or another binder for the best texture in your Cherry Lemonade Bars Recipe.
Can I swap out the lemon for lime?
Absolutely! Substituting lemon juice and zest with lime will create a similar tangy, vibrant flavor, giving a fresh twist to the bars. Just keep the same quantities to maintain balance.
How thick should the cherry lemonade glaze be?
The glaze should be thick enough to coat the back of a spoon but still pourable. If it’s too runny, add more powdered sugar; if too thick, add a bit more cherry juice. The goal is a smooth, glossy finish that hardens beautifully.
Can these bars be made in a larger pan?
Yes, you can double the recipe for a 9×13-inch pan if you want more bars. Keep an eye on the baking time, starting to check a few minutes earlier, as a larger pan may alter how the bars bake through.
Final Thoughts
If you love vibrant, fresh flavors wrapped up in an irresistibly tender dessert, this Cherry Lemonade Bars Recipe is for you. It’s a joyful treat that feels like a celebration of summer any time you bake it. Trust me, once you try these bars, they’ll become your go-to for brightening up any dessert table or simply enjoying a sweet moment of sunshine at home.
Print
Cherry Lemonade Bars Recipe
- Prep Time: 5 minutes
- Cook Time: 18 minutes
- Total Time: 23 minutes
- Yield: 15 bars
- Category: Dessert
- Method: Baking
- Cuisine: American
Description
These Cherry Lemonade Bars combine tart lemon flavor with sweet cherry glaze for a refreshing, zesty treat. Soft and buttery with a hint of citrus, they are perfect for summer gatherings or a bright dessert anytime.
Ingredients
Main Ingredients
- 1/2 cup unsalted butter, softened
- 3/4 cup sugar
- 2 large eggs
- 1 tablespoon freshly squeezed lemon juice
- 1/4 teaspoon kosher salt
- 1 large lemon, zested
- 3/4 cup flour
Glaze Ingredients
- 1 cup powdered sugar
- 3–4 tablespoons Maraschino cherry juice
- 1 large lemon, zested
Instructions
- Preheat Oven and Prepare Pan: Preheat your oven to 350°F (175°C) and line an 8×8 inch baking dish with parchment paper to prevent sticking and for easy removal of the bars.
- Mix Wet Ingredients: In a large bowl, use a hand mixer to beat together the softened butter, sugar, eggs, freshly squeezed lemon juice, and lemon zest until the mixture is smooth and well combined.
- Combine Dry Ingredients: In a separate medium bowl, whisk together the flour and kosher salt until evenly mixed.
- Incorporate Dry Ingredients: Gradually add the dry flour mixture into the wet ingredients, mixing gently with the hand mixer until the batter is smooth without overmixing.
- Bake the Batter: Pour the batter evenly into the prepared baking dish and bake in the preheated oven for 15 to 18 minutes, or until the edges turn a light golden brown.
- Cool the Bars: Remove from the oven and allow the bars to cool in the baking dish for about 15 minutes to set.
- Prepare the Glaze: In a medium bowl, whisk together the powdered sugar, Maraschino cherry juice, and lemon zest until smooth and pourable.
- Glaze the Bars: Pour the cherry lemon glaze evenly over the cooled bars and spread it out with a spatula to cover the surface.
- Set and Serve: Allow the glaze to harden completely at room temperature before cutting into 15 bars. Serve and enjoy this bright, fruity dessert.
Notes
- Use freshly squeezed lemon juice and zest for the best lemon flavor.
- Make sure butter is softened to room temperature for easy mixing.
- Maraschino cherry juice is key for the vibrant glaze; do not substitute with regular cherry juice as it is less sweet.
- Bars can be stored in an airtight container at room temperature for up to 3 days.
- For sharper lemon flavor, let bars chill in the fridge after glazing.
