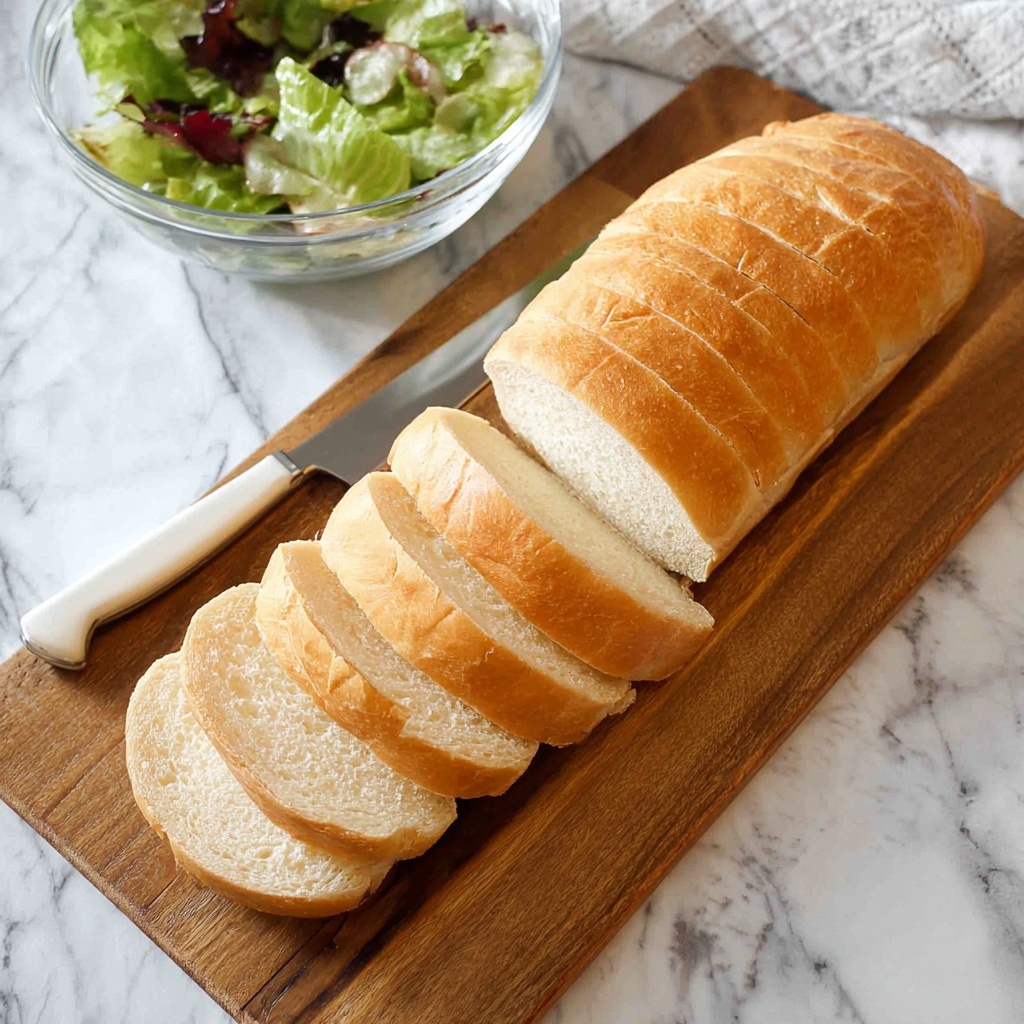
If you have ever dreamed of pulling a warm, crusty loaf straight from your own oven, then this French Classic Homemade Bread Recipe is your new best friend. It’s a timeless recipe that captures the soulful charm of a Parisian bakery right in your kitchen. With a crispy crust, tender crumb, and a subtle hint of sweetness from the yeast, this bread is perfect for everything from morning toast to late-night sandwiches. The process is beautifully simple, and once you see how easy it is to create such an authentic loaf, you’ll be eager to bake again and again. Trust me, nothing beats the smell and taste of homemade bread, especially when it’s a French Classic Homemade Bread Recipe done just right!
Ingredients You’ll Need
Getting started on this French Classic Homemade Bread Recipe means gathering a handful of straightforward ingredients that each play a key role in achieving that perfect texture and flavor. These staples come together simply, but their quality and balance make all the difference in delivering that iconic crust and light interior.
- Active dry yeast: This is the magical leavening agent that helps your bread rise and gives it that light, airy texture.
- Warm water: Used twice in the recipe, it both activates the yeast and helps hydrate the flour for the dough.
- Granulated white sugar: Just a touch to feed the yeast and add a subtle sweet note to the crust color.
- All-purpose flour: The backbone of your bread, this flour ensures a supple dough with the right density.
- Salt: It enhances flavor and controls yeast activity for a perfectly seasoned loaf.
- Egg white: Brushed on top to give your bread that gorgeous, glossy finish and help browning.
- Cornmeal: Sprinkled on the baking sheet to prevent sticking and add a delicate crunch to the crust’s underside.
How to Make French Classic Homemade Bread Recipe
Step 1: Activating the Yeast
Begin by dissolving two packages of active dry yeast with a teaspoon of sugar in half a cup of warm water. This wake-up call for the yeast creates a bubbly mixture ready to breathe life into your dough. Let it sit until foamy, which usually takes about 10 minutes.
Step 2: Mixing the Initial Dough
In a large bowl, mix one tablespoon of salt with two cups of lukewarm water, then beat in two cups of the flour. This mixture sets the foundation, balancing hydration and salt for flavor development.
Step 3: Combining the Yeast and Flour
Pour your yeasty foam into the flour blend, stirring in an additional 4 to 4 ½ cups of flour. You want a soft dough that just begins to come together without being sticky.
Step 4: Resting the Dough
Turn the dough out onto a lightly floured surface. Cover it to rest for 10 minutes, allowing the flour to fully absorb the water and gluten to start relaxing.
Step 5: Kneading to Perfection
Now’s the time to knead! Work the dough for about 7 to 10 minutes until it’s smooth and elastic, adding the last cup of flour as needed. This develops the gluten structure that gives bread its chewiness.
Step 6: First Rise
Place your perfectly kneaded dough in a lightly greased bowl and turn it once to coat it with oil. Cover and set it aside to rise until doubled in size, which usually takes around 1 to 1 ½ hours. This is when your dough transforms into a fluffy cloud ready to become bread.
Step 7: Punching and Dividing
Deflate the risen dough gently with your fist, then transfer to a floured surface. Divide it into two equal portions—each will form one loaf.
Step 8: Rest and Shape
Cover the dough portions and let them rest for 10 more minutes to relax the gluten before shaping.
Step 9: Rolling and Forming Loaves
Take each portion and roll it into a 15 by 12-inch rectangle. Roll tightly from the long side, sealing the edges well, and taper the ends to create those classic baguette shapes.
Step 10: Preparing to Bake
Place the loaves seam side down on greased baking sheets dusted with cornmeal to prevent sticking and encourage a crisp underside. Use a sharp knife to slash the tops every 2 ½ inches about a quarter-inch deep. This helps the bread expand beautifully in the oven.
Step 11: Egg White Wash
Whisk one egg white with a tablespoon of water until just foamy, then brush it generously over the tops and sides of your loaves. This step will give your bread its golden, shiny exterior.
Step 12: Proofing and Baking
Cover the loaves loosely with a damp cloth draped over inverted glasses so it doesn’t touch the dough. Let them rise until doubled again, about 1 ½ hours. Preheat your oven to 375°F as the dough finishes proofing. Bake the bread for 20 minutes, baste again with egg white wash, then bake for another 20 minutes. Watch for browning, and if it’s getting too dark, cover with foil. Remove and cool on wire racks.
How to Serve French Classic Homemade Bread Recipe
Garnishes
Though this bread tastes fantastic on its own, a sprinkle of flaky sea salt or a light brush of melted garlic butter right after baking can elevate every bite. Fresh herbs like rosemary or thyme added to the egg wash just before baking can introduce a subtle, aromatic twist.
Side Dishes
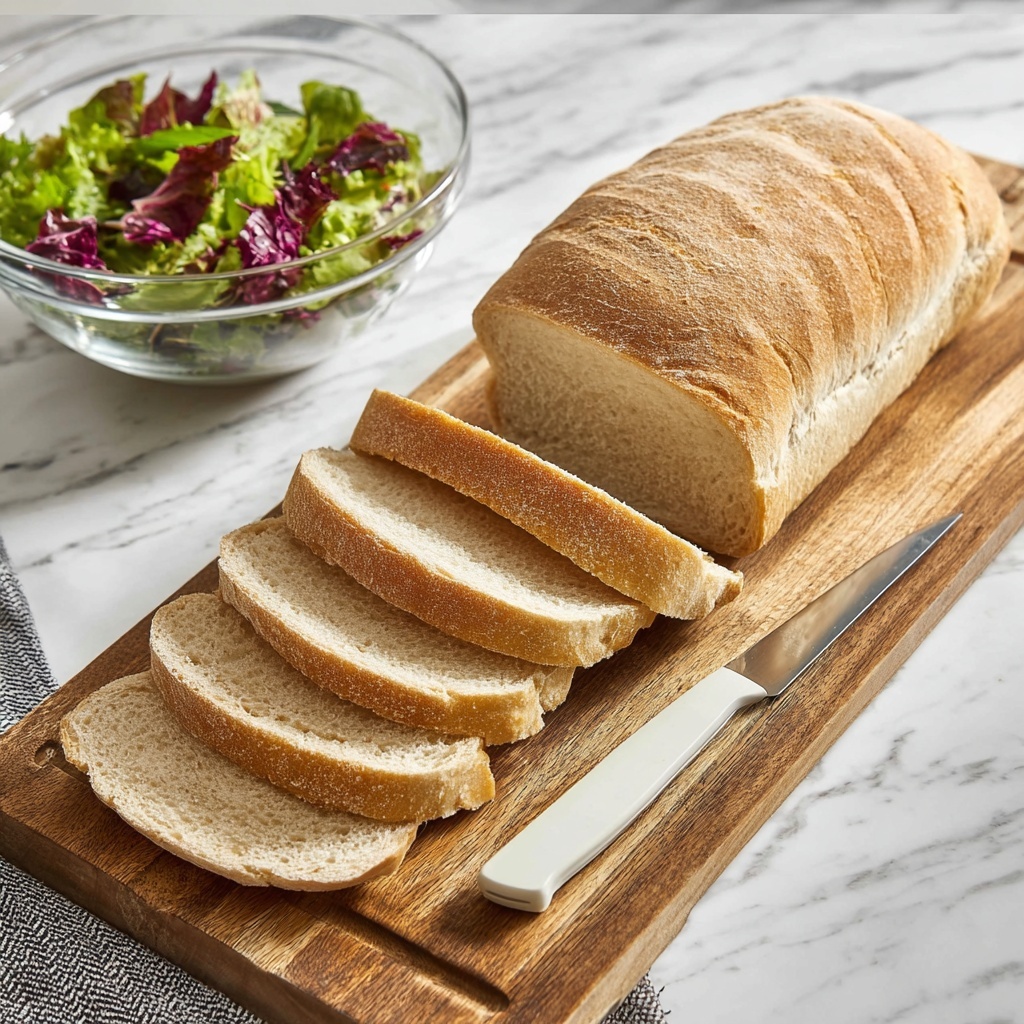
This French Classic Homemade Bread Recipe pairs wonderfully with a variety of dishes. Think warm soups and stews where the crusty bread acts as the perfect dipping tool, or alongside fresh cheeses, charcuterie, and olives for a rustic French-inspired snack board.
Creative Ways to Present
Slice the bread thickly and toast it lightly for bruschetta topped with ripe tomatoes and basil. Or cut into cubes and make a savory bread pudding. You can even hollow out a loaf to use as a charming, edible bowl for dips or warm fondue.
Make Ahead and Storage
Storing Leftovers
If you have leftover bread, store it in a paper bag or wrapped loosely in a clean kitchen towel at room temperature. This keeps the crust crisp while preventing the bread from drying out for up to two days.
Freezing
To keep your French Classic Homemade Bread Recipe fresh longer, freeze slices or entire loaves in airtight bags. When properly wrapped, bread freezes well for up to three months without losing flavor or texture.
Reheating
For a fresh-baked feel, reheat your bread in a 350°F oven for 10-15 minutes. You can also toast slices directly for a quick, crispy refresh that brings back all that glorious crust and warm crumb sensation.
FAQs
Can I use instant yeast instead of active dry yeast?
Yes! Instant yeast can be used, but since it doesn’t require proofing, you can mix it directly with your flour and reduce the water slightly. It often speeds up the rising process, so watch your dough carefully.
What if my dough is too sticky or too dry?
If sticky, sprinkle in a bit more flour little by little while kneading. If too dry, add small amounts of warm water until your dough reaches a soft, elastic consistency that’s not sticky.
How important is the egg white wash?
The egg white wash isn’t mandatory, but it gives the bread that classic golden crust and light sheen that makes it look irresistible. It also helps slashes open nicely during baking.
Can I make this bread without cornmeal?
Yes, cornmeal helps prevent sticking and adds texture to the bottom crust, but you can substitute with flour or a silicone baking mat with great results.
How do I know when the bread is done baking?
A beautiful golden-brown color and a hollow sound when you tap the bottom of the loaf are the best indicators. If you have a thermometer, the internal temperature should be around 190-200°F.
Final Thoughts
There’s something truly magical about baking your own bread, and the French Classic Homemade Bread Recipe makes that magic accessible for everyone. With simple ingredients and a bit of loving hands-on time, you’ll be rewarded with fresh, delicious loaves that bring warmth and joy to your table. So, why not roll up your sleeves and treat yourself and your loved ones to this wonderful homemade bread experience? I promise, once you taste it, it’ll become one of your favorite kitchen adventures.
Print
French Classic Homemade Bread Recipe
- Prep Time: 20 minutes
- Cook Time: 40 minutes
- Total Time: 1 hour 20 minutes plus rising times (approximately 3 to 3.5 hours total including rises)
- Yield: 2 loaves
- Category: Bread
- Method: Baking
- Cuisine: French
Description
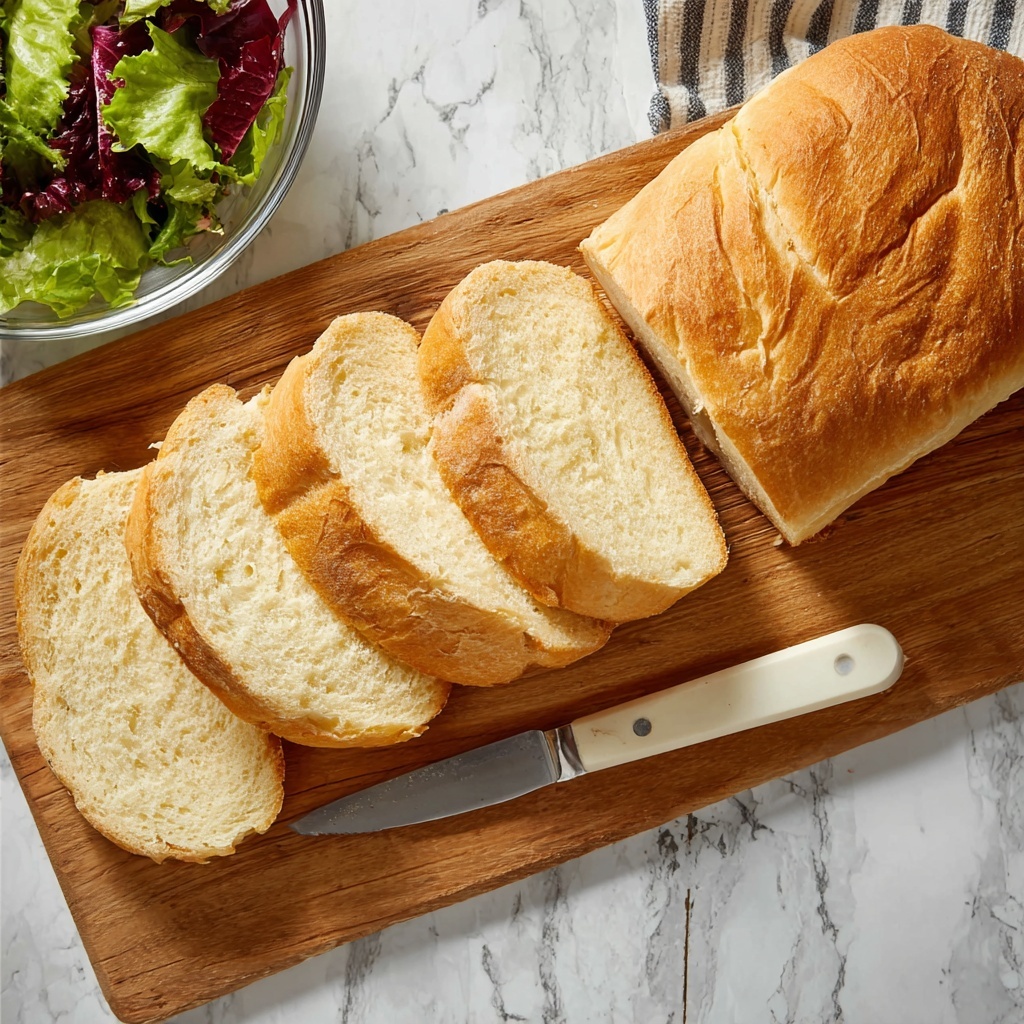
This traditional French Bread recipe produces two crusty, golden loaves with a soft, airy interior. Utilizing active dry yeast and a careful kneading and proofing process, the recipe yields authentic French bread perfect for sandwiches or as an accompaniment to any meal.
Ingredients
Yeast Mixture
- 2 1/4 ounce pkg active dry yeast (2 packages total)
- 1/2 cup warm water
- 1 tsp granulated white sugar
Dough
- 7 1/2 cups all-purpose flour (divided)
- 1 tbsp salt
- 2 cups warm water
Topping
- 1 large egg white
- 1 tbsp water (for egg wash)
- 1/2 cup cornmeal (for baking sheet)
Instructions
- Activate Yeast: Combine 2 packages of active dry yeast and 1 tsp of granulated white sugar in 1/2 cup of warm water. Set aside until foamy and bubbly, indicating the yeast is active.
- Prepare Dough Base: In a large bowl, mix 1 tbsp salt with 2 cups of warm water. Stir in 2 cups of all-purpose flour and beat well to combine thoroughly.
- Combine Yeast and Dough: Stir the foamy yeast mixture into the flour mixture, then gradually add 4 to 4 1/2 additional cups of flour to form a soft dough that holds together but is not too stiff.
- Rest the Dough: Turn the dough out onto a lightly floured surface, cover it loosely, and let it rest for 10 minutes to allow gluten to relax and ease kneading.
- Knead the Dough: Knead the dough on a floured surface for about 7 to 10 minutes until it becomes smooth and elastic. During this process, incorporate the remaining 1 cup of flour as needed to prevent stickiness.
- First Rise: Place the dough in a lightly greased bowl, turning once to coat all sides. Cover and let it rise in a warm area until the volume doubles, approximately 1 to 1 1/2 hours.
- Punch Down Dough: Gently deflate the risen dough by punching it down and then turning it out onto a lightly floured surface.
- Divide Dough: Cut the dough into two equal portions for two loaves.
- Second Rest: Cover each dough portion and allow to rest for another 10 minutes to relax the gluten before shaping.
- Shape Loaves: Roll each portion into a 15 x 12-inch rectangle. Starting from the long side, roll tightly to form the loaf shape, sealing the edges well and tapering the ends for a traditional French loaf appearance.
- Prepare Baking Sheet: Place each loaf seam-side down on a greased baking sheet sprinkled with cornmeal to prevent sticking.
- Score Loaves: Using a very sharp knife, slash the tops of the loaves every 2 1/2 inches to a depth of about 1/4 inch to allow expansion during baking.
- Make Egg Wash: Beat one large egg white until foamy and mix in 1 tbsp water. Brush this mixture gently over the tops and sides of the loaves to promote browning and shine.
- Final Proof: Cover the loaves with a damp cloth draped over supports so it doesn’t touch the dough. Let them rise until doubled in size, about 1 1/2 hours. Preheat the oven to 375°F (190°C) as this final proofing completes.
- Bake First Phase: Bake the loaves in the preheated oven for approximately 20 minutes until the crust starts to turn light brown.
- Reapply Egg Wash: Remove the loaves and baste again with the egg white mixture to enhance browning and gloss.
- Bake Second Phase: Return to the oven and bake for an additional 20 minutes. If the loaves brown too quickly, loosely cover with foil to prevent burning.
- Cool: Remove the bread from the oven and transfer to a wire rack. Allow to cool completely before slicing to ensure the interior sets properly.
Notes
- Ensure water temperatures are warm, not hot, to avoid killing the yeast.
- Use a very sharp knife for scoring to avoid deflating the dough.
- Resting the dough between steps helps develop gluten for a better texture.
- Brushing with egg white mixture creates a shiny, crisp crust.
- Allow the bread to cool completely for best slicing results and crumb texture.
- Cornmeal on the baking sheet prevents sticking and adds texture to the crust base.

