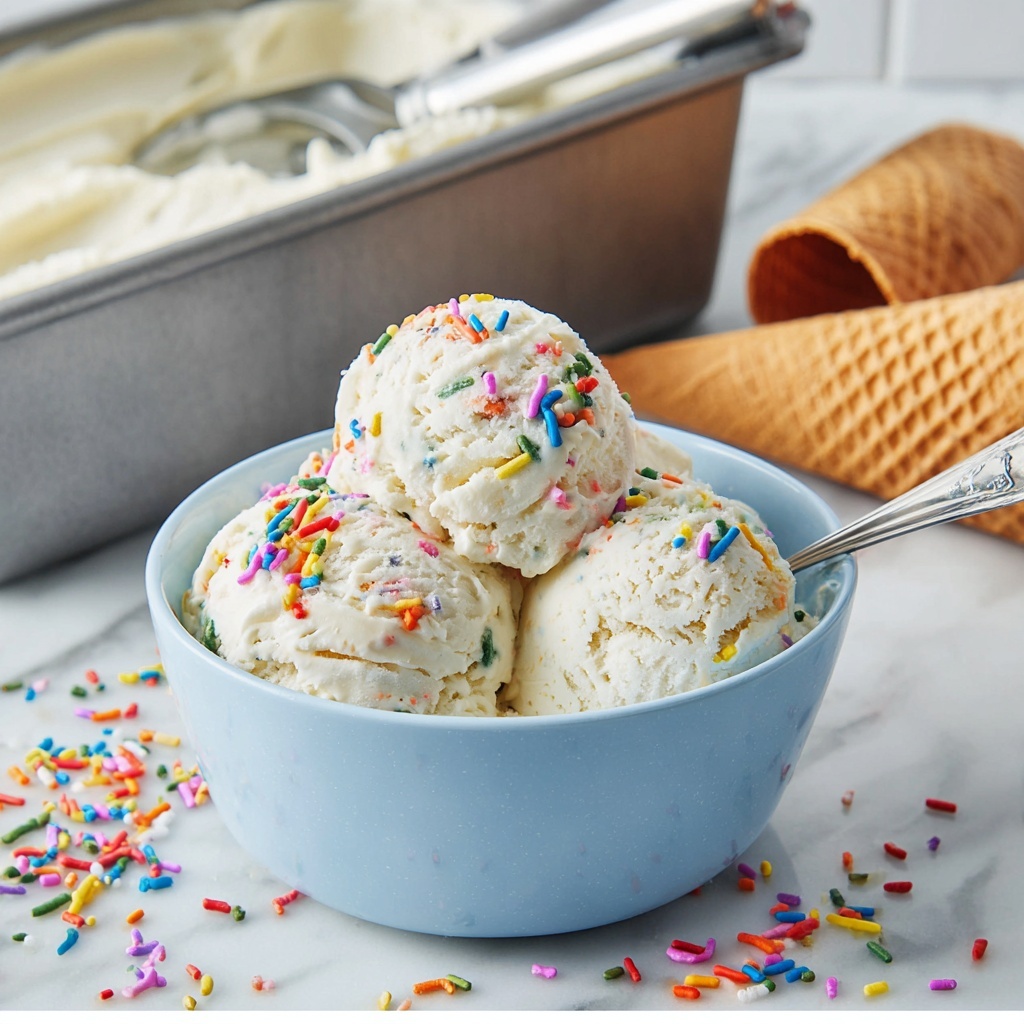
If you’ve ever dreamed of making creamy, dreamy ice cream without the fuss of an ice cream maker, the No Churn Vanilla Ice Cream Recipe is exactly what you need. This delightfully simple treat brings together just a handful of flavorful ingredients to create a perfectly smooth, rich vanilla ice cream that melts in your mouth. Whether you’re a busy weeknight chef or craving something cool and nostalgic on a summer day, this recipe is a game changer that’s easy to whip up and endlessly versatile.
Ingredients You’ll Need
Every ingredient here is a superstar on its own but together they create the magic of your ice cream. These few essentials are carefully chosen to give you a luscious texture, perfect sweetness, and that classic vanilla aroma.
- 2 cups heavy cream (cold): This is the backbone of your ice cream, providing richness and that creamy texture you crave.
- 14 ounces sweetened condensed milk: Sweet and thick, this ingredient adds sweetness and a smooth mouthfeel without the need for additional sugar.
- 1 teaspoon vanilla extract: Pure vanilla extract gives the ice cream that signature warm, aromatic flavor.
- Pinch of sea salt: Just a tiny bit to enhance all the other flavors and cut through sweetness.
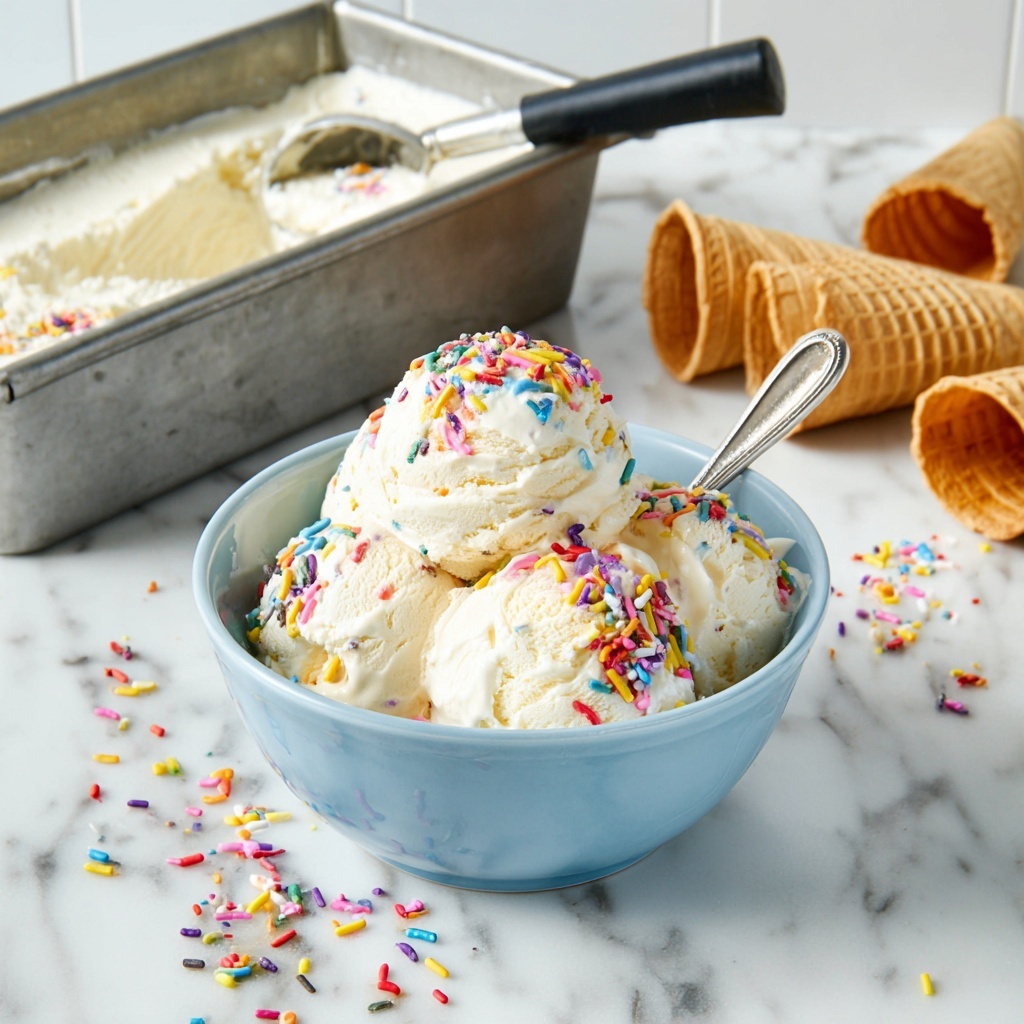
- Sprinkles and ice cream cone for serving: Fun extras that bring color, crunch, and a nostalgic feel to every scoop.
How to Make No Churn Vanilla Ice Cream Recipe
Step 1: Chill Your Loaf Pan
Start by placing your loaf pan in the freezer to get it nicely chilled. This helps the ice cream set evenly once you pour in the mixture later. The cold pan jumpstarts the freezing process for that creamy consistency.
Step 2: Beat the Heavy Cream to Stiff Peaks
In a large mixing bowl, grab your electric mixer and whip the cold heavy cream until stiff peaks form. This means the cream will hold its shape, which is crucial for giving your ice cream that airy yet creamy texture.
Step 3: Fold in Condensed Milk, Vanilla, and Salt
Gently fold the sweetened condensed milk, vanilla extract, and a pinch of sea salt into the whipped cream. Be gentle here to keep all that lovely air you’ve just whipped in — this folding step creates the perfect texture without deflating your cream.
Step 4: Pour Mixture into Chilled Loaf Pan
Retrieve your chilled loaf pan and pour the ice cream mixture evenly inside. Smooth the top with a spatula to ensure a flat surface, which will help the ice cream freeze uniformly.
Step 5: Freeze Until Set
Place the pan in the freezer on a level surface and let it chill for 6 to 8 hours. This slow freeze is important so the ice cream becomes firm and scoopable without icy crystals.
How to Serve No Churn Vanilla Ice Cream Recipe

Garnishes
Sprinkles are a classic topping that not only add a playful crunch but also make your ice cream look incredibly inviting. You could also try a drizzle of chocolate or caramel sauce for extra indulgence.
Side Dishes
This ice cream pairs beautifully with warm desserts like brownies, apple pie, or fruit cobblers, adding a cool contrast that balances heat and sweetness.
Creative Ways to Present
For a fun twist, serve scoops inside crispy cones or waffle bowls, or layer with fresh berries and whipped cream for a luxurious sundae. You can even sandwich it between cookies for an easy ice cream sandwich everyone will love.
Make Ahead and Storage
Storing Leftovers
Keep any leftover ice cream tightly covered with plastic wrap pressed directly on the surface and an airtight lid if possible to prevent freezer burn and ice crystals.
Freezing
You can freeze this ice cream for up to two weeks without loss of flavor or texture. Just make sure to store it in a container that seals well to maintain its creaminess.
Reheating
No need to reheat—just let the ice cream sit at room temperature for a few minutes before scooping to soften slightly. This will make serving easier without melting it too fast.
FAQs
Can I use a mixer without a whisk attachment?
Yes, but for the best results, using a whisk attachment helps whip the cream faster and more efficiently to stiff peaks. If you don’t have one, any mixer attachment will work with a bit more time.
Can I substitute vanilla extract?
You can try vanilla bean paste or even a vanilla bean pod for a more intense flavor, but avoid artificial flavorings if you want the richest taste.
Is it safe to eat the ice cream right after mixing?
The mixture is safe to eat, but it will be more like a sweet, fluffy cream rather than firm ice cream until it’s frozen for several hours.
What if I don’t have sweetened condensed milk?
You can make your own by cooking sweetened milk or opt for an alternative sweetener, but sweetness and texture might not be quite the same.
Can I add mix-ins like chocolate chips or nuts?
Absolutely! Fold them in gently right before pouring the mixture into the pan for delightful texture and extra flavor pops.
Final Thoughts
This No Churn Vanilla Ice Cream Recipe is a total crowd-pleaser and a lifesaver when you want homemade ice cream without the fuss. It’s simple, satisfying, and full of comfort in every spoonful. Don’t hesitate—grab your ingredients, follow these steps, and treat yourself to the easiest, creamiest vanilla ice cream you’ll ever make. You’ll want to make this your go-to every time ice cream cravings strike!
Print
No Churn Vanilla Ice Cream Recipe
- Prep Time: 15 minutes
- Cook Time: 0 minutes
- Total Time: 6 hours 15 minutes
- Yield: 6 servings
- Category: Dessert
- Method: No-Cook
- Cuisine: American
Description
This easy No Churn Vanilla Ice Cream recipe creates creamy, delicious homemade ice cream without the need for an ice cream maker. Using just a few simple ingredients like heavy cream, sweetened condensed milk, and vanilla extract, you can whip up a smooth and luscious vanilla treat that’s perfect for a summer dessert or anytime craving.
Ingredients
Ice Cream Base
- 2 cups cold heavy cream
- 14 ounces sweetened condensed milk
- 1 teaspoon vanilla extract
- Pinch of sea salt
For Serving
- Sprinkles
- Ice cream cones
Instructions
- Chill the Pan: Place a loaf pan into the freezer to chill thoroughly before pouring in the ice cream mixture. This helps the dessert freeze quickly and evenly.
- Whip the Cream: Using an electric mixer, beat the cold heavy cream in a large mixing bowl until stiff peaks form. This step is crucial to creating the light and airy texture of the ice cream.
- Combine Ingredients: Gently fold the sweetened condensed milk, vanilla extract, and a pinch of sea salt into the whipped cream. Be careful not to deflate the mixture to maintain its fluffiness.
- Freeze the Mixture: Remove the chilled loaf pan from the freezer and pour in the prepared vanilla ice cream mixture, smoothing the top evenly. Return the pan to the freezer, placing it on a level surface to ensure even freezing.
- Set and Serve: Allow the ice cream to chill for 6 to 8 hours until it is fully set. Serve scoops in cones or bowls topped with sprinkles for a delightful treat.
Notes
- For best results, ensure the heavy cream is very cold before whipping.
- Use a sturdy spatula to fold ingredients gently to keep the mixture airy.
- You can customize this base by adding mix-ins like chocolate chips or fruit before freezing.
- This recipe does not require an ice cream maker, making it super simple and accessible.
- If the ice cream is too hard after freezing, let it sit at room temperature for a few minutes before serving to soften slightly.


