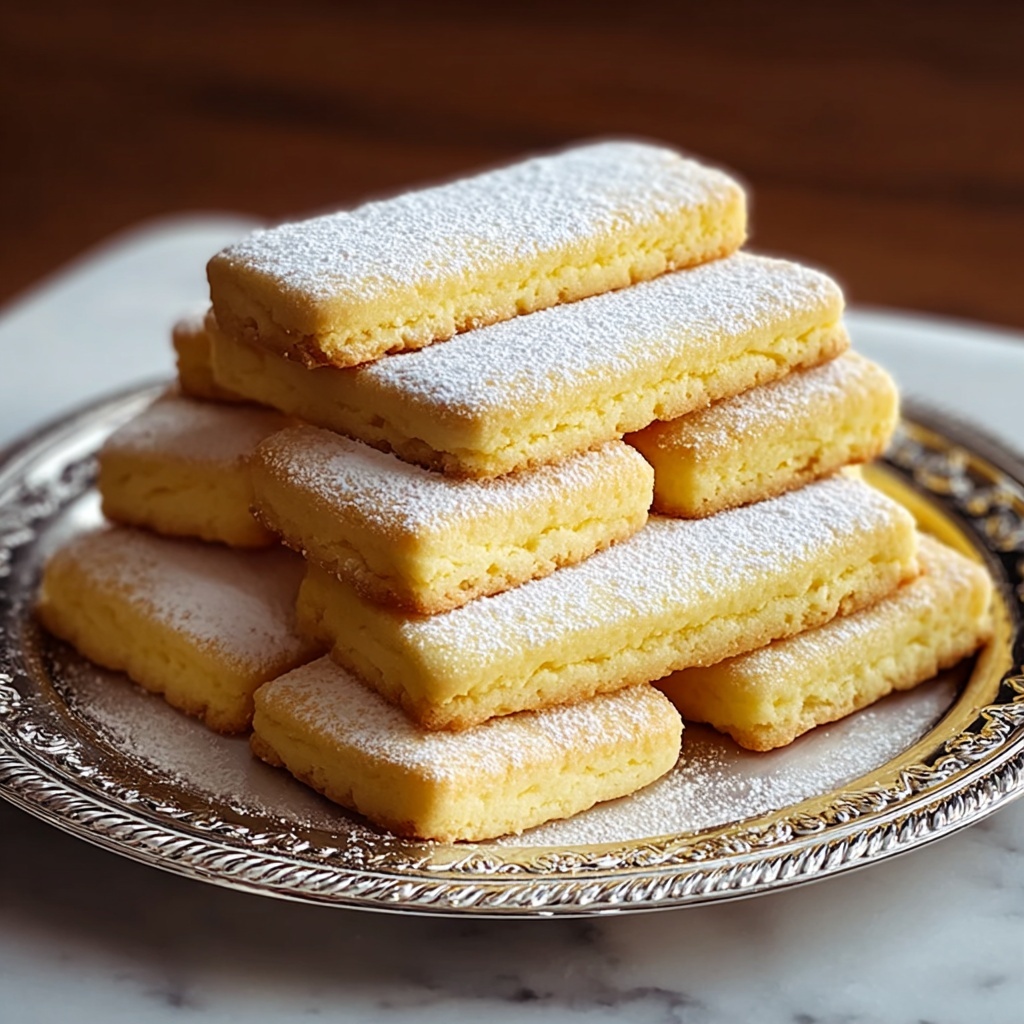
If you have a soft spot for delicate, melt-in-your-mouth cookies that elevate any dessert, then this Heavenly Homemade Ladyfingers Recipe for Dessert Lovers Recipe is about to become your new favorite. These airy, subtly sweet ladyfingers bring a charming homemade touch to tiramisu, trifles, or can be enjoyed simply with a cup of tea. The magic lies in their crisp exterior and tender crumb inside, which you can masterfully achieve with basic ingredients and a bit of whisking love. Trust me, once you make these from scratch, store-bought ladyfingers will be a thing of the past!
Ingredients You’ll Need
Don’t let the simplicity of these ingredients fool you—each one plays a key role in creating that perfectly light and flavorful texture that makes ladyfingers so irresistible. From eggs that give volume to flour that provides structure, every element contributes to the charm of this recipe.
- 4 large eggs, separated: Essential for structure and moisture; whipping the yolks until pale ensures a beautiful rise.
- 1/2 cup granulated sugar, divided: Sweetens and stabilizes the egg whites; you can swap with a natural sweetener for a lighter touch.
- 1 teaspoon vanilla extract: Adds a lovely depth of flavor, but almond extract also pairs wonderfully if you want a twist.
- 1 cup all-purpose flour: Gives the ladyfingers their sturdy but tender framework; you can substitute gluten-free flour if required.
- Powdered sugar: Your secret weapon for enhancing flavor and creating that elegant, lightly dusted finish; optional but strongly suggested.
How to Make Heavenly Homemade Ladyfingers Recipe for Dessert Lovers Recipe
Step 1: Separate and Prepare the Eggs
Start by carefully separating your eggs, making sure none of the yolks slip into the whites. Whip the egg yolks with half the sugar until the mixture is pale and creamy—this step is crucial since it sets the base for that light crumb we’re after. Meanwhile, beat the egg whites with the remaining sugar until they hold stiff peaks for that dreamy airy texture.
Step 2: Combine Flavors
Gently add vanilla extract to the beaten yolk mixture, infusing your batter with that classic sweet aroma that makes homemade ladyfingers so comforting and nostalgic. This little addition is what takes the flavor from simple to utterly irresistible.
Step 3: Incorporate Flour
Sift your flour in gradually and fold it gently into the yolk mixture, taking care not to deflate the air you’ve so carefully incorporated. The goal here is to keep everything light and fluffy while ensuring a delicate but stable structure that bakes just right.
Step 4: Fold in Egg Whites
Now for the trickiest yet most rewarding part: folding the stiff egg whites into the batter. Using a spatula, gently fold in batches with a light hand—this is what guarantees your ladyfingers will be airy but hold their shape well.
Step 5: Pipe and Bake
Transfer your batter into a piping bag fitted with a plain round tip and pipe 4-inch long fingers onto parchment-lined baking sheets. Dust lightly with powdered sugar before popping them into a preheated 350°F (175°C) oven for about 12 to 15 minutes. Bake until they are just turning golden and springy to the touch—that’s your sign of perfection!
How to Serve Heavenly Homemade Ladyfingers Recipe for Dessert Lovers Recipe
Garnishes
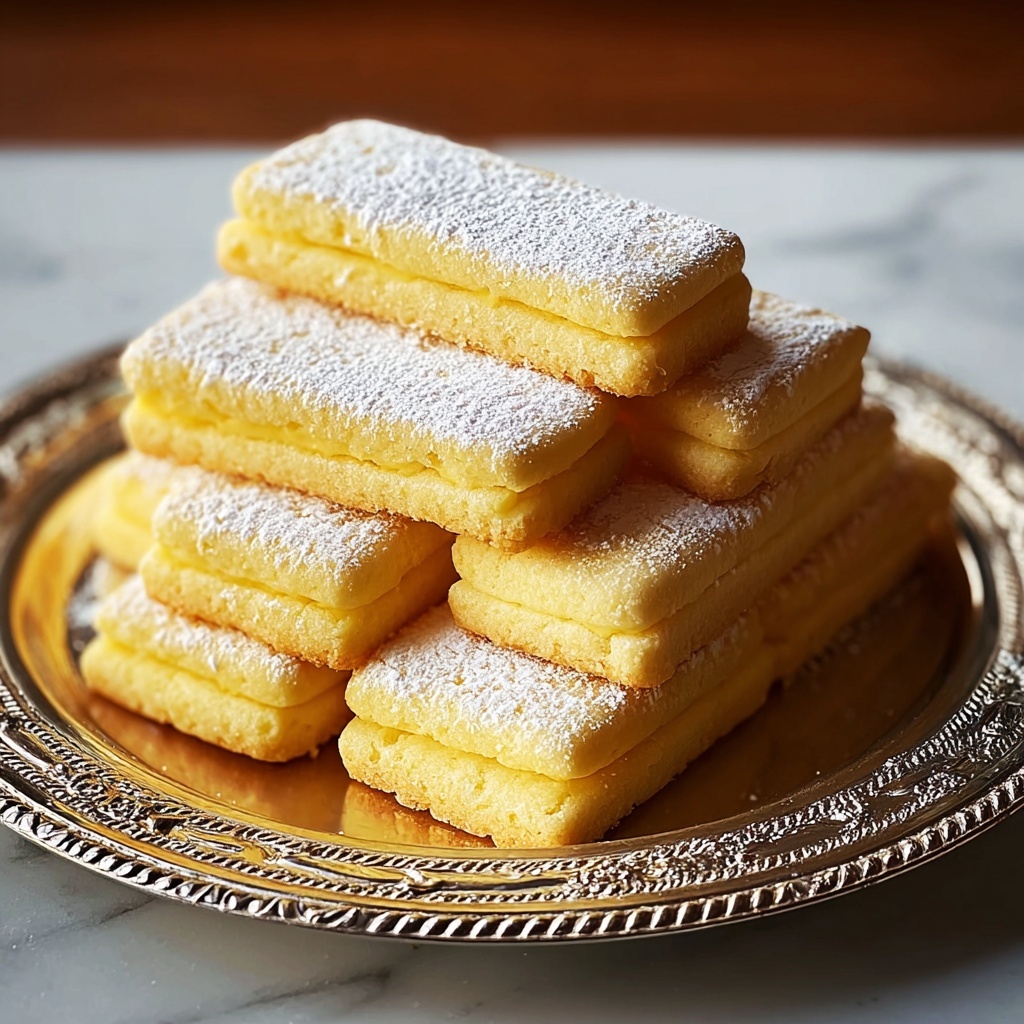
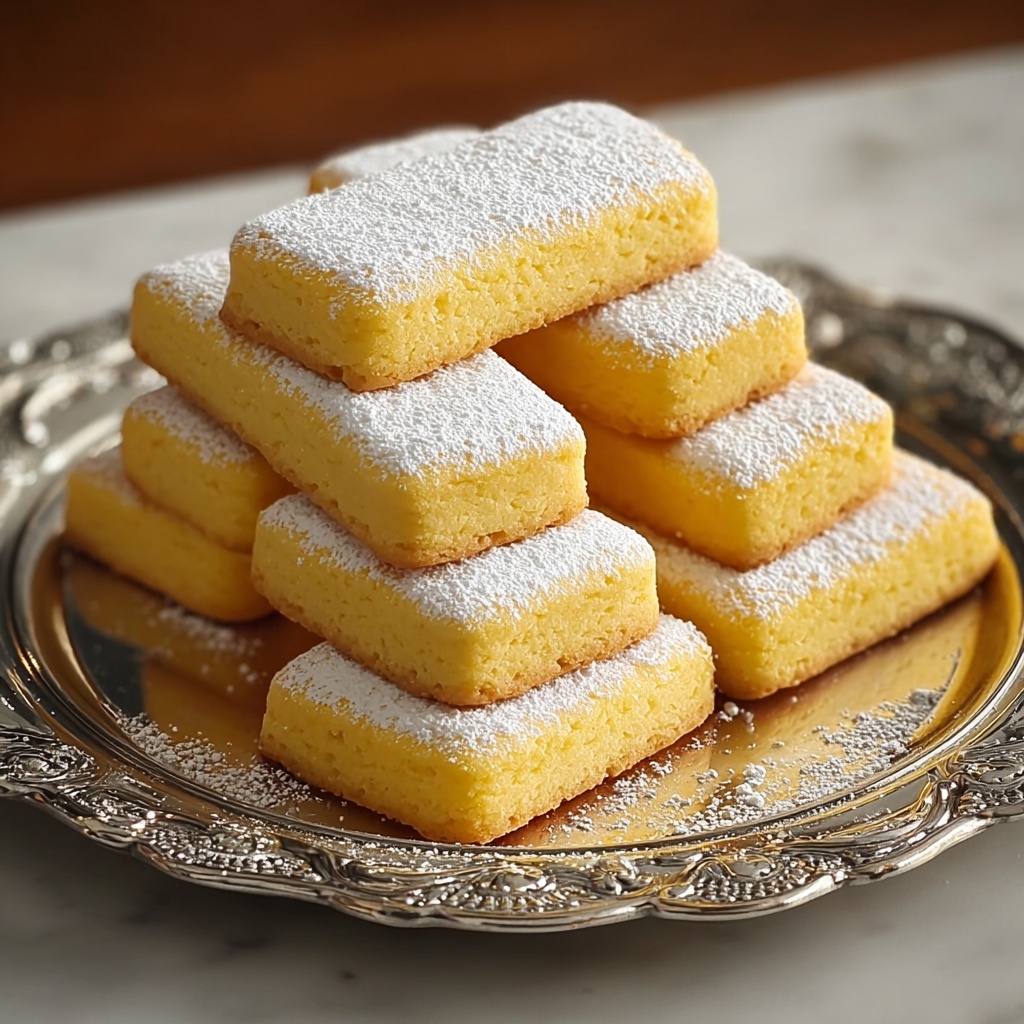
Once baked and cooled, a light dusting of powdered sugar is the classic finish, providing subtle sweetness and a lovely visual touch. For an extra flair, a sprinkle of cocoa powder can bring a hint of richness and pair beautifully with coffee or chocolate-based desserts.
Side Dishes
Ladyfingers are divine on their own but also shine alongside fresh berries, whipped cream, or a drizzle of espresso syrup. They serve as the perfect companion to creamy mousses or gelato, balancing richness with their airy texture.
Creative Ways to Present
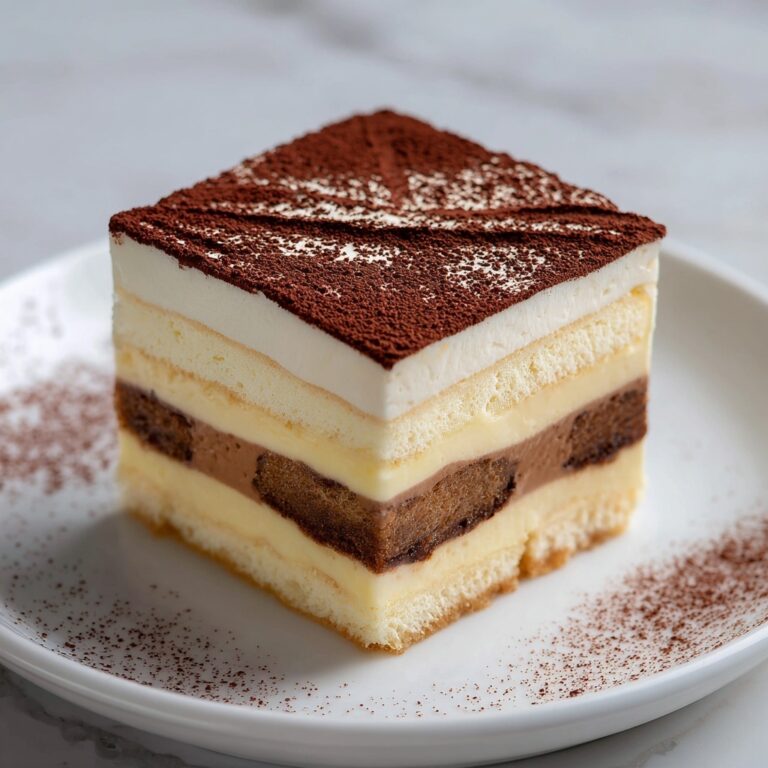
For a fun twist, layer your homemade ladyfingers in a trifle bowl with pudding and fruit for a stunning dessert centerpiece. Alternatively, dip them quickly in coffee or liqueur before assembling tiramisu, turning this classic cookie into a show-stopping homemade treat that truly captures the essence of the Heavenly Homemade Ladyfingers Recipe for Dessert Lovers Recipe.
Make Ahead and Storage
Storing Leftovers
Keep any leftover ladyfingers stored in an airtight container at room temperature. They should remain fresh and crisp for up to 3 days. Proper storage prevents moisture absorption and maintains that perfect crunch.
Freezing
You can freeze ladyfingers by placing them in a single layer on a baking sheet to freeze initially, then transferring them to a resealable bag or container. They freeze beautifully for up to 2 months, making it easy to have this homemade delight ready whenever dessert cravings hit.
Reheating
To refresh frozen ladyfingers, let them thaw at room temperature for about 30 minutes. You can lightly warm them in a preheated oven at 300°F (150°C) for 5 minutes to regain their crisp exterior without drying them out.
FAQs
Can I use a different flour instead of all-purpose flour?
Absolutely! You can substitute gluten-free flour blends designed for baking, but keep in mind it may slightly change the texture. Make sure the blend includes xanthan gum or another binder for best results.
Why is it important to separate the eggs?
Separating eggs allows you to whip the whites independently, which traps air and creates the light, airy texture that defines perfect ladyfingers. The yolks add moisture and richness, so combining them in stages is key.
Can I make this recipe vegan?
Making classic ladyfingers vegan is tricky because eggs provide structure and lift. However, some experiments with aquafaba (chickpea water) can mimic egg whites, though the result might differ slightly in texture.
How do I know when ladyfingers are done baking?
They should be lightly golden and spring back when touched gently. Overbaking can make them too hard, so watch them carefully near the end of cooking time.
What’s the best way to store ladyfingers if I want to use them later in tiramisu?
Store them in an airtight container at room temperature to keep them dry and crisp. Avoid refrigeration as it can make them soggy. If freezing, thaw as recommended before assembling your tiramisu.
Final Thoughts
Embarking on the journey to create your own Heavenly Homemade Ladyfingers Recipe for Dessert Lovers Recipe is one that pays off with buttery, delicate cookies that effortlessly elevate your desserts. Whether you’re making tiramisu or enjoying them solo, these ladyfingers will bring joy to your kitchen and smiles to your table. So go ahead, whisk those eggs, fold with care, and treat yourself to something truly special today!
Print
Heavenly Homemade Ladyfingers Recipe for Dessert Lovers Recipe
- Prep Time: 15 minutes
- Cook Time: 15 minutes
- Total Time: 30 minutes
- Yield: 12 pieces
- Category: Dessert
- Method: Baking
- Cuisine: Italian
Description
This Heavenly Homemade Ladyfingers recipe offers light, airy, and delicately sweet biscuits perfect for desserts like tiramisu or enjoyed on their own. Made with simple ingredients including eggs, sugar, vanilla, and flour, these ladyfingers are silky and crisp, with a melt-in-your-mouth texture enhanced by the optional powdered sugar dusting.
Ingredients
Egg Mixture
- 4 large eggs, separated
- 1/2 cup granulated sugar, divided
- 1 teaspoon vanilla extract
Dry Ingredients
- 1 cup all-purpose flour
Finishing
- Powdered sugar, for dusting (optional but recommended)
Instructions
- Prepare Egg Yolks: In a mixing bowl, whisk the 4 egg yolks together with half of the granulated sugar until the mixture becomes pale, thick, and creamy. This process helps create a stable structure and moisture for the ladyfingers.
- Beat Egg Whites: In a separate clean bowl, whip the egg whites until soft peaks form. Gradually add the remaining granulated sugar while continuing to beat until stiff, glossy peaks form. The sugar stabilizes the egg whites, giving the cookies their light texture.
- Combine Mixtures: Gently fold the beaten egg whites into the egg yolk mixture, taking care not to deflate the mixture to keep it airy and light.
- Add Flour: Sift the all-purpose flour over the egg mixture in small batches. Carefully fold the flour into the batter to retain as much air as possible while creating a smooth batter without lumps.
- Pipe the Ladyfingers: Transfer the batter into a piping bag fitted with a round tip. Pipe finger-shaped strips (about 3-4 inches long) onto a baking sheet lined with parchment paper, leaving some space between each.
- Dust with Powdered Sugar: Lightly sift powdered sugar over the piped batter to add sweetness and an elegant finish. This step is optional but highly recommended.
- Bake: Preheat the oven to 350°F (175°C). Bake the ladyfingers for approximately 12 to 15 minutes, or until they turn a pale golden color and are firm to the touch.
- Cool: Remove the ladyfingers from the oven and allow them to cool on the baking sheet for a few minutes. Then transfer them to a wire rack to cool completely before using or storing.
Notes
- For a gluten-free version, substitute all-purpose flour with a 1:1 gluten-free flour blend.
- Vanilla extract can be substituted with almond extract for a delightful flavor variation.
- Be careful not to overmix once the flour is added to keep the ladyfingers light and airy.
- Use fresh eggs at room temperature for best whipping results.
- Ladyfingers can be stored in an airtight container for up to 3 days or frozen for longer storage.
- If you prefer less sugar, reduce the granulated sugar amount, but note it may affect texture and stability.
