
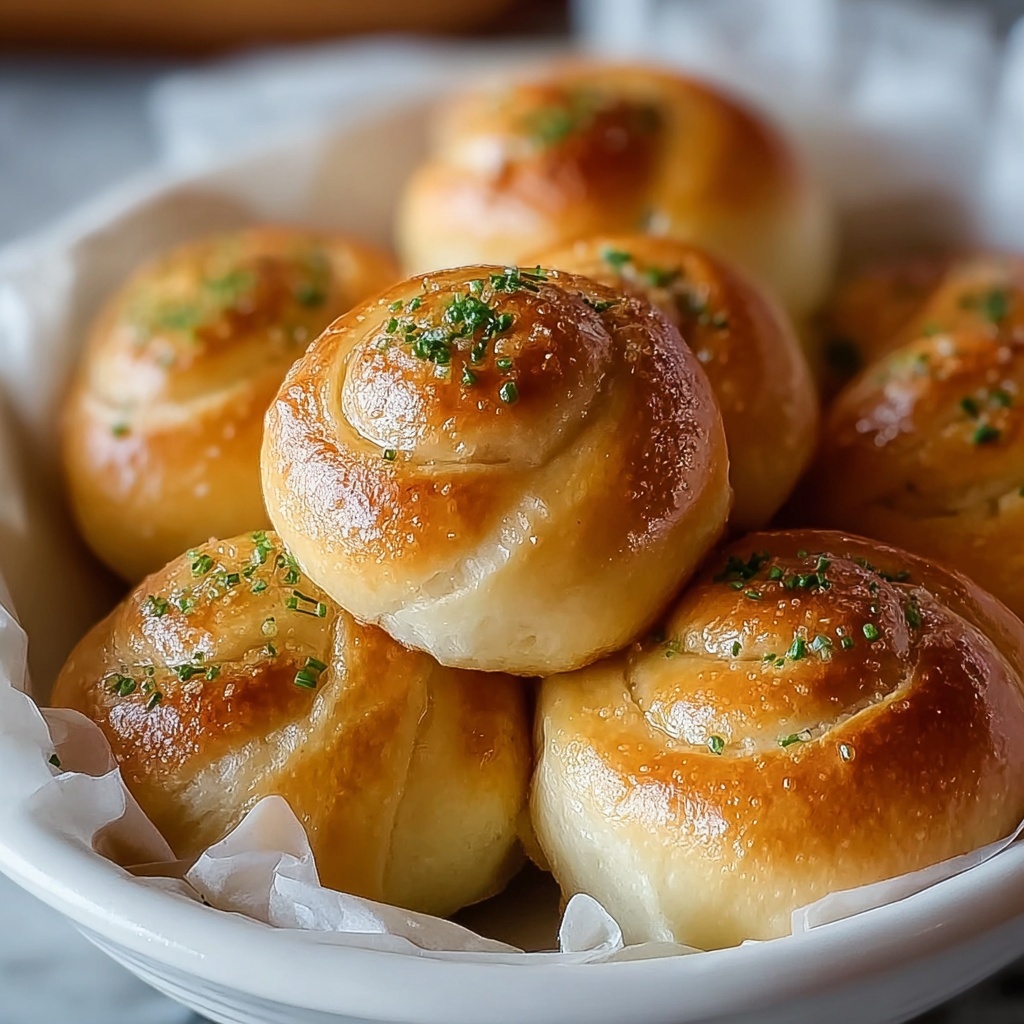
If you’ve been searching for a crowd-pleasing treat that’s both comforting and completely free of gluten, look no further than this Amazing Gluten Free Garlic Knots for Irresistible Gatherings Recipe. These soft, buttery knots bring out the best of classic garlic bread flavors packed into a knotty, hand-held delight that is as fluffy as it is flavorful. They’re the perfect blend of aromatic garlic, fresh parsley, and just the right hint of saltiness, made from a gluten-free dough that rises beautifully and bakes to a golden perfection. Whether it’s a family dinner, a party, or a cozy night in, these garlic knots will quickly become the star bite everyone reaches for again and again.
Ingredients You’ll Need
Don’t be fooled by the simplicity of these ingredients — each one is carefully chosen to bring out the best in your gluten-free garlic knots. From the fluffy, tender dough to the rich, flavorful garlic butter brush, every element plays a crucial role in building that perfect texture and taste.
- 2 cups Gluten-Free All-Purpose Flour: A blend that mimics regular flour, ensuring the knots have a tender crumb and great structure.
- 2 tsp Active Dry Yeast: The magic agent for a beautiful rise and light texture.
- 3/4 cup Warm Water (110°F): Activates the yeast for fluffiness and holds the dough together.
- 2 tbsp Olive Oil: Adds richness and a subtle fruitiness to the dough.
- 1 tsp Garlic Powder: Brings a deep, savory garlic flavor straight into the dough.
- 1 tsp Salt: Enhances all the natural flavors without overpowering.
- 2 tbsp Fresh Parsley (chopped): Provides a fresh burst of color and a mild herby taste.
- 1/4 cup Butter (melted): For brushing over the knots to give them that irresistible, glossy finish.
- Flaky Sea Salt: A sprinkling on top to elevate the flavor and add a perfect crunch.
How to Make Amazing Gluten Free Garlic Knots for Irresistible Gatherings Recipe
Step 1: Preheat and Prep
Start by preheating your oven to 400°F (200°C) so it’s ready just as soon as your knots are shaped and floured. This ensures they bake evenly and develop that wonderful golden crust that everyone loves.
Step 2: Activate the Yeast
In a mixing bowl, combine the warm water with the active dry yeast, then let it sit for about five minutes until you see it get frothy. This step is key to creating light and airy dough, which is often tricky in gluten-free baking. The frothy layer tells you the yeast is alive and ready to work its magic.
Step 3: Mix the Dough
Stir in the gluten-free flour, olive oil, garlic powder, and salt to the yeast mixture until a sticky dough forms. At first, it might seem tacky or wet — this is perfectly normal for gluten-free dough since it lacks gluten’s elasticity, but don’t worry! The next steps help shape it beautifully.
Step 4: Knead for Smoothness
Transfer your dough to a lightly floured surface and knead gently for about two minutes until it becomes smooth. This light kneading helps bring the dough together without making it tough, so handle it with care and patience.
Step 5: Shape Your Knots
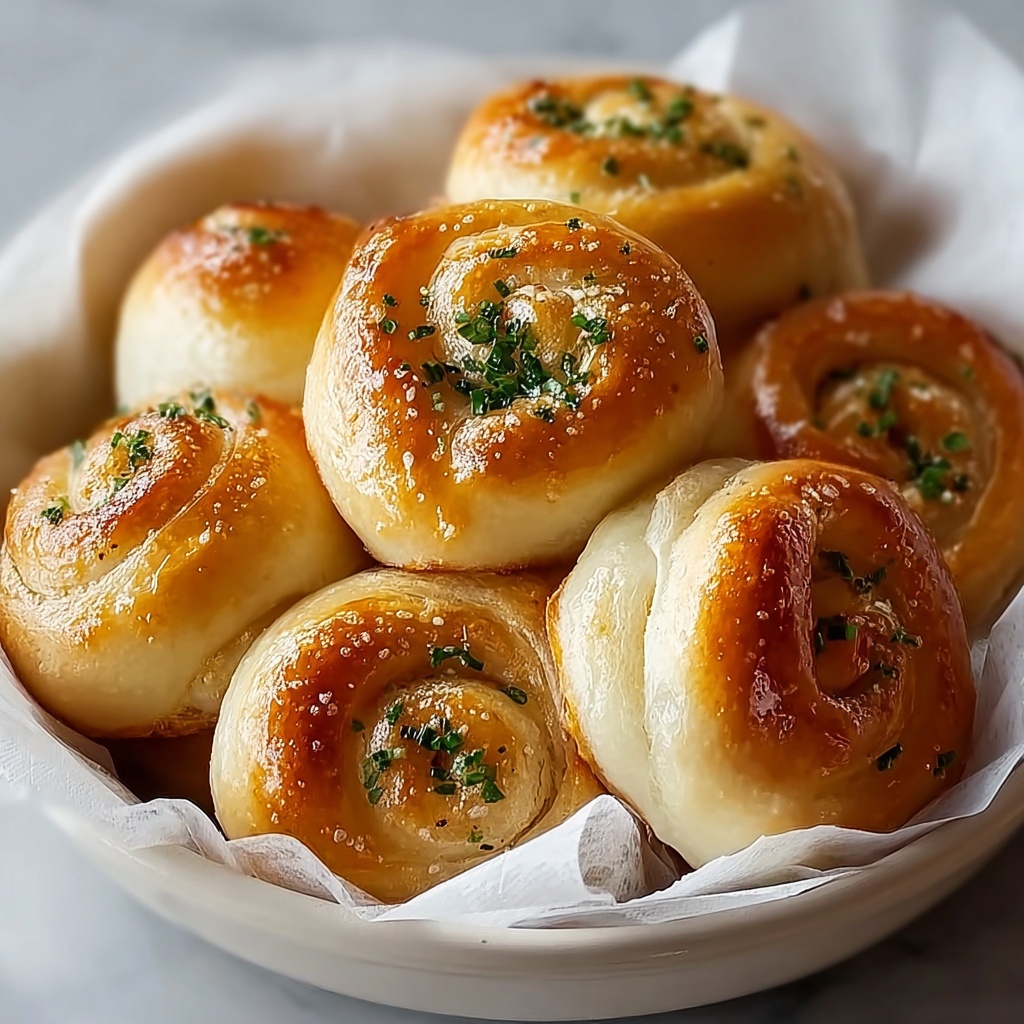
Divide the dough into roughly 10 equal pieces and roll each into a rope about 6 inches long. Now comes the fun part — tying each rope into a classic knot. This shape not only looks charming but also helps trap all the buttery garlic goodness inside.
Step 6: Let the Dough Rise
Place your tied knots on a greased baking sheet and cover them with a clean towel. Leave them to rise in a warm spot for about 20 minutes. This rest period lets the yeast puff up the knots, giving you that soft, pillowy texture that glides delightfully on your palate.
Step 7: Butter and Season
Brush each knot generously with melted butter, then sprinkle with chopped fresh parsley and flaky sea salt. This finishing touch delivers that mouthwatering gloss and flavor boost just before baking.
Step 8: Bake to Golden Perfection
Bake your garlic knots in the preheated oven for about 15 minutes or until they turn a delicious golden brown. This stage seals in the moisture and creates the slight crisp outside that contrasts beautifully with the soft interior.
How to Serve Amazing Gluten Free Garlic Knots for Irresistible Gatherings Recipe
Garnishes
Fresh parsley sprinkled on top is a classic finishing touch, adding vibrant color and a fresh hint of herbaceousness. You can also experiment with a little parmesan cheese or a dusting of smoked paprika for an extra flavor twist that keeps guests intrigued and delighted.
Side Dishes
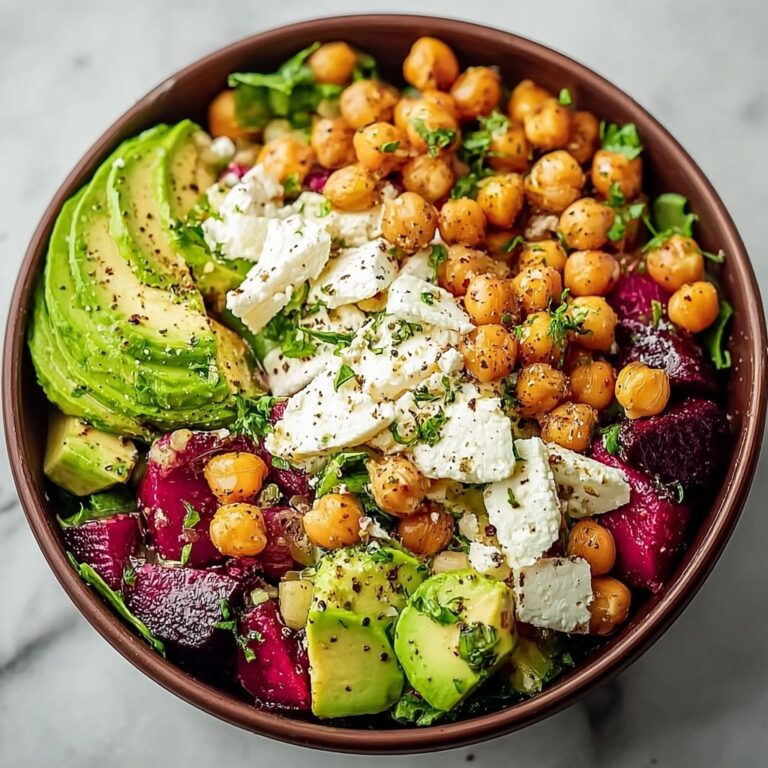
These garlic knots are incredibly versatile. Pair them with a fresh green salad for a light meal or serve alongside rich marinara or cheesy dips for a party vibe. They’re fantastic with a cozy bowl of soup, like tomato basil or minestrone, bringing warmth and heartiness to the table.
Creative Ways to Present
For a fun gathering, arrange your knots on a large wooden board interspersed with small bowls of dipping sauces such as garlic aioli, pesto, or a tangy balsamic glaze. Wrapping a few knots in parchment paper tied with kitchen twine also makes for a cute, rustic presentation perfect for potlucks or picnics.
Make Ahead and Storage
Storing Leftovers
If you have any leftovers, store them in an airtight container at room temperature for up to two days. To keep them from drying out, you can also wrap them individually in foil. They’ll stay soft and ready to enjoy with a quick reheat.
Freezing
These knots freeze beautifully! Arrange the cooled knots on a baking sheet to freeze individually for about an hour, then transfer them to an airtight freezer bag or container. Frozen, they’ll keep well for up to two months, perfect for prepping in advance for your next irresistible gathering.
Reheating
To enjoy frozen or refrigerated knots, reheat them in a 350°F oven for about 10 minutes or until warmed through and slightly crisp. If you’re in a rush, a quick zap in the microwave works, but the oven delivers the best texture and flavor revival.
FAQs
Can I use a different gluten-free flour blend?
Absolutely! Just make sure to use a blend designed to mimic regular all-purpose flour for the best results. Avoid single-ingredient flours like almond or coconut as they can alter the texture and rise of these knots.
Is it possible to make these garlic knots vegan?
Yes, you can substitute the butter with a plant-based alternative and ensure the olive oil is extra virgin for richness. Just keep the rest of the ingredients the same to maintain the dough’s texture and flavor.
How long should I knead gluten-free dough?
Since gluten-free dough lacks elasticity, kneading is gentle and brief — about two minutes to smooth it out is enough. Over-kneading can actually make it denser, so keep it light and easy.
Can I add fresh garlic instead of garlic powder?
Fresh garlic can be used but it’s best to mix it into the butter for brushing rather than in the dough for consistency and to avoid uneven distribution. Garlic powder provides an even, robust flavor throughout the dough itself.
What’s the best way to serve these at a party?
Serve them warm on a platter alongside a variety of dipping sauces like marinara, ranch, or garlic herb butter. Providing small tongs or toothpicks makes it easy for guests to grab and enjoy without messy fingers.
Final Thoughts
There’s nothing quite like pulling these soft, savory, and buttery knots fresh from the oven to share with loved ones. This Amazing Gluten Free Garlic Knots for Irresistible Gatherings Recipe is a true gem for anyone who craves the joy of garlic bread without gluten worries. Try making them at your next dinner or celebration — I promise they’ll disappear fast and leave your guests asking for more!
Print
Amazing Gluten Free Garlic Knots for Irresistible Gatherings Recipe
- Prep Time: 15 minutes
- Cook Time: 15 minutes
- Total Time: 50 minutes
- Yield: 10 knots
- Category: Bread
- Method: Baking
- Cuisine: American
- Diet: Gluten Free
Description
These Amazing Gluten Free Garlic Knots are perfect for gatherings, offering a deliciously soft texture and robust garlic flavor. Made with a gluten-free flour blend, they deliver the irresistible taste of classic garlic knots with a rich buttery finish, fresh parsley, and a sprinkle of flaky sea salt for an elevated experience.
Ingredients
Dough Ingredients
- 2 cups Gluten-Free All-Purpose Flour (a blend that mimics traditional flour)
- 2 tsp Active Dry Yeast (essential for that beautiful rise)
- 3/4 cup Warm Water (110°F to activate yeast)
- 2 tbsp Olive Oil (extra virgin for richness)
- 1 tsp Garlic Powder (for robust flavor)
- 1 tsp Salt (enhances overall taste)
Topping Ingredients
- 2 tbsp Fresh Parsley (chopped for color)
- 1/4 cup Butter (melted, for brushing over knots)
- Flaky Sea Salt (a sprinkle to elevate flavor)
Instructions
- Preheat Oven: Preheat your oven to 400°F (200°C) to ensure it’s ready for baking the garlic knots.
- Activate Yeast: In a mixing bowl, whisk together warm water and yeast. Let it sit for about 5 minutes until frothy, signaling active yeast.
- Mix Dough: Stir in gluten-free flour, olive oil, garlic powder, and salt with the yeast mixture until a sticky dough forms, ensuring all ingredients are well combined.
- Knead Dough: Transfer the dough to a lightly floured surface and gently knead for about 2 minutes until the dough is smooth and workable.
- Shape Knots: Divide the dough into approximately 10 equal pieces, roll each into a rope about 6 inches long, then tie each piece into a knot.
- Let Dough Rise: Place the knots on a greased baking sheet and cover with a clean towel. Let rise in a warm place for 20 minutes to allow the dough to puff up.
- Prepare Toppings: Brush melted butter over each knot and sprinkle with chopped parsley and flaky sea salt to add flavor and visual appeal.
- Bake: Bake in the preheated oven for about 15 minutes or until the garlic knots turn golden brown and are cooked through.
Notes
- Ensure the water is at the correct temperature (around 110°F) to activate the yeast without killing it.
- If you don’t have flaky sea salt, use coarse salt sparingly to avoid overpowering the flavor.
- Allowing the dough to rise properly will result in fluffier knots.
- Use gluten-free flour blends that include xanthan gum for better texture, or add it separately if your blend does not contain it.
- For a vegan version, substitute butter with a plant-based alternative.


