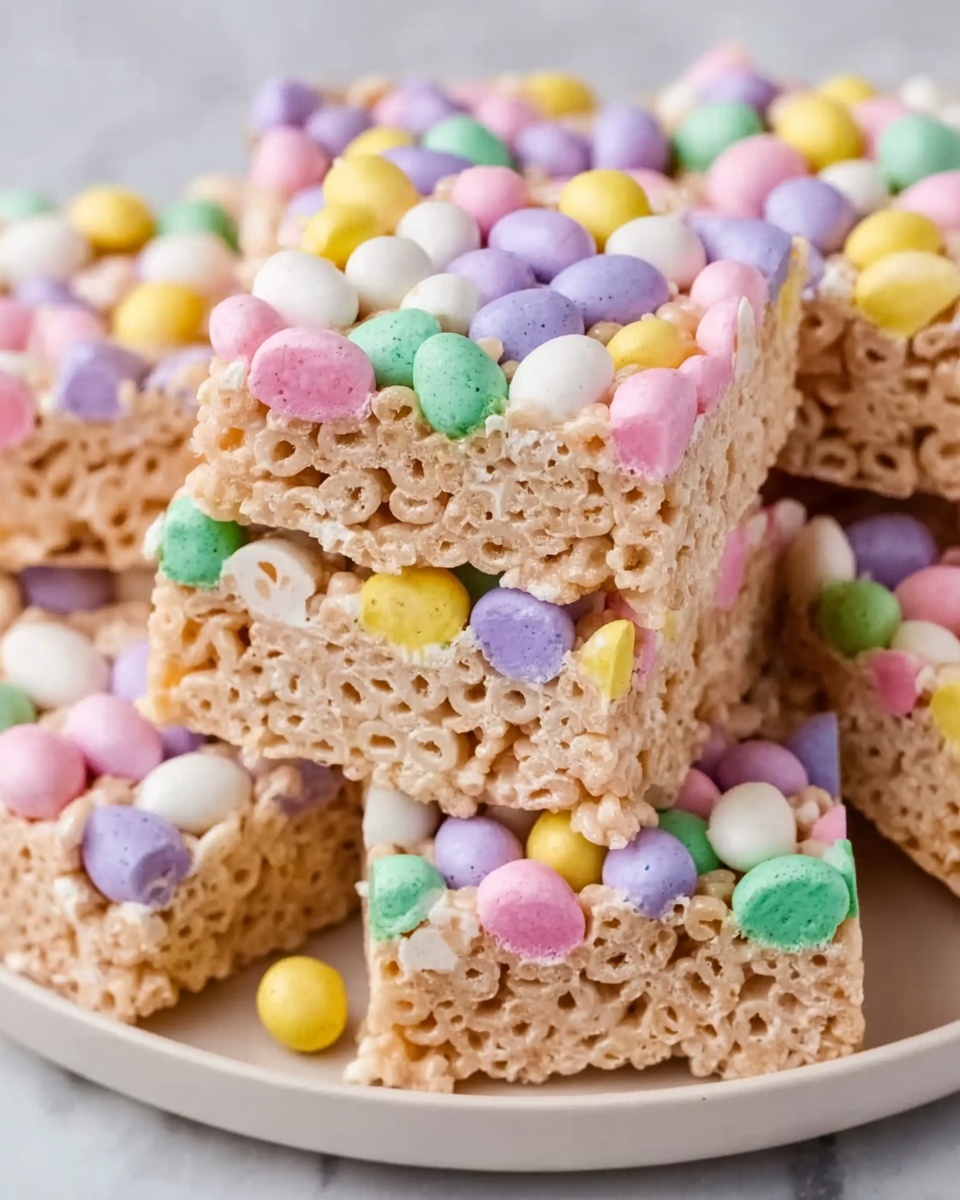
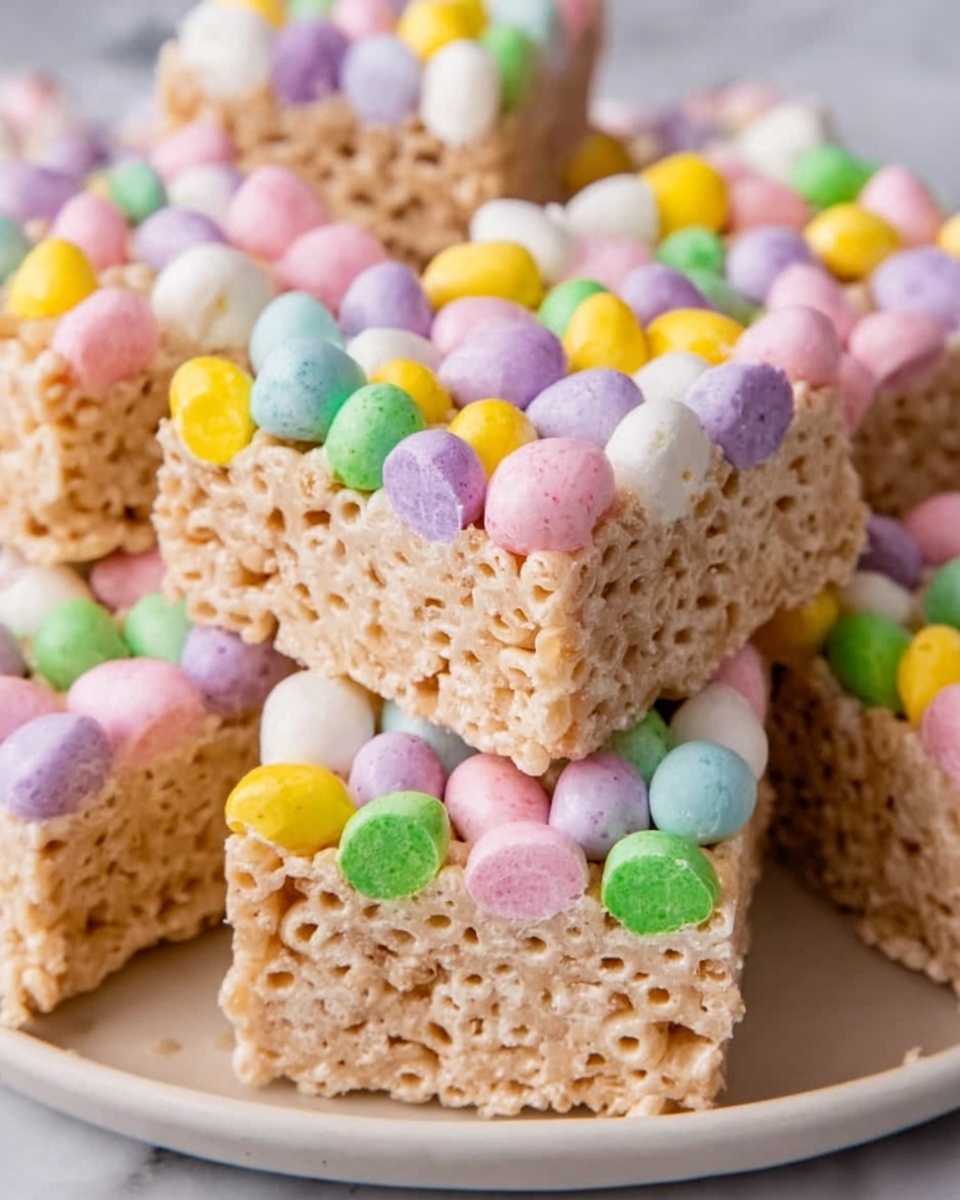
If you’re looking for a festive, joyful treat to share this season, the Easter Rice Krispie Bars Recipe is an absolute winner. With its crisp, chewy texture and delightful pops of pastel colors, this recipe brings a fresh twist on the classic Rice Krispie treat that’s perfect for spring celebrations. Whether you’re whipping these up for a family gathering, a classroom party, or just a sweet snack, these bars are irresistibly fun to make and even easier to enjoy.
Ingredients You’ll Need
The magic behind this Easter Rice Krispie Bars Recipe lies in its simple but essential ingredients. Each component plays a special role in bringing that perfect balance of flavor, texture, and springtime charm to the table.
- Rice Krispies cereal: The crunchy base that gives these bars their classic crispiness.
- Mini marshmallows: Melted to create that irresistible gooey texture that holds everything together.
- Unsalted butter: Adds richness and helps with smooth melting of the marshmallows.
- Vanilla extract (optional): Gives a subtle, warming flavor to enhance the sweetness.
- Pastel-colored M&M’s or candy-coated chocolate eggs: Adds festive pops of color and a sweet, chocolatey surprise.
- White chocolate chips (optional, for drizzling): Creates a delicate, creamy decoration that makes the bars extra special.
- Easter-themed sprinkles: The final touch for festive fun and visual appeal.
How to Make Easter Rice Krispie Bars Recipe
Step 1: Melt the Butter and Marshmallows
Start by gently melting the unsalted butter in a large pot over medium-low heat. Once the butter is melted, add the mini marshmallows, stirring constantly until the mixture is completely smooth and velvety. This step is key for that perfectly gooey texture everyone loves in Rice Krispie bars.
Step 2: Add Vanilla Extract
Remove the pot from heat and stir in the vanilla extract. This optional addition lends a delicate, aromatic depth that lifts the sweetness and rounds out the flavor beautifully. It’s subtle but totally worth it for that extra something special.
Step 3: Fold in the Rice Krispies Cereal
Next, fold in the Rice Krispies cereal carefully to ensure every bit is coated evenly with the marshmallow mixture. This will create that beloved crunchy-chewy contrast that’s the hallmark of a great Rice Krispie bar.
Step 4: Gently Mix in the Pastel Candies
Now comes the fun part: fold in your pastel-colored M&M’s or candy-coated chocolate eggs. Be gentle so the candy coatings don’t melt into the mixture—these colorful candies bring an Easter vibe that’s both playful and tasty.
Step 5: Press into Pan and Decorate
Grease or line a 9×13-inch baking dish with parchment paper, then transfer your mixture into the pan. Press it down evenly with a spatula or greased hands for a smooth surface. If you’d like, melt some white chocolate chips and drizzle them over the top, then finish with a sprinkle of Easter-themed sprinkles for a cheerful, festive look.
Step 6: Let Set and Slice
Allow the bars to set for about 30 minutes at room temperature. This waiting time ensures they firm up just enough to hold their shape while remaining soft and chewy inside. Slice into bars and get ready to enjoy!
How to Serve Easter Rice Krispie Bars Recipe

Garnishes
For serving, adding a bit of extra Easter-themed sprinkles or a light dusting of powdered sugar can really elevate these bars visually and texturally. A drizzle of melted white chocolate is also a lovely finishing touch for a touch of elegance and sweetness.
Side Dishes
Rice Krispie bars are naturally a delightful treat on their own, but pairing them with fresh fruit like strawberries or a chilled glass of milk can make for a balanced and refreshing dessert spread that’s perfect for all ages.
Creative Ways to Present
Try cutting the bars into festive shapes using cookie cutters—think bunnies, eggs, or flowers—to amp up the Easter theme. Wrapping each bar in colorful parchment or clear cellophane tied with pastel ribbons turns them into charming party favors or gifts.
Make Ahead and Storage
Storing Leftovers
Leftover Easter Rice Krispie Bars Recipe treats keep well stored in an airtight container at room temperature. They stay fresh and chewy for up to three days, making them a perfect make-ahead snack to enjoy anytime.
Freezing
If you want to keep these bars longer, freezing is a fantastic option. Wrap individual bars tightly in plastic wrap and place them inside an airtight container or freezer bag. They can be frozen for up to a month without losing their delightful texture.
Reheating
When you’re ready to enjoy frozen bars, just let them thaw at room temperature for about 30 minutes. Reheating isn’t usually necessary since they’re delicious cold or at room temperature, but a few seconds in the microwave can soften them lightly if desired.
FAQs
Can I use regular marshmallows instead of mini ones?
Absolutely! Regular marshmallows work just as well; just chop them into smaller pieces to help them melt evenly and quickly with the butter.
How do I prevent the pastel candies from melting?
The key is to fold them in gently and off the heat. Adding them after removing the marshmallow mixture from heat helps keep the candy coating intact.
Can I substitute the Rice Krispies with another cereal?
Yes, though changing the cereal will alter the texture. Something similar like corn flakes or puffed rice could work, but the classic Rice Krispies give the best crisp-chewy balance.
Is it necessary to add vanilla extract?
Nope, it’s optional but highly recommended. Vanilla adds a lovely depth of flavor that enhances the sweetness without overpowering it.
How do I make these bars dairy-free?
You can substitute the unsalted butter with a dairy-free margarine or coconut oil, and make sure to use dairy-free marshmallows to keep the treat completely dairy-free.
Final Thoughts
This Easter Rice Krispie Bars Recipe is such a joy to make and share, bringing simple ingredients together into a festive treat that brightens any table. With its playful colors, nostalgic flavors, and easy steps, I encourage you to give it a try—you might just find your new holiday favorite!