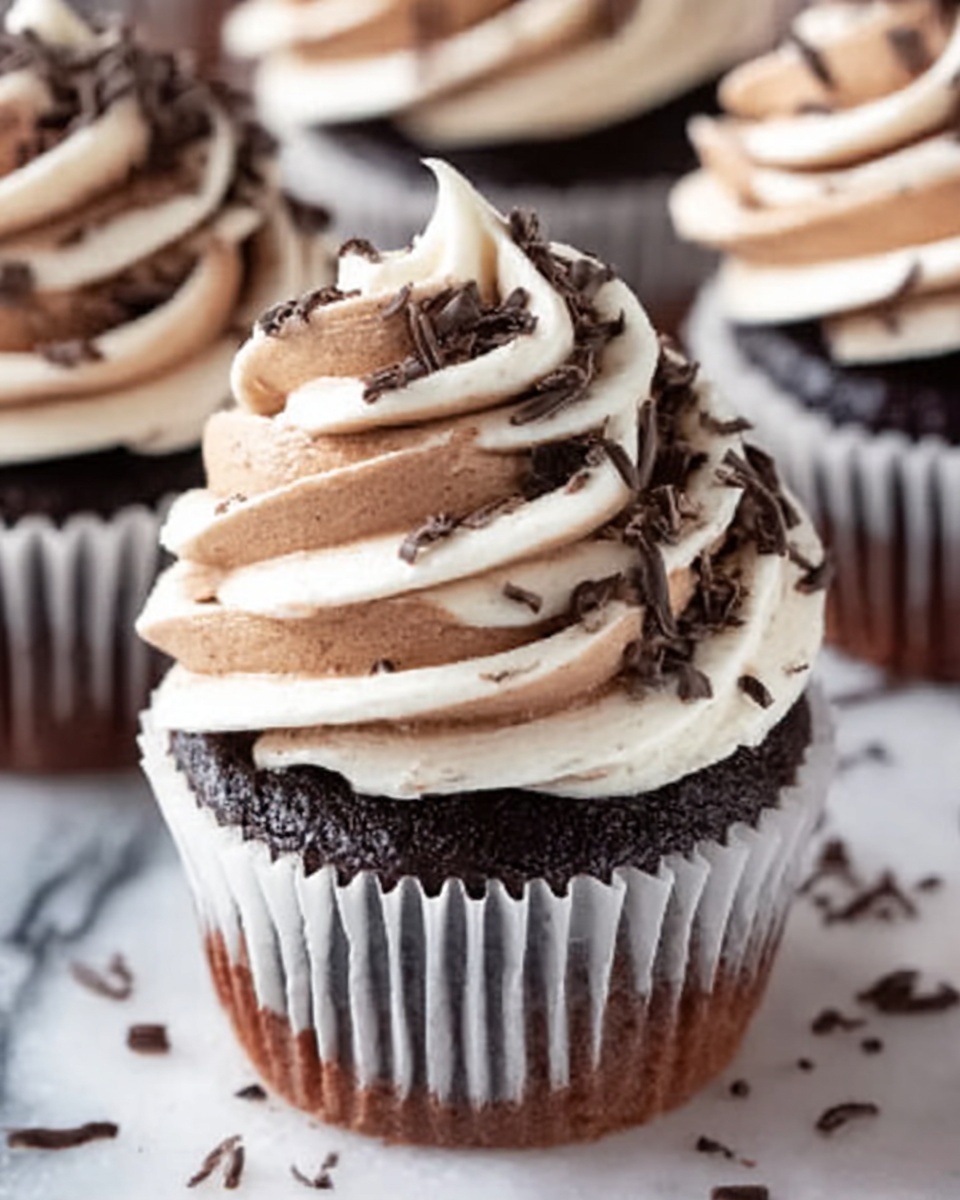
If you have a sweet tooth and love a fun twist on classic cupcakes, this Marble Black and White Cupcakes Recipe is the perfect treat to try. Imagine the rich, bittersweet swirls of chocolate dancing with creamy vanilla in every bite, creating a strikingly beautiful cupcake that tastes as amazing as it looks. These cupcakes bring together simple but carefully chosen ingredients to produce moist, fluffy cupcakes with a delightful marble pattern that’s sure to impress at any gathering or just as a special indulgence at home.
Ingredients You’ll Need
Gathering the right ingredients for this recipe is easier than you might think, but each one plays a crucial role. From the tender crumb created by all-purpose flour to the rich depth of the cocoa powder, every item ensures your Marble Black and White Cupcakes Recipe comes out perfectly moist and flavorful.
- 1 cup all-purpose flour: Provides structure and tenderness to the cupcakes.
- 3/4 cup granulated sugar: Adds sweetness and helps keep the texture light.
- 1/4 cup unsweetened cocoa powder: Delivers the deep chocolate flavor and the dramatic dark contrast.
- 1 teaspoon baking powder: Leavens the cupcakes, making them rise beautifully.
- 1/2 teaspoon baking soda: Works with acidity from buttermilk to add lift and softness.
- 1/4 teaspoon salt: Enhances all the flavors and balances sweetness.
- 1/2 cup buttermilk: Gives a slight tang and moisture, crucial for the tender crumb.
- 1/4 cup vegetable oil: Keeps the cupcakes moist and tender without heaviness.
- 1 large egg: Binds ingredients and adds richness.
- 1 teaspoon vanilla extract: Infuses the vanilla batter with a lovely aromatic sweetness.
- 1/2 cup boiling water: Smooths out the chocolate batter and intensifies cocoa flavor.
How to Make Marble Black and White Cupcakes Recipe
Step 1: Prepare the Oven and Liners
Start your baking adventure by preheating the oven to 350°F (175°C) and getting your muffin tin ready with cupcake liners. This preps your workspace so you can move swiftly once the batter is ready.
Step 2: Mix Dry Ingredients
In a large bowl, whisk together the all-purpose flour, sugar, baking powder, baking soda, and salt. This step ensures even distribution of your leavening agents and seasoning, which is key for consistent cupcake texture.
Step 3: Combine Wet Ingredients
In a separate bowl, blend together the buttermilk, vegetable oil, egg, and vanilla extract. Then, pour this mixture into your dry ingredients and stir gently just until the batter comes together—overmixing can lead to tougher cupcakes, so a light hand is best here.
Step 4: Create Chocolate Batter
Divide your batter evenly into two smaller bowls. To one bowl, sift in the cocoa powder before gradually mixing in the boiling water. The hot water not only melts the cocoa, creating a silky texture, but it also deepens the chocolate flavor, making your black and white contrast more flavorful and rich.
Step 5: Assemble the Marble Effect
Now comes the fun part. Spoon alternating dollops of the vanilla and chocolate batters into each cupcake liner, layering them for that classic marble vibe. Use a toothpick or skewer to gently swirl the batters together—don’t overdo it; you want visible streaks for the perfect pattern.
Step 6: Bake to Perfection
Pop the tray into your oven and bake for about 18 to 22 minutes. Test doneness by inserting a toothpick in the center—it should come out clean with no wet batter sticking to it.
Step 7: Cool Before Decorating
Let your cupcakes cool in the pan for 5 minutes before transferring them to a wire rack to cool completely. Cooling is essential so your frosting or decoration doesn’t melt and the cupcakes hold their shape beautifully.
How to Serve Marble Black and White Cupcakes Recipe

Garnishes
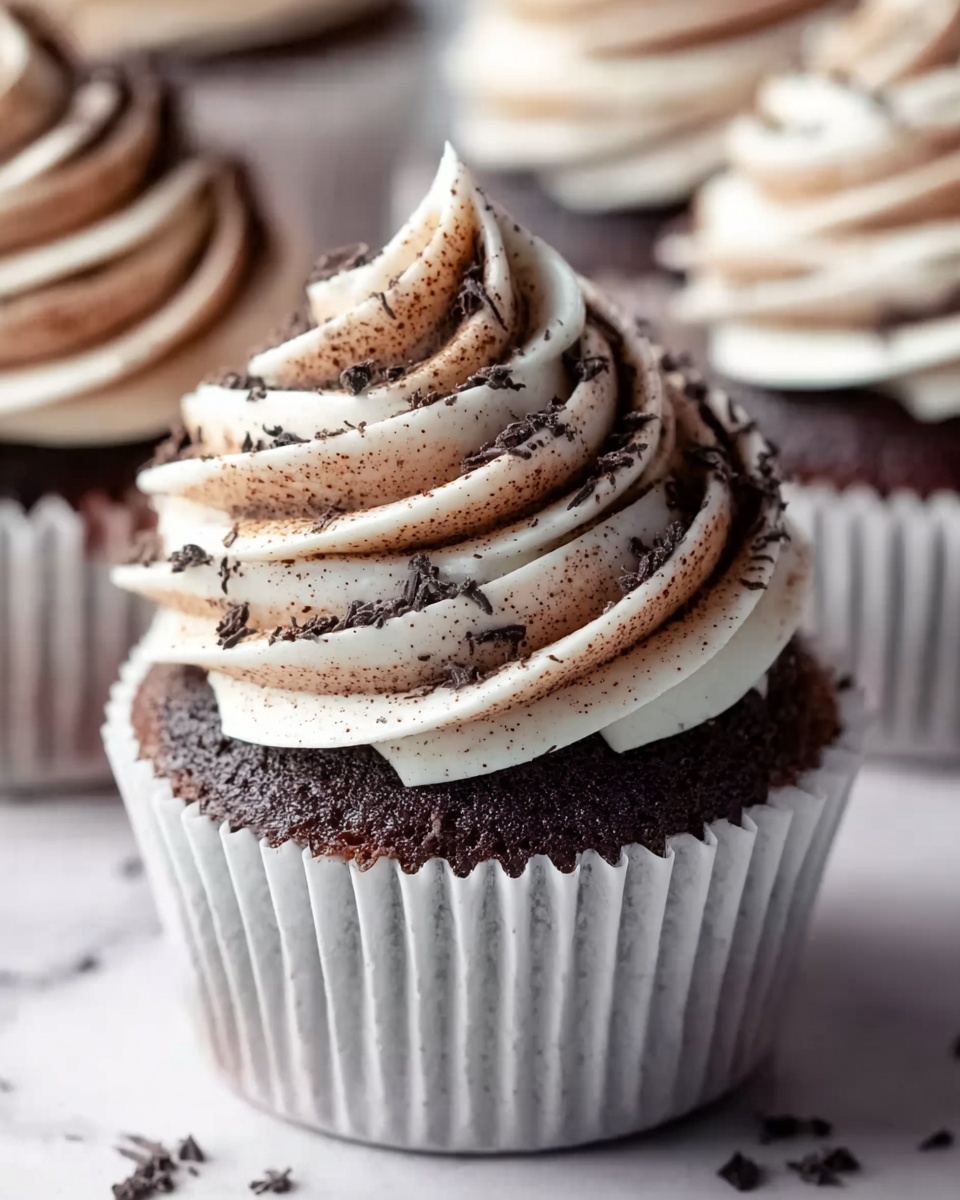
While these cupcakes are stunning on their own, a dollop of whipped cream or a light dusting of powdered sugar adds a delightful finishing touch. You could also try glossy chocolate ganache drizzled over the top for that elegant, dessert-table wow factor.
Side Dishes
Pair these cupcakes with a cup of rich espresso or a smooth vanilla latte to accentuate the chocolate and vanilla notes. Fresh berries or a crisp fruit salad also balance the sweetness with refreshing natural tartness, making your dessert experience even more satisfying.
Creative Ways to Present
Try serving your Marble Black and White Cupcakes Recipe on a tiered cake stand for celebrations or casual get-togethers. Wrapping each cupcake with a colorful ribbon or presenting them in decorative cupcake wrappers elevates their charm, making them a perfect gift or party centerpiece.
Make Ahead and Storage
Storing Leftovers
If you have any cupcakes left (though that’s unlikely!), store them in an airtight container at room temperature for up to 2 days. This keeps them moist and fresh so you can enjoy the same great texture later.
Freezing
To freeze your cupcakes, first let them cool completely. Wrap each cupcake individually in plastic wrap and place them in a freezer-safe container or bag. They can be frozen for up to 3 months without losing flavor or texture.
Reheating
When you want to eat frozen cupcakes, thaw them overnight in the fridge or at room temperature. For a warm treat, microwave a cupcake for about 15 seconds—it tastes like it just came out of the oven!
FAQs
Can I use regular milk instead of buttermilk?
You can substitute buttermilk with regular milk mixed with a teaspoon of vinegar or lemon juice to mimic the acidity and moisture buttermilk brings to the recipe.
What if I don’t have unsweetened cocoa powder?
Using sweetened cocoa or chocolate powder won’t give the same results. It’s best to stick with unsweetened cocoa powder for that deep chocolate flavor and proper sweetness balance.
How do I get the marble effect perfect every time?
Use a gentle swirling motion with a toothpick right after layering the batters. Avoid overmixing to maintain the distinct black and white pattern that makes this cupcake so visually appealing.
Can this recipe be made gluten-free?
Yes, swapping all-purpose flour for a gluten-free blend pitched for baking can work well. Just make sure your blend includes xanthan gum for the best texture.
Is it necessary to add boiling water to the cocoa batter?
The boiling water enhances the cocoa powder, intensifying the chocolate flavor and ensuring a smooth chocolate batter that bakes up beautifully moist and tender.
Final Thoughts
Trust me, once you make this Marble Black and White Cupcakes Recipe, it will become a beloved staple in your baking repertoire. It’s a delightful balance of flavors and textures that’s visually stunning and utterly delicious. You’ll love sharing these charming cupcakes with friends and family—or sneaking a few for yourself!
Print
Marble Black and White Cupcakes Recipe
- Prep Time: 10 minutes
- Cook Time: 22 minutes
- Total Time: 32 minutes
- Yield: 12 servings
- Category: Dessert
- Method: Baking
- Cuisine: American
Description
These Marble Black and White Cupcakes are a delightful treat combining rich chocolate and classic vanilla flavors in a beautiful marbled swirl. Perfectly moist and fluffy, they offer a stunning presentation with a delicious taste ideal for any occasion.
Ingredients
Dry Ingredients
- 1 cup all-purpose flour
- 3/4 cup granulated sugar
- 1 teaspoon baking powder
- 1/2 teaspoon baking soda
- 1/4 teaspoon salt
- 1/4 cup unsweetened cocoa powder
Wet Ingredients
- 1/2 cup buttermilk
- 1/4 cup vegetable oil
- 1 large egg
- 1 teaspoon vanilla extract
- 1/2 cup boiling water
Instructions
- Preheat Oven and Prepare Pan: Preheat the oven to 350°F (175°C) and line a 12-cup muffin tin with cupcake liners to ensure easy removal and prevent sticking.
- Mix Dry Ingredients: In a large bowl, whisk together all-purpose flour, granulated sugar, baking powder, baking soda, and salt until evenly combined.
- Combine Wet Ingredients: In a separate bowl, mix buttermilk, vegetable oil, egg, and vanilla extract thoroughly. Then, add the wet mixture to the dry ingredients and stir gently until just combined to avoid overmixing.
- Prepare Chocolate Batter: Divide the batter evenly into two bowls. To one bowl, sift in the unsweetened cocoa powder, then pour in the boiling water and stir until the chocolate batter is smooth and well blended.
- Fill Cupcake Liners: Alternate spoonfuls of vanilla and chocolate batter into each cupcake liner. Use a toothpick to gently swirl the batters together, creating a beautiful marbled effect.
- Bake the Cupcakes: Bake for 18 to 22 minutes, or until a toothpick inserted in the center comes out clean, indicating that the cupcakes are fully cooked.
- Cool: Allow the cupcakes to cool for 5 minutes in the muffin tin, then transfer them to a wire rack to cool completely before serving or frosting.
Notes
- For richer flavor, use high-quality unsweetened cocoa powder.
- Do not overmix the batter to keep the cupcakes light and fluffy.
- Boiling water helps bloom the cocoa powder, intensifying the chocolate flavor.
- Ensure cupcakes are completely cooled before adding frosting to prevent melting.
- Store cupcakes in an airtight container to maintain freshness for up to 3 days.


