
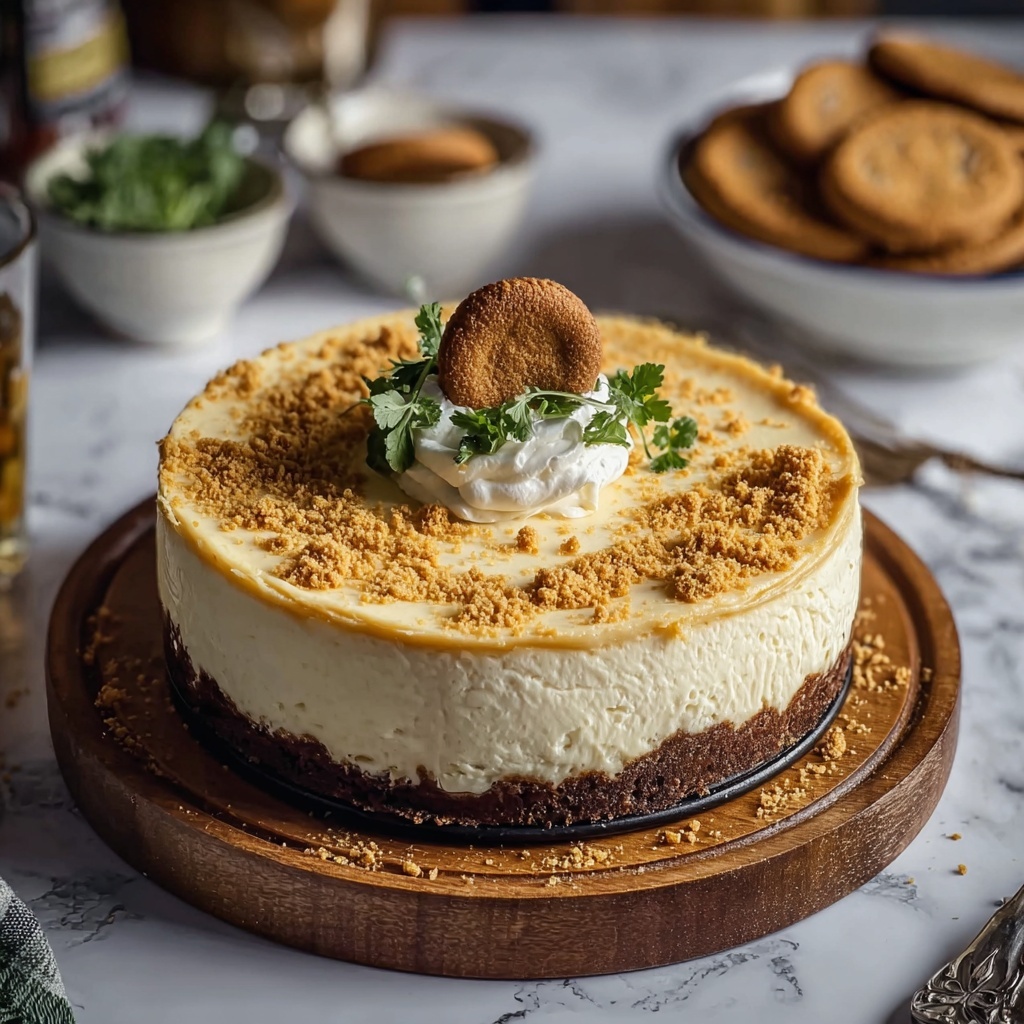
If you have a soft spot for creamy, dreamy desserts with a touch of spice and a burst of caramelized cookie flavor, then this Biscoff Cheesecake Recipe is going to become your new best friend in the kitchen. The marriage of rich cream cheese with the iconic Lotus Biscoff biscuits and spread creates a luscious texture and an unforgettable taste that’s both nostalgic and delightfully indulgent. Whether you’re hosting a gathering or treating yourself to something special, this no-bake cheesecake is simple to make but incredibly impressive, offering a harmonious balance of crunch and smoothness that melts in your mouth.
Ingredients You’ll Need
These ingredients are straightforward and bring incredible depth to the cheesecake’s flavor and texture. Each element plays a crucial role, from creating the perfect cookie crust to building the fluffy, velvety filling and finishing with that signature Biscoff sweetness.
- 300 g Lotus Biscoff biscuits: For a crunchy, caramelized foundation that sets the tone for the entire dessert.
- 100 g unsalted butter, melted: To bind the crushed biscuits and give the crust a rich, buttery touch.
- 500 g cream cheese, softened: The creamy heart of the cheesecake, offering that classic thick and tangy base.
- 100 g confectioners’ sugar: Adds just the right amount of sweetness without overpowering the tanginess of the cream cheese.
- 1 tsp vanilla extract: For a subtle warmth and depth that complements the Biscoff flavors beautifully.
- 300 ml heavy cream: Whipped until soft peaks form, this creates a light and airy texture when folded into the cream cheese.
- 200 g Lotus Biscoff spread, slightly warmed: To drizzle between layers and swirl on top, infusing every bite with rich caramel and spice notes.
- Additional Biscoff biscuits for topping (6-8 biscuits): Adds a decorative crunch and hints at what’s inside.
How to Make Biscoff Cheesecake Recipe
Step 1: Prepare Your Pan
Start by greasing and lining an 8-inch springform cake tin with parchment paper. This ensures your cheesecake releases easily and keeps its perfect shape without sticking or crumbling.
Step 2: Make the Crust
Crush the Lotus Biscoff biscuits into fine crumbs using a food processor or by placing them in a bag and using a rolling pin. Mix these crumbs with melted butter until the texture resembles wet sand. This mixture, once pressed into your cake tin, forms the irresistible crunchy base everyone will love.
Step 3: Chill the Crust
Press the crumb mixture firmly and evenly into the bottom of your prepared tin. Refrigerate it for a bit while you move on to creating the luscious filling. This step is crucial for ensuring a firm and stable foundation for your cheesecake.
Step 4: Beat the Cream Cheese Mixture
In a large bowl, beat the softened cream cheese with the confectioners’ sugar and vanilla extract until smooth and creamy. This combination creates a silky, sweet base that’s essential for that melt-in-your-mouth texture.
Step 5: Whip the Heavy Cream
In a separate chilled bowl, whip the heavy cream until soft peaks form. This airy whipped cream will lighten the richness of the cream cheese mixture, making the filling wonderfully fluffy.
Step 6: Combine Mixtures
Gently fold the whipped cream into the cream cheese mixture, taking care not to deflate the volume. This gentle folding balances richness and fluffiness, creating the perfect cheesecake filling.
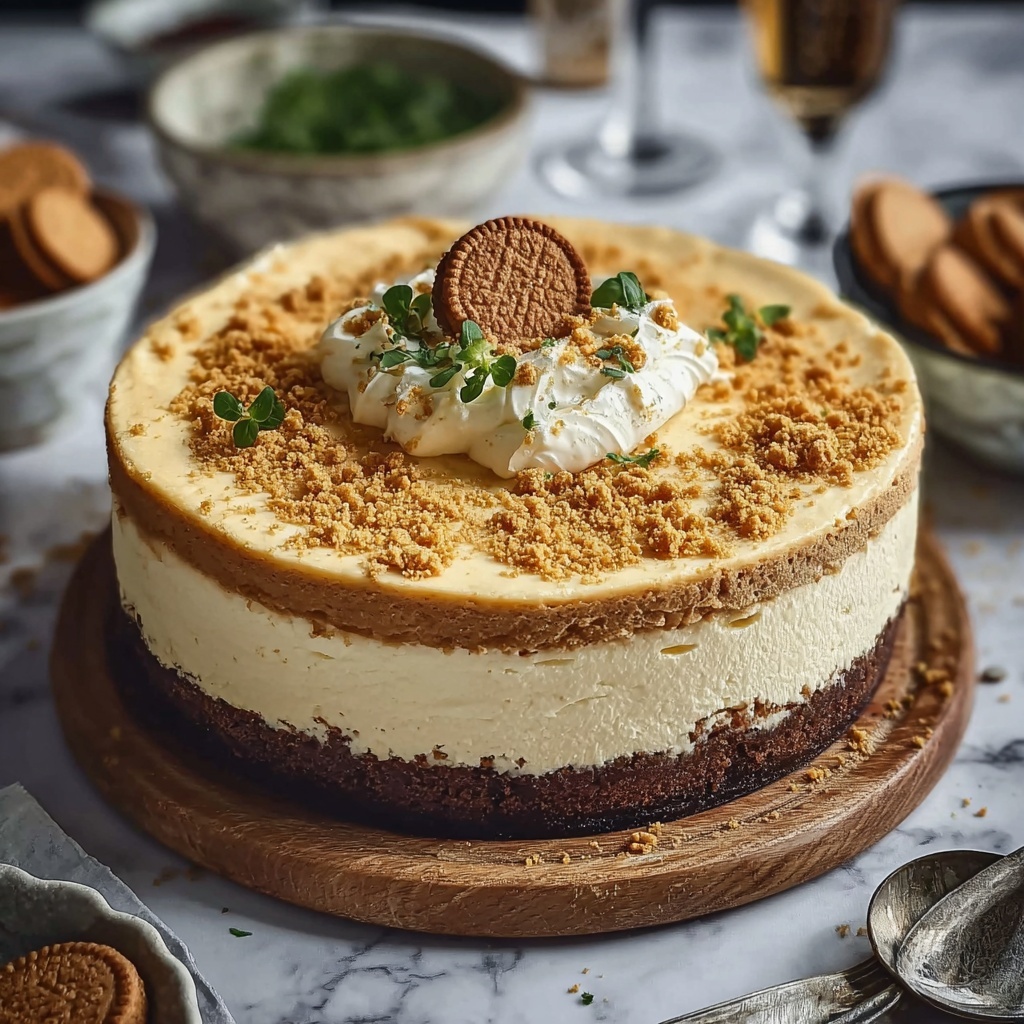
Step 7: Build the Layers
Spread half of the creamy filling evenly onto the chilled biscuit crust. This forms the first luscious layer that will soon be joined by the signature Biscoff surprise.
Step 8: Add the Biscoff Spread
Warm the Lotus Biscoff spread slightly to make it pourable, then drizzle half over the cream cheese layer. This layer adds an extra hit of caramelized spice, enhancing every bite with authentic Biscoff flavor.
Step 9: Top with Remaining Filling
Pour the remaining cream cheese filling over the Biscoff spread, smoothing out the top with a spatula for a clean, elegant finish.
Step 10: Decorate with More Biscoff
Drizzle the remaining Biscoff spread over the top and use a skewer or knife to create swirling patterns. This not only looks stunning but also distributes that delicious flavor throughout the top layer.
Step 11: Chill to Set
Place your cheesecake in the refrigerator for at least 4-6 hours or overnight for best results. This chill time allows the dessert to fully set and develop flavors, ensuring the perfect slice every time.
Step 12: Serve with Crunch
Remove the cheesecake gently from the tin and sprinkle crushed Biscoff biscuits over the top for an irresistible finishing touch that adds crunch and visual appeal.
How to Serve Biscoff Cheesecake Recipe
Garnishes
Adding extra crushed Biscoff biscuits or even a few whole biscuits on top brings texture and reinforces the dessert’s star flavor. Consider lightly dusting powdered sugar or a drizzle of caramel sauce to elevate each serving.
Side Dishes
This cheesecake pairs beautifully with fresh berries like raspberries or strawberries, whose tartness cuts through the creamy sweetness. A small dollop of whipped cream or a scoop of vanilla ice cream will also complement the flavors perfectly.
Creative Ways to Present
For a stunning presentation, serve the cheesecake in individual glass jars with layers of crushed biscuits, filling, and Biscoff swirls. Alternatively, decorate the top with edible gold leaf or a sprinkle of cinnamon for a festive touch that will wow your guests.
Make Ahead and Storage
Storing Leftovers
Store any leftover Biscoff cheesecake tightly covered in the refrigerator. It stays fresh and delightful for up to 4 days, making it an excellent option for preparing in advance or enjoying over several days without losing its charm.
Freezing
This cheesecake freezes well for up to 1 month. Wrap it securely in plastic wrap and then place it in an airtight container or freezer bag. When ready to enjoy, thaw it overnight in the fridge for the best texture and flavor.
Reheating
Since this is a no-bake cheesecake, reheating isn’t necessary. If you prefer it slightly softer, let slices sit at room temperature for about 15 minutes before serving, allowing the flavors to open up beautifully.
FAQs
Can I use regular cream cheese instead of softened?
Yes, just make sure to let it sit at room temperature long enough to soften properly. This ensures a smooth, lump-free filling that blends easily with the other ingredients.
Is there a substitute for Lotus Biscoff biscuits?
While the unique caramelized flavor of Biscoff biscuits is key, you can use speculoos or ginger snap cookies in a pinch. The flavor profile will change slightly but still offer a lovely spiced crunch.
Do I have to use a springform pan?
A springform pan is highly recommended for easy removal without damaging the cheesecake’s delicate layers. If you don’t have one, line a regular pan with extra parchment paper for easier slicing.
How long does the cheesecake need to chill?
Chilling for at least 4-6 hours is essential for the cheesecake to set properly, but overnight chilling is best to let the flavors meld and create the perfect texture.
Can I make this recipe vegan or dairy-free?
It’s possible with some substitutions, such as vegan cream cheese, coconut cream for heavy cream, and dairy-free butter. However, the classic Biscoff flavor combination is most authentic with the original ingredients.
Final Thoughts
I truly believe that once you try this Biscoff Cheesecake Recipe, it will hold a special place in your dessert repertoire. It’s such a joy to make and even more satisfying to eat, bursting with nostalgic spice and creamy richness that feels both comforting and indulgent. So go ahead, gather your ingredients, and treat yourself and your loved ones to this heavenly cheesecake experience — it’s a dessert you’ll want to come back to again and again.
Print
Biscoff Cheesecake Recipe
- Prep Time: 30 minutes
- Cook Time: 0 minutes
- Total Time: 4 hours 30 minutes
- Yield: 8 servings
- Category: Dessert
- Method: No-Cook
- Cuisine: American
Description
This luscious Biscoff Cheesecake features a crunchy Lotus Biscoff biscuit crust layered with a smooth, creamy cream cheese and whipped cream filling swirled with rich Biscoff spread. No baking required, it’s a perfect make-ahead dessert with a delightful balance of sweetness and spice from the iconic Biscoff cookies.
Ingredients
Crust
- 300 g Lotus Biscoff biscuits (for the crust)
- 100 g unsalted butter, melted
Filling
- 500 g cream cheese, softened
- 100 g confectioners’ sugar
- 1 tsp vanilla extract
- 300 ml heavy cream
- 200 g Lotus Biscoff spread, slightly warmed to soften
Topping
- Additional Biscoff biscuits for topping (about 6-8 biscuits)
Instructions
- Prepare the Cake Tin: Grease and line an 8-inch springform cake tin with parchment paper to prevent the cheesecake from sticking and ensure easy removal.
- Make the Crust: Use a food processor to crush 300g of the Biscoff biscuits into fine crumbs. Transfer the crumbs to a bowl and mix with the melted butter until it looks like wet sand.
- Form the Crust: Press the biscuit mixture firmly and evenly into the bottom of the prepared cake tin to create a solid base. Place the tin in the refrigerator to chill while preparing the filling.
- Mix the Cream Cheese Base: In a large bowl, beat the softened cream cheese, confectioners’ sugar, and vanilla extract together until the mixture is smooth and creamy with no lumps.
- Whip the Cream: In a separate chilled bowl, whip the heavy cream until soft peaks form, which will help give the cheesecake its light texture.
- Combine Mixtures: Gently fold the whipped cream into the cream cheese mixture, blending thoroughly without deflating the whipped cream.
- Layer the Filling: Spread half of the cream cheese mixture evenly over the chilled biscuit crust as the first creamy layer.
- Add Biscoff Spread: Warm the Biscoff spread slightly in the microwave until pourable, then drizzle half of it over the cream cheese layer to infuse rich flavor.
- Second Layer: Pour the remaining cream cheese mixture over the Biscoff spread layer and smooth the surface carefully with a spatula.
- Top with Biscoff Spread: Drizzle the remaining Biscoff spread on top of the cheesecake and swirl gently using a skewer or knife to create a marbled effect.
- Chill to Set: Refrigerate the assembled cheesecake for at least 4 to 6 hours, or ideally overnight, to allow it to set firmly.
- Serve: Once set, carefully release and remove the springform tin. Garnish the cheesecake with additional crushed Biscoff biscuits before serving.
Notes
- For best results, ensure the cream cheese is fully softened before mixing to avoid lumps.
- Warming the Biscoff spread makes it easier to drizzle and swirl.
- The cheesecake requires chilling time to set properly; avoid skipping this step.
- Can be made a day ahead and kept refrigerated until serving.
- Use a sharp knife dipped in hot water for clean slices.


