“`html
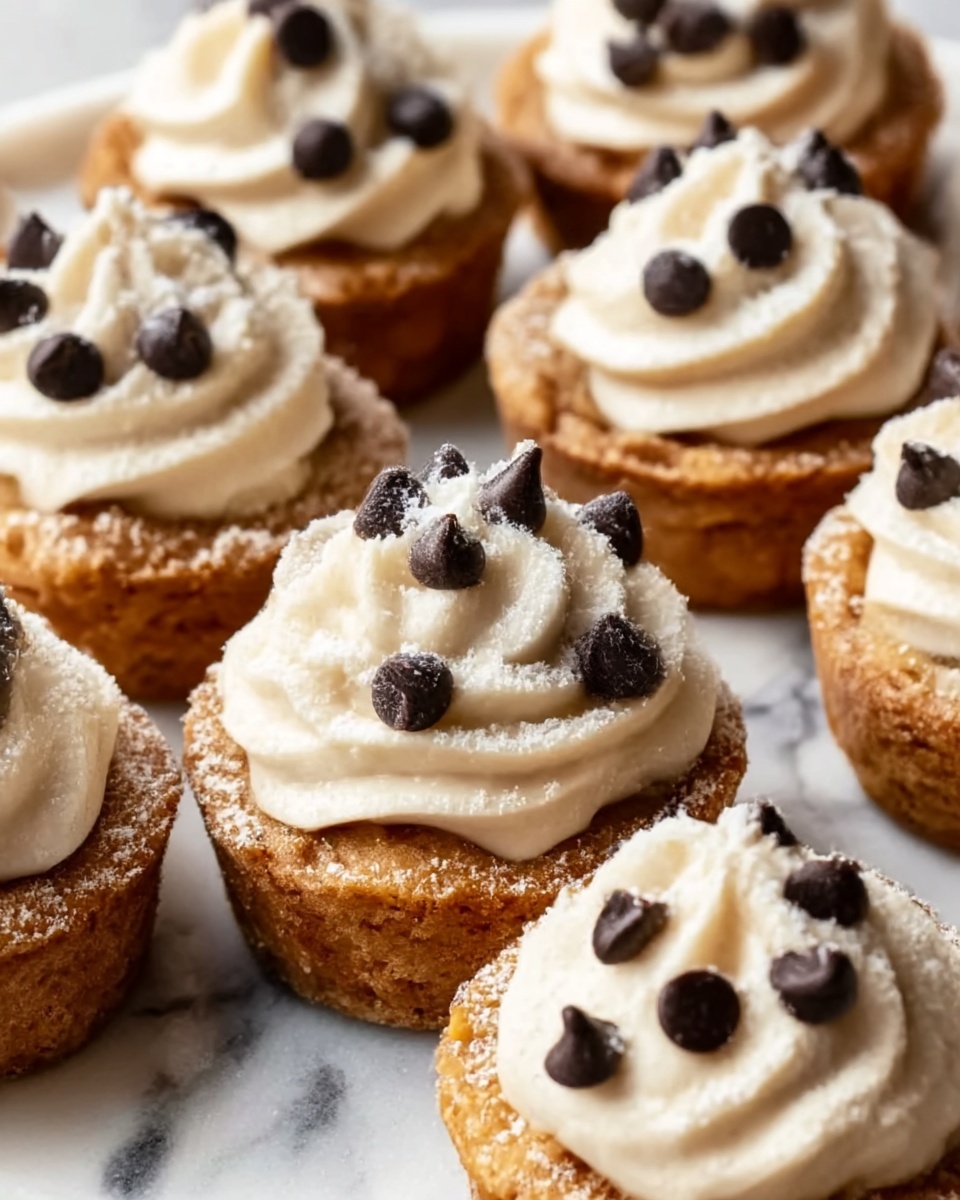
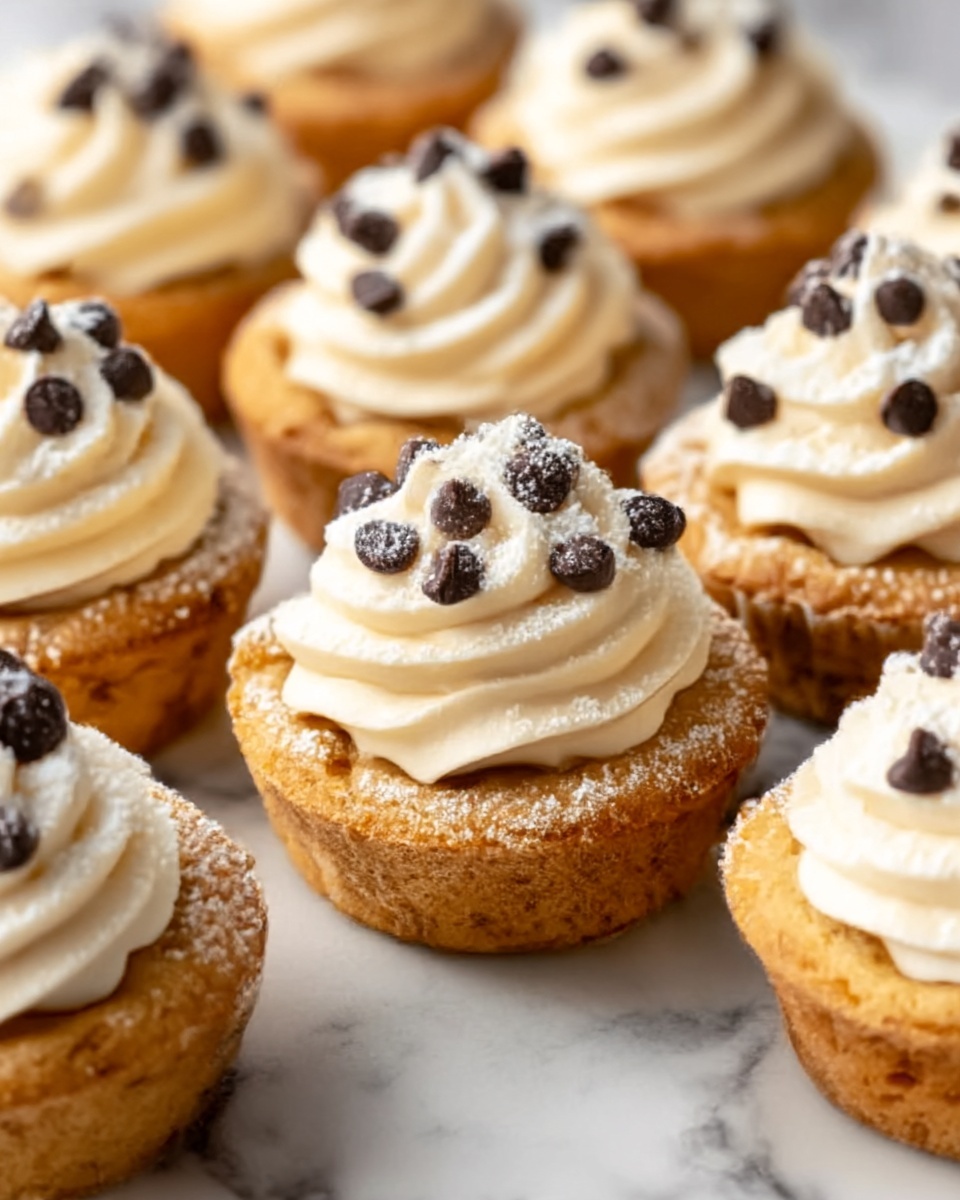
There is nothing quite like a delightful handheld dessert that brings together the best of two worlds, and these Cannoli Cookie Cups: A Sweet Twist on a Classic Favorite Recipe do just that. Imagine the buttery crunch of a perfectly baked sugar cookie cup filled with a creamy, sweet ricotta filling, studded with chocolate chips and topped with vibrant, crunchy pistachios. This recipe transforms the beloved Italian cannoli flavors into a fun and approachable treat that’s perfect for sharing at any gathering or simply indulging your sweet tooth at home. Trust me, once you take a bite, you’ll be hooked on this charming and delicious twist!
Ingredients You’ll Need
To create these irresistible cannoli cookie cups, you only need a few simple ingredients that work together to create a symphony of texture and flavor. Each ingredient plays a crucial role in balancing sweetness, creaminess, and a hint of crunch for that perfect bite.
- Refrigerated sugar cookie dough: This forms the crispy, buttery base that holds all the delicious filling and flavors together.
- Ricotta cheese: The creamy heart of the filling, ricotta adds richness and smoothness reminiscent of traditional cannoli cream.
- Powdered sugar: Sweetens the ricotta mixture without grittiness, ensuring a silky texture that melts in your mouth.
- Vanilla extract: Adds warmth and depth to the filling’s flavor, enhancing the overall sweetness just perfectly.
- Mini chocolate chips: These little bursts of chocolate bring a playful contrast to the creamy filling and crispy cookie.
- Chopped pistachios: Not only do they add a delightful crunch, but their vibrant green color makes these cookie cups as beautiful as they are tasty.
How to Make Cannoli Cookie Cups: A Sweet Twist on a Classic Favorite Recipe
Step 1: Prep and Shape Your Cookie Cups
Start by preheating your oven to 350°F (175°C) and greasing a mini muffin tin with non-stick spray to ensure easy removal. Divide the refrigerated sugar cookie dough into 24 even pieces. Press each piece into each muffin cup, making sure to push the dough up the sides to create a sturdy “cup” that can hold the luscious filling later. This shaping step is essential because it forms the base that will hold our creamy filling without falling apart.
Step 2: Bake to Golden Perfection
Place the muffin tin in the oven and bake the cookie cups for about 10 to 12 minutes or until the edges turn that perfect golden brown. This baking time is just enough to get a crisp, buttery shell without burning the dough. Keep an eye on them so your cookie cups come out with the ideal texture—crispy on the outside, tender inside, and perfectly shaped.
Step 3: Create a Well for the Filling
As soon as you remove the cookie cups from the oven, use a small shot glass or a similar-sized object to gently press down the centers of each cup, forming a well for the filling. Doing this while the cookies are still warm ensures the dough remains pliable, making it easier to shape without cracking. Allow the cups to cool completely in the pan before filling; this helps them maintain their structure when adding the ricotta mixture.
Step 4: Prepare the Ricotta Filling
While the cookie cups cool, mix together the ricotta cheese, powdered sugar, and vanilla extract in a medium bowl until smooth and creamy. This mixture is the soul of the recipe, echoing the classic cannoli filling but with an easier, fuss-free approach. The sweetened ricotta filling will balance the rich cookie base beautifully and set the stage for the fun additions to come.
Step 5: Add Chocolate Chips and Fill the Cups
Fold mini chocolate chips gently into the ricotta mixture. These sweet bits add a delightful texture contrast and pockets of chocolatey goodness. Spoon this luscious filling carefully into each cooled cookie cup, filling them to the brim. This step is where the magic truly happens, transforming simple cookie shells into an elegant and tasty handheld dessert.
Step 6: Garnish with Chopped Pistachios
Finish your Cannoli Cookie Cups by sprinkling chopped pistachios over the top. These not only add a satisfyingly crunchy bite but also a pop of vibrant green color that makes these treats look exceptionally inviting. The pistachios also contribute a subtle nutty note that complements the sweet filling perfectly.
How to Serve Cannoli Cookie Cups: A Sweet Twist on a Classic Favorite Recipe

Garnishes
Beyond chopped pistachios, don’t hesitate to get creative with your garnishes! Dust a light sprinkle of powdered sugar for an elegant finish, or add a few fresh mint leaves to bring a splash of freshness. Tiny chocolate shavings or a drizzle of honey can also elevate these cookie cups into a sophisticated dessert highlight at your next party.
Side Dishes
These Cannoli Cookie Cups pair beautifully with a variety of drinks and sides. A cup of espresso or rich cappuccino is a classic Italian touch, intensifying the cannoli-inspired flavors. Fresh berries or a small bowl of lemon sorbet also create a lovely contrast, balancing the sweetness with a bright, tangy note that refreshes the palate.
Creative Ways to Present
Presentation can turn these cookie cups into a real showstopper. Arrange them on a beautiful serving platter lined with colorful doilies or edible flower petals. Place them in decorative mini cupcake liners for easy serving and an extra pop of color. For an event, consider assembling a dessert tower, with alternating layers of these cookie cups and fresh fruit for an eye-catching centerpiece.
Make Ahead and Storage
Storing Leftovers
Store any leftover Cannoli Cookie Cups in an airtight container in the refrigerator. Since the filling contains ricotta, it’s best to consume them within 2 to 3 days for maximum freshness and taste. Keep the cookie cups and filling assembled if possible, but if you prefer, store the cookie shells and filling separately to maintain crispness in the cups.
Freezing
If you want to prepare these treats ahead of time, you can freeze the unfilled cookie cups for up to 1 month. Allow them to cool completely before freezing in a single layer on a baking sheet, then transfer to a freezer-safe bag or container. Thaw at room temperature before filling with the ricotta mixture for the best texture and flavor.
Reheating
To enjoy warm cookie cups, briefly heat unfilled shells in a 300°F oven for 3-5 minutes. Avoid reheating filled cups as the ricotta filling is best served chilled. Warming the shells slightly before filling gives you that freshly baked warmth while keeping the creamy filling cool and refreshing.
FAQs
Can I use homemade sugar cookie dough for this recipe?
Absolutely! Homemade sugar cookie dough can add a personal touch and allow you to tweak sweetness or spices. Just ensure the dough can be pressed easily into the mini muffin tin and holds its shape after baking.
Is ricotta cheese the best cheese to use for the filling?
Ricotta is traditional because of its smooth, creamy texture and mild flavor. You could experiment with mascarpone or cream cheese for a different texture, but ricotta provides the authentic cannoli feel in this sweet twist.
How do I prevent the cookie cups from cracking when creating the wells?
Press the centers down immediately after baking while the cups are still warm and pliable. Using a small glass gently helps form the wells without cracking. Allow them to cool completely before filling to maintain their shape.
Can I make these cookie cups gluten-free?
Yes, by substituting the sugar cookie dough with a gluten-free variety that behaves similarly in texture. Just be mindful of baking times and dough consistency to ensure sturdy cookie cups.
What are some flavor variations I can try with this recipe?
Try adding citrus zest such as orange or lemon to the filling for a bright twist. You could also fold in chopped dried fruit like cranberries or experiment with different nuts like almonds or walnuts for topping.
Final Thoughts
These Cannoli Cookie Cups: A Sweet Twist on a Classic Favorite Recipe are such a joyful and delicious treat that bring a playful spin to the traditional cannoli you know and love. They’re easy to make, beautiful to serve, and absolutely irresistible. Whether for a family gathering, a party, or just a special dessert night at home, these cookie cups will quickly become a requested favorite. I can’t wait for you to try making them and share the sweet joy with those you love!
“`
Print
Cannoli Cookie Cups: A Sweet Twist on a Classic Favorite Recipe
- Prep Time: 15 minutes
- Cook Time: 12 minutes
- Total Time: 27 minutes
- Yield: 24 servings
- Category: Dessert
- Method: Baking
- Cuisine: Italian-American
Description
These Cannoli Cookie Cups offer a delightful twist on the classic Italian dessert by combining buttery sugar cookie cups filled with a creamy ricotta mixture, mini chocolate chips, and crunchy pistachios. Perfect for a bite-sized treat that’s easy to make and irresistibly delicious.
Ingredients
Cookie Cups
- 1 package refrigerated sugar cookie dough
Filling
- 1 cup ricotta cheese
- 1/2 cup powdered sugar
- 1/2 teaspoon vanilla extract
- 1/4 cup mini chocolate chips
- 1/4 cup chopped pistachios
Instructions
- Preheat and prepare muffin tin: Preheat your oven to 350°F (175°C) and spray a mini muffin tin thoroughly with non-stick cooking spray to ensure easy removal of the cookie cups.
- Shape the cookie cups: Cut the sugar cookie dough into 24 equal pieces. Press each piece firmly into the bottom and up the sides of each mini muffin cup, forming a cup shape.
- Bake the cookie cups: Place the muffin tin in the oven and bake for 10-12 minutes until the edges turn golden brown and the cookie cups are set.
- Create wells in cookie cups: Remove the tin from the oven and immediately use a small shot glass or similar tool to gently press down the center of each cookie cup to form a well for the filling.
- Cool the cookie cups: Allow the cookie cups to cool completely in the tin to keep their shape intact for filling.
- Prepare the filling: In a medium bowl, combine the ricotta cheese, powdered sugar, and vanilla extract. Mix thoroughly until the mixture is smooth and creamy.
- Add chocolate chips and fill cups: Stir the mini chocolate chips into the ricotta filling and spoon it evenly into the cooled cookie cups.
- Garnish: Top each filled cookie cup with chopped pistachios for a delightful crunch and splash of color.
- Serve: Serve immediately or refrigerate briefly before enjoying a sweet and satisfying treat.
Notes
- For best results, use chilled cookie dough to make shaping easier.
- You can substitute mini chocolate chips with mini white chocolate chips for a different flavor profile.
- Store leftover cookie cups in an airtight container in the refrigerator for up to 2 days.
- Allow filled cookie cups to come to room temperature before serving for the best texture.
- Use lactose-free ricotta if you need a low lactose version.

