
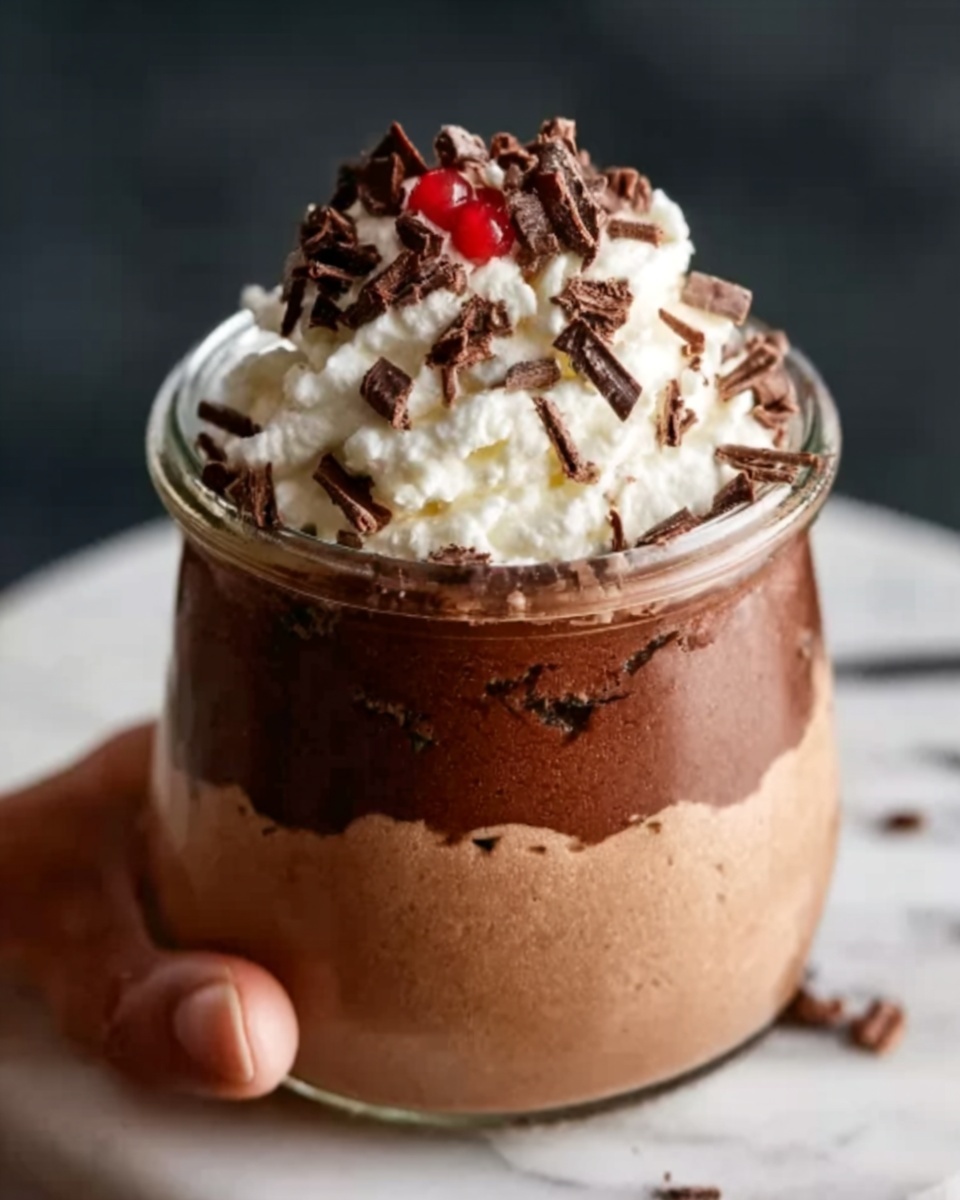
If you have a sweet tooth and adore the creamy richness of cheesecake combined with the irresistible hazelnut-chocolate flavor of Nutella, you are in for a real treat with this Chocolate Nutella Cheesecake Mousse Recipe. It’s a luscious, fluffy dessert that feels indulgent yet comes together with surprising ease. Imagine spooning into a silky mousse that melts on your tongue, perfectly blending the tang of cream cheese with the sweet, nutty magic of Nutella. Whether you’re serving it for a special occasion or simply because you deserve a little joy, this recipe will quickly become one of your all-time favorites.
Ingredients You’ll Need
These ingredients might be simple, but each one plays a vital role in building the perfect balance of flavor and texture in the mousse. From the creamy base to the sweet nutty notes, and the airy lightness that gives this dessert its signature feel, they all come together for a harmonious finish.
- Cream cheese (8 oz, softened): Provides the rich and tangy base that gives cheesecake its iconic flavor and creamy texture.
- Nutella (1/2 cup): The star ingredient that adds deep hazelnut goodness and smooth chocolate sweetness.
- Powdered sugar (1/4 cup): Sweetens the mousse without any graininess, ensuring a silky mouthfeel.
- Vanilla extract (1 teaspoon): Enhances the overall flavor, adding warmth and depth to the sweetness.
- Heavy whipping cream (1 cup, cold): Whipped to stiff peaks, it lightens the mousse, giving it that airy, fluffy texture.
- Chocolate chips (1/4 cup, melted and slightly cooled – optional): Adds extra richness and a hint of intense chocolate that deepens the dessert’s complexity.
- Toppings (whipped cream, chocolate shavings, crushed hazelnuts – optional): These add texture, crunch, and a final visual touch to make every serving irresistible.
How to Make Chocolate Nutella Cheesecake Mousse Recipe
Step 1: Beat the Cream Cheese
Start by beating the softened cream cheese in a large bowl until it’s smooth and creamy. This creates the luscious base for your mousse, ensuring there are no lumps and that the texture is velvety right from the start. A well-beaten cream cheese is the key to that dreamy cheesecake feel.
Step 2: Add Nutella and Flavorings
Next, add the Nutella, powdered sugar, and vanilla extract directly into the cream cheese. Beat everything together until smooth and beautifully blended. If you want an extra chocolate boost, mix in melted chocolate chips at this stage. This step brings the signature Nutella flavor front and center, mingling seamlessly with the sweetened cream cheese.
Step 3: Whip the Heavy Cream
In a separate bowl, take your cold heavy whipping cream and whisk it into stiff peaks. This means when you lift your whisk, the cream holds its shape firmly but is still light and fluffy. This whipped cream is what transforms the dense cream cheese mixture into a mousse, adding that irresistible airy lift.
Step 4: Fold and Combine
Carefully fold the whipped cream into the Nutella-cheesecake mixture. Folding (and not stirring) keeps the air in the whipped cream intact, making the mousse incredibly light and fluffy. This gentle technique is essential to achieve that melt-in-your-mouth texture.
Step 5: Chill and Serve
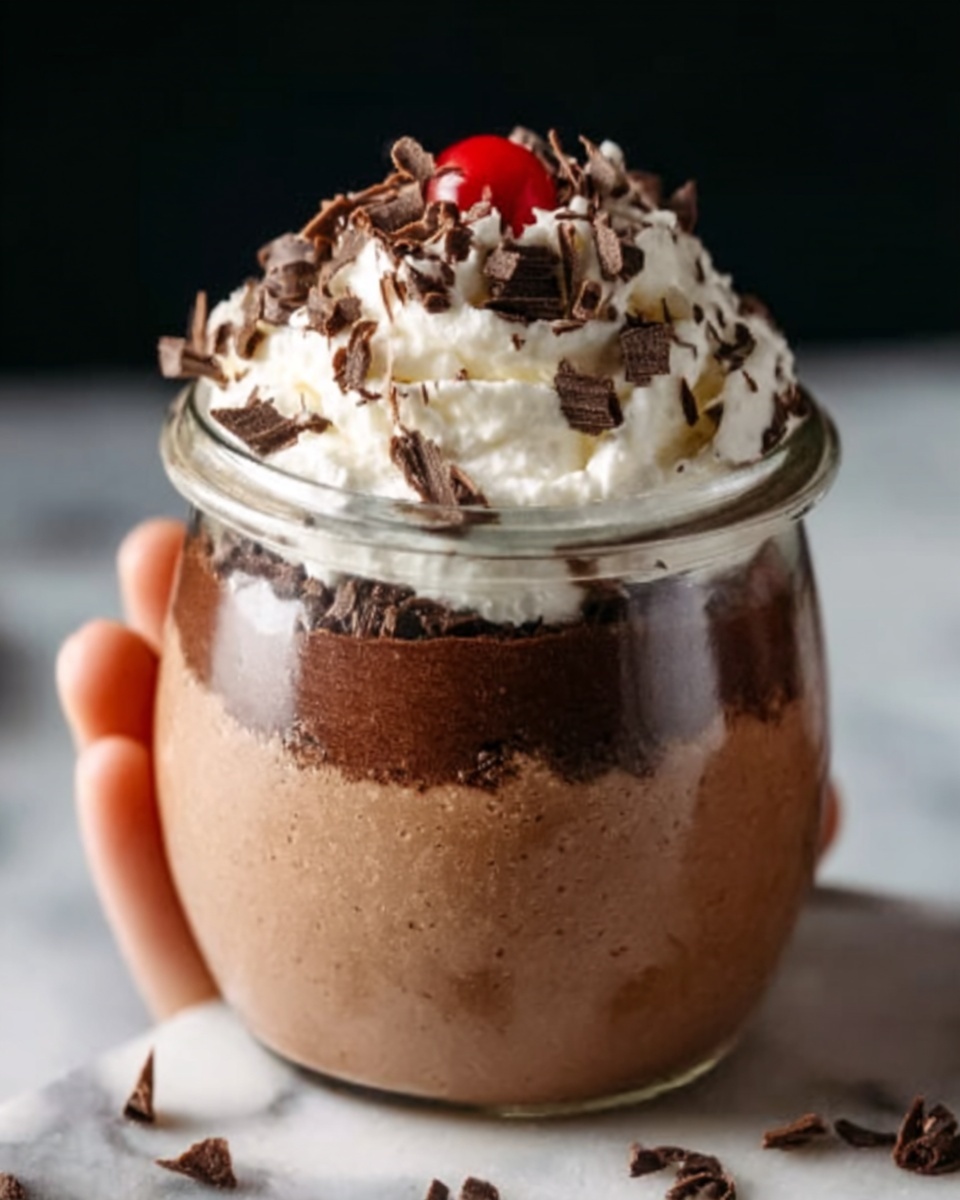
Spoon your mousse into pretty serving glasses or bowls, then pop them into the refrigerator for at least 1 hour. Chilling helps the flavors meld together and sets the mousse so it’s perfectly firm yet silky when served.
Step 6: Garnish (Optional)
Before serving, why not top your mousse with a dollop of whipped cream, some chocolate shavings, or crunchy crushed hazelnuts? These little touches add texture and a professional finishing flair that will impress anyone lucky enough to enjoy this dessert.
How to Serve Chocolate Nutella Cheesecake Mousse Recipe
Garnishes
When it comes to garnishing your Chocolate Nutella Cheesecake Mousse Recipe, simple toppings go a long way. Fresh whipped cream adds creaminess, while chocolate shavings bring a touch of elegance and a little bite. If you love a nutty accent, crushed hazelnuts give a wonderful crunch that complements the Nutella beautifully.
Side Dishes
This mousse pairs wonderfully with fresh berries like raspberries or strawberries. The tartness of the fruit balances the richness of the mousse perfectly. You can also serve it alongside a crisp shortbread cookie or a buttery biscotti for a delightful contrast in textures.
Creative Ways to Present
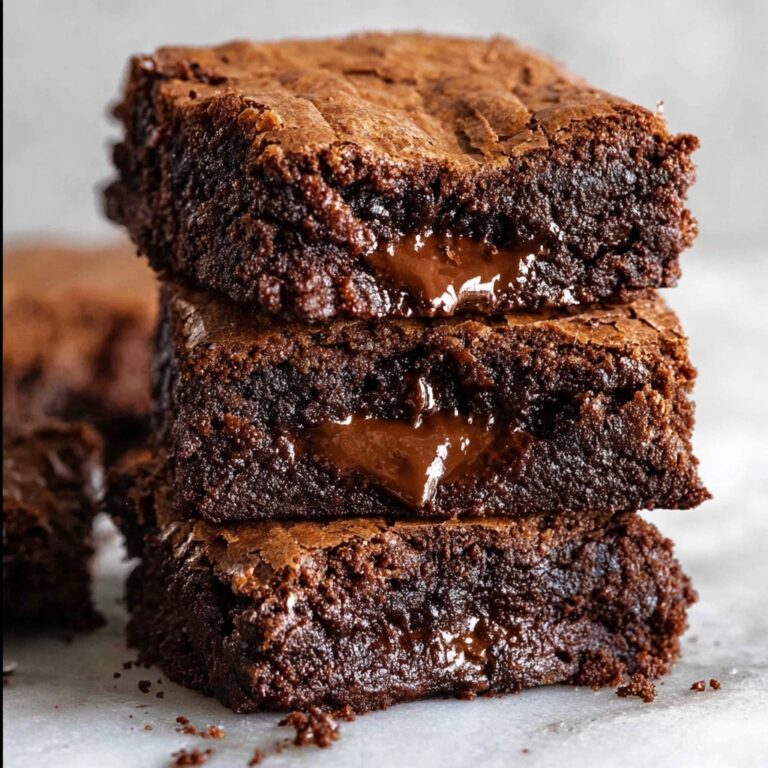
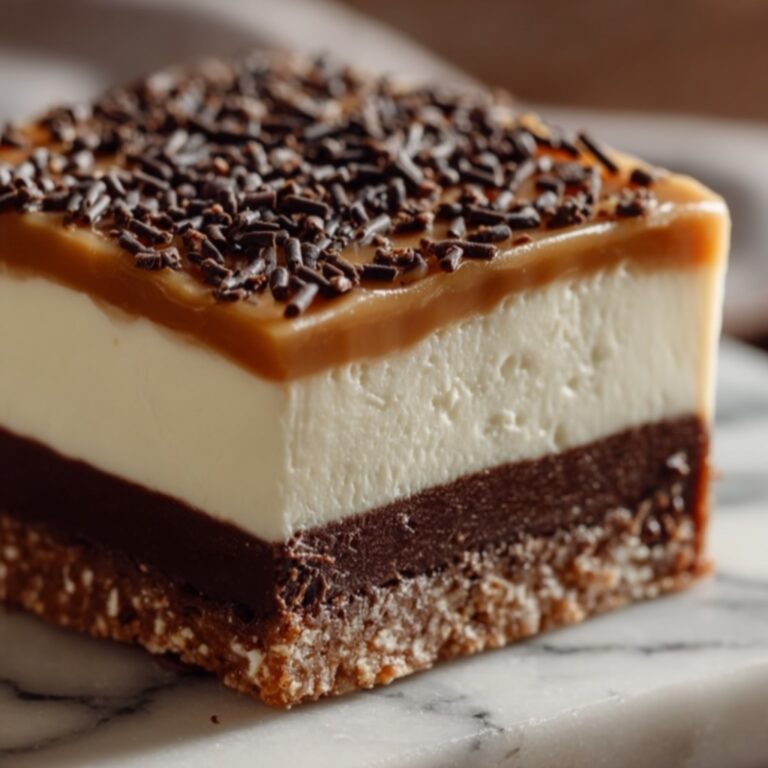
To make an impression, layer your mousse with crushed cookies or brownie bits in clear glasses for a pretty parfait effect. Another fun idea is to pipe the mousse into small tart shells topped with a hazelnut or chocolate drizzle – bite-sized indulgence guaranteed! Presentation is key to turning this simple mousse into a show-stopping dessert.
Make Ahead and Storage
Storing Leftovers
You can store any leftover Chocolate Nutella Cheesecake Mousse Recipe in an airtight container in the refrigerator for up to three days. Keep it chilled so it maintains its creamy texture and fresh flavor. Give it a gentle stir before serving if the mousse has slightly settled.
Freezing
If you want to keep it longer, this mousse freezes well. Transfer it to a freezer-safe container and freeze for up to one month. When ready to enjoy, thaw overnight in the refrigerator. While the texture might be a bit denser after freezing, it remains deliciously indulgent.
Reheating
Since this is a mousse, it’s best enjoyed cold, so reheating is not recommended. If you need to soften it slightly after refrigeration, let it sit at room temperature for 10-15 minutes to regain some of that perfect silkiness before serving.
FAQs
Can I use a different chocolate spread instead of Nutella?
Absolutely! While Nutella is classic for this recipe, you can substitute with any hazelnut-chocolate spread or even a peanut butter-chocolate blend. Just keep in mind that flavor and sweetness may vary slightly.
Is it necessary to use cream cheese?
Cream cheese is key to achieving the rich, tangy cheesecake base of this mousse. Using other soft cheeses might change the flavor and texture, so for the best results stick to cream cheese.
Can I make this recipe dairy-free?
Making a dairy-free version is tricky because cream cheese and heavy cream give the mousse its signature richness. However, you can experiment with dairy-free cream cheese and coconut cream, but expect some differences in taste and texture.
How long does the mousse need to chill?
At least 1 hour is recommended to let the mousse set and flavors meld, but chilling it for up to 4 hours is perfectly fine and can enhance the texture even more.
Can I double this recipe for a larger group?
Definitely! Just double the ingredients and make sure you have a large enough bowl for mixing. The steps remain exactly the same.
Final Thoughts
I truly hope you give this Chocolate Nutella Cheesecake Mousse Recipe a try because it’s one of those desserts that brings pure joy in every spoonful. Its ease, elegance, and addictive flavor make it a winner for any occasion. Trust me, once you taste this dreamy blend of creamy cheesecake and Nutella, it will quickly become a staple in your dessert repertoire. Happy indulging!
Print
Chocolate Nutella Cheesecake Mousse Recipe
- Prep Time: 15 minutes
- Cook Time: 0 minutes
- Total Time: 1 hour 15 minutes
- Yield: 4 servings
- Category: Dessert
- Method: No-Cook
- Cuisine: American
Description
This decadent Chocolate Nutella Cheesecake Mousse combines creamy cream cheese, rich Nutella, and whipped cream to create a light yet indulgent dessert. Perfectly smooth and fluffy, this no-bake mousse is easy to prepare and can be garnished with whipped cream, chocolate shavings, or crushed hazelnuts for an elegant finish. Ideal for Nutella lovers and a quick treat to impress guests or enjoy at home.
Ingredients
Cheesecake Mousse Base
- 8 oz (225 g) cream cheese, softened
- 1/2 cup Nutella
- 1/4 cup powdered sugar
- 1 teaspoon vanilla extract
- 1/4 cup chocolate chips, melted and slightly cooled (optional for extra richness)
Whipped Cream
- 1 cup heavy whipping cream, cold
Toppings (Optional)
- Whipped cream
- Chocolate shavings
- Crushed hazelnuts
Instructions
- Beat Cream Cheese: In a large bowl, beat the softened cream cheese until it becomes smooth and creamy, ensuring there are no lumps for a perfect mousse texture.
- Add Nutella and Flavorings: Add Nutella, powdered sugar, and vanilla extract to the cream cheese. Beat until the mixture is well combined, smooth, and evenly colored. If using, gently mix in the melted and slightly cooled chocolate chips to enhance richness.
- Whip the Cream: In a separate chilled bowl, whip the cold heavy whipping cream until stiff peaks form. This step is crucial to create the light and airy texture of the mousse.
- Fold and Combine: Carefully fold the whipped cream into the Nutella-cheesecake mixture. Use gentle folding motions to keep the mixture fluffy and to avoid deflating the whipped cream.
- Chill and Serve: Spoon the mousse into serving glasses or bowls. Refrigerate for at least 1 hour to allow the mousse to set and the flavors to meld.
- Garnish (Optional): Before serving, add a decorative touch by topping with whipped cream, chocolate shavings, or crushed hazelnuts for extra texture and flavor.
Notes
- Ensure cream cheese is softened to room temperature for smooth mixing.
- Use cold heavy cream straight from the fridge for best whipping results.
- Melt chocolate chips gently to avoid burning and allow to cool slightly before adding to the mixture.
- For a nut-free version, omit Nutella or substitute with another chocolate spread without hazelnuts.
- This mousse can be prepared a day in advance and stored refrigerated for optimal flavor.


