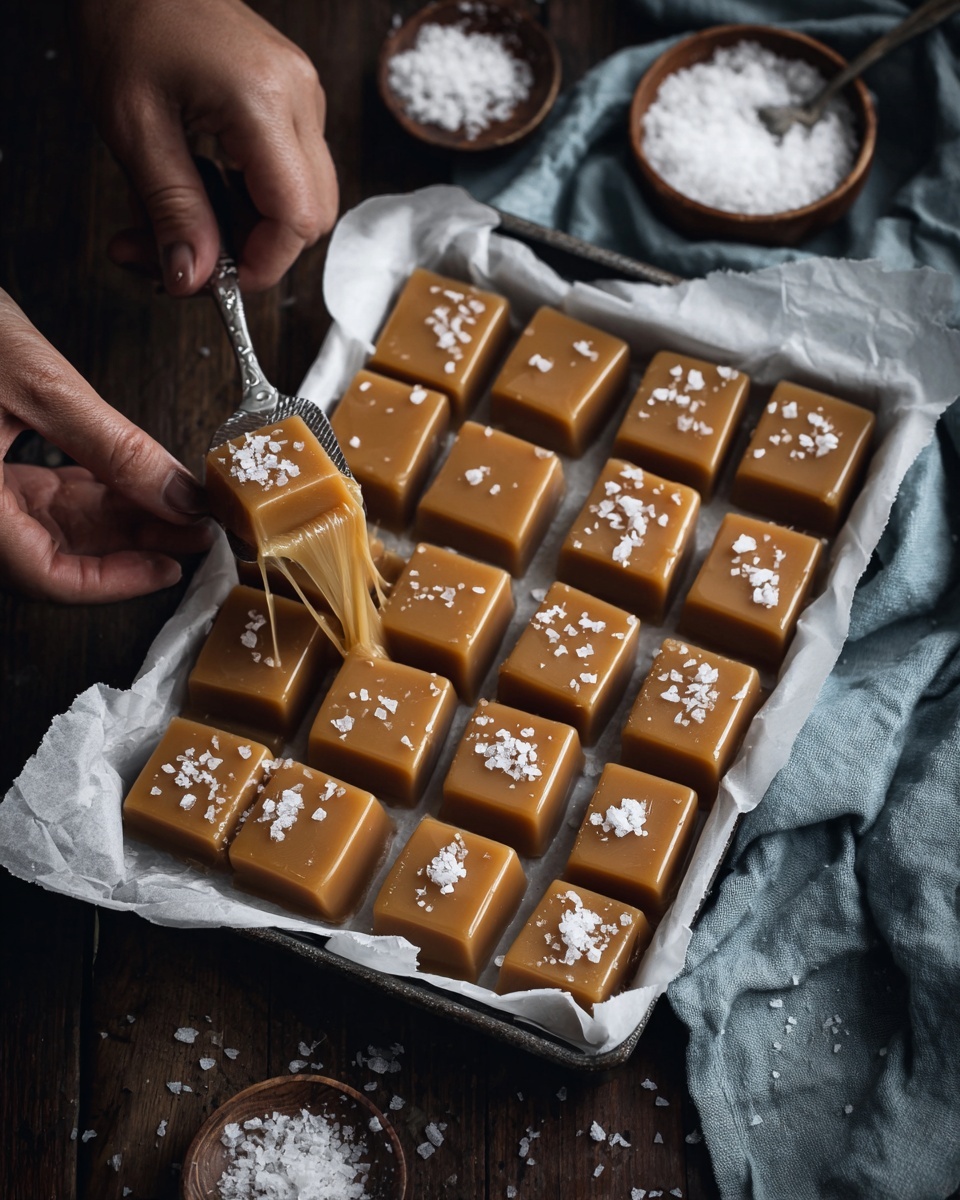
If you have a sweet tooth and love that perfect combo of rich, buttery sweetness with a touch of ocean-kissed salt, then you are going to fall head over heels for this Easy Salted Caramels Recipe. It is the kind of treat that feels fancy but comes together with such simplicity, making it your go-to for gifting, sharing, or just sneaking a bite (or two) on a cozy afternoon. With just a handful of pantry basics transforming into luscious, chewy caramels, this recipe is a heartfelt invitation to treat yourself and those you love.
Ingredients You’ll Need
The beauty of this Easy Salted Caramels Recipe lies in its straightforward ingredient list. Each element plays a crucial role: from the sweetness and texture to that velvety finish and the iconic salty pop on top.
- Granulated sugar: Provides the foundational sweetness and caramelizes beautifully for that golden color.
- Light corn syrup: Keeps the sugar from crystallizing, ensuring smooth, gooey caramels every time.
- Unsalted butter: Adds a rich creaminess and balances the sugar with its mellow flavor; cut into pieces for quick melting.
- Heavy cream: Brings lusciousness and richness to the caramel, creating that melt-in-your-mouth texture.
- Pure vanilla extract: Enhances all the flavors with a warm, comforting aroma and gentle sweetness.
- Flaky sea salt: Sprinkled on top, it delivers that perfect salty crunch that elevates every bite.
How to Make Easy Salted Caramels Recipe
Step 1: Prepare Your Pan
Start by lining an 8×8-inch baking pan with parchment paper and leave an overhang on the sides. This little trick makes it super easy to lift the entire caramel block out once it’s set, saving you from any sticky battles.
Step 2: Combine Ingredients in Saucepan
Next, gather your sugar, light corn syrup, butter pieces, and heavy cream in a heavy-bottomed saucepan. Heat everything over medium, stirring gently until the butter is fully melted and the sugar has completely dissolved. This ensures a smooth start for your caramel without any graininess.
Step 3: Cook to Perfect Caramel Stage
Bring the mixture to a gentle boil then attach a candy thermometer to your pan. Keep an eye on the pot and stir occasionally to prevent sticking or burning. Cook until the temperature hits 245°F, which is the firm ball stage — meaning your caramel will hold its shape but remain irresistibly chewy.
Step 4: Stir in Vanilla
Once you hit the target temperature, remove the pan from heat right away and stir in the pure vanilla extract. This final addition pulses through the caramel with a lovely fragrant warmth that’s absolutely essential.
Step 5: Pour and Cool
Pour the hot caramel mixture into your prepared pan, then smooth the surface with a spatula or the back of a spoon. Let it cool down at room temperature for about two hours until it firms up nicely. Patience here leads to the best texture.
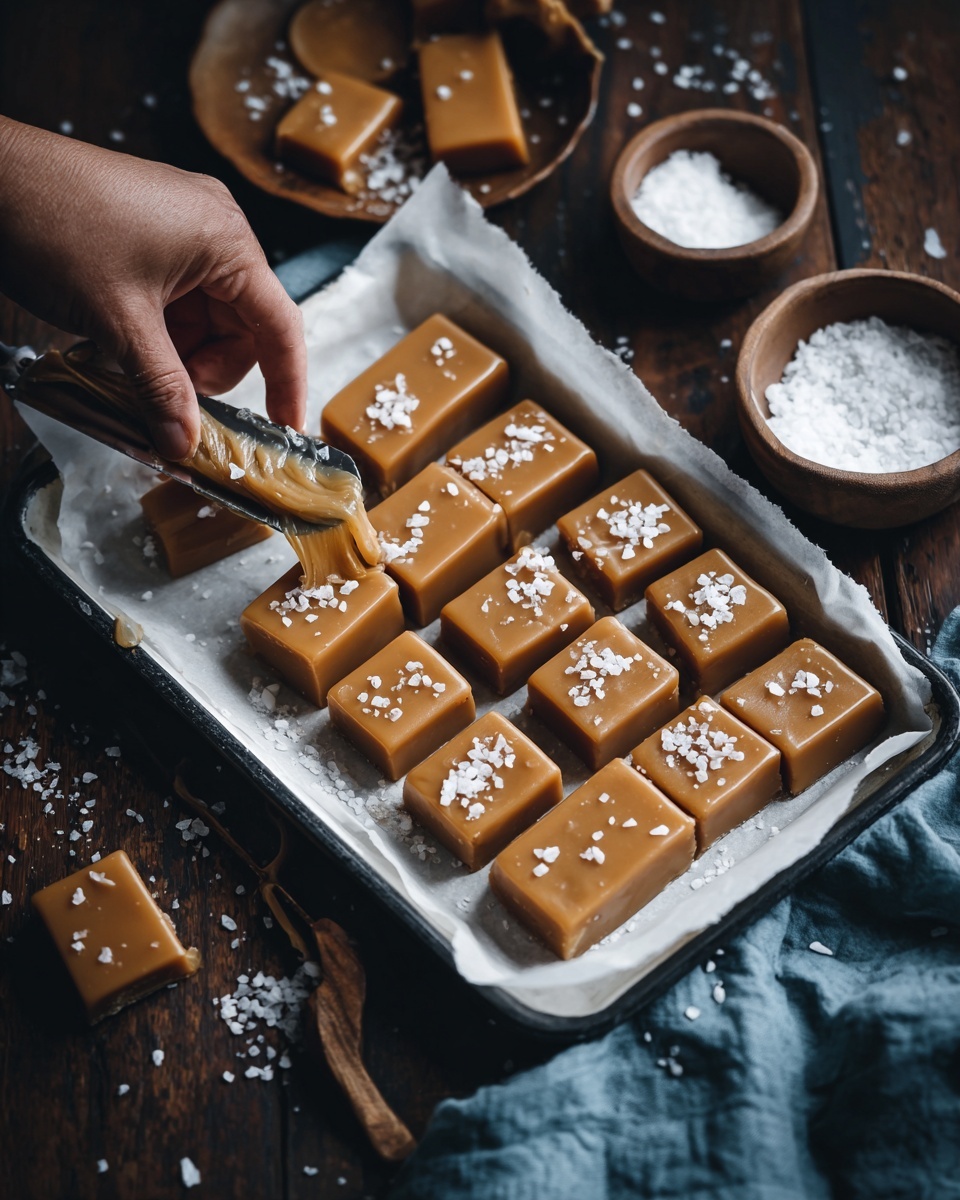
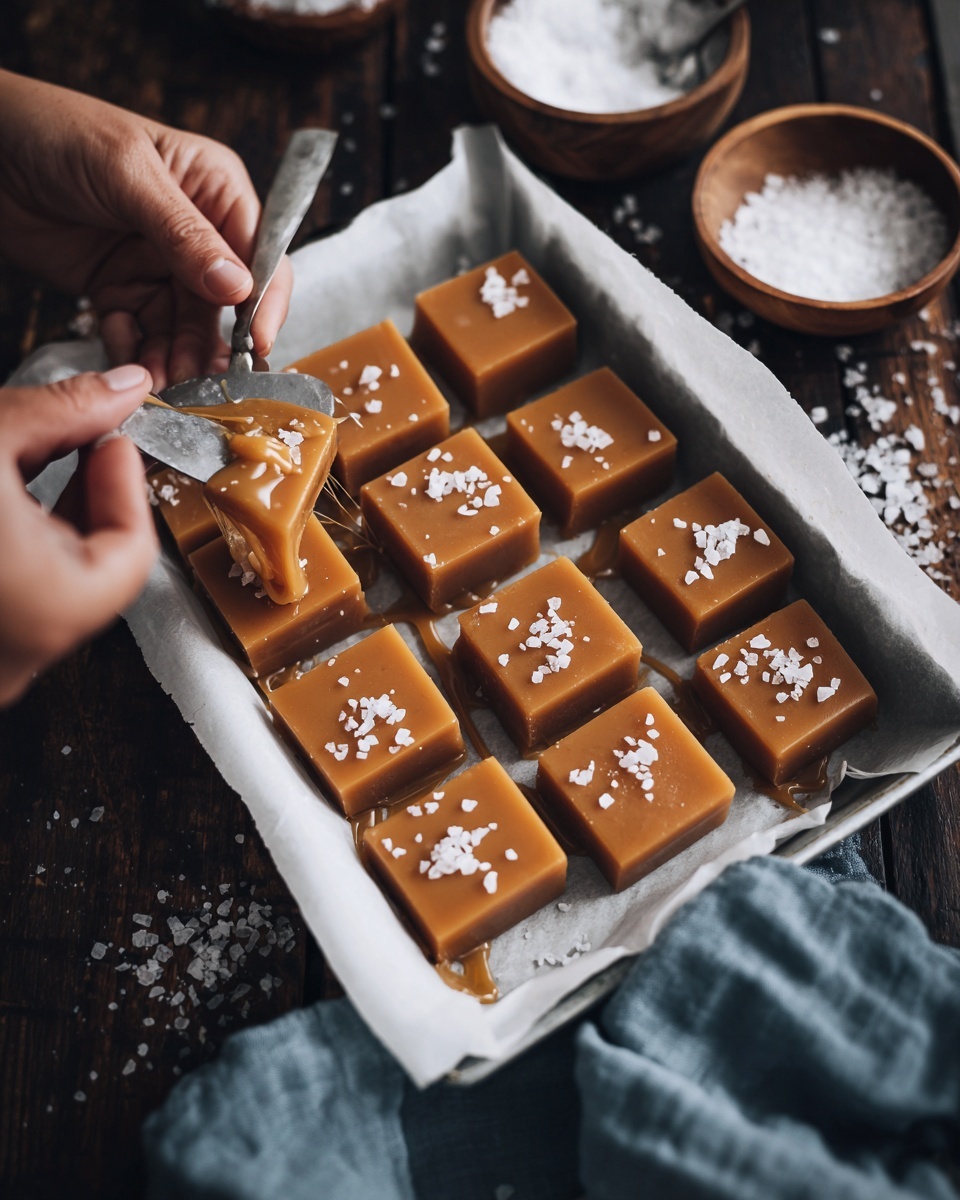
Step 6: Add Salt and Cut
When the caramel is set but still slightly soft, sprinkle the flaky sea salt generously on top to give that signature salty contrast. Use a sharp knife to cut into squares or rectangles, then wrap each piece individually in parchment or wax paper for neat storage and sharing.
How to Serve Easy Salted Caramels Recipe
Garnishes
Although these salted caramels shine on their own, try adding a light dusting of extra flaky sea salt right before serving for an extra burst of flavor. Another fun idea is tossing in finely chopped nuts for crunch or a drizzle of melted chocolate if you want to get fancy.
Side Dishes
These caramels pair wonderfully with a robust cup of coffee or earthy herbal tea to balance the sweetness. They also make a decadent ending to a holiday feast when served alongside fresh fruit or a rich chocolate dessert.
Creative Ways to Present
Wrap your caramels in colorful parchment paper or cute cellophane bags tied with twine for gifts that look as delightful as they taste. You can also stack them in pretty jars to create charming homemade presents or party favors that everyone will ask for.
Make Ahead and Storage
Storing Leftovers
Leftover Easy Salted Caramels Recipe treats should be kept in an airtight container at room temperature. Wrapped tightly in parchment or wax paper, they’ll stay fresh and chewy for about two weeks. Just make sure to keep them away from heat and humidity.
Freezing
If you want to stockpile your caramels, freezing works like a charm. Simply wrap each piece individually and place them in a freezer-safe container or zip-top bag. They can last up to two months this way. When ready to enjoy, thaw at room temperature wrapped still to prevent condensation.
Reheating
Because these are best enjoyed chewy and cool, reheating is usually unnecessary. However, if your caramels get a bit firm, you can gently warm them for a few seconds in a microwave or heat briefly in a warm oven wrapped in foil to soften just slightly before serving.
FAQs
Can I use salted butter instead of unsalted?
While you can, it’s better to use unsalted butter and control the salt added at the end. Salted butter varies in salt levels and may throw off the balance, making your caramels too salty or uneven.
What is the ‘firm ball stage’?
The firm ball stage refers to a temperature of around 245°F at which caramel or candy forms a firm but pliable ball when dropped into cold water — essential for chewy texture in caramels.
How do I prevent grainy caramels?
Using light corn syrup is key because it interferes with sugar crystallization. Also, make sure to stir gently and dissolve sugar thoroughly before boiling to keep the texture smooth.
Can I substitute heavy cream with something else?
Heavy cream is best for that rich, tender chew. Low-fat milk or half-and-half won’t provide the same texture or flavor, so try to stick to heavy cream for perfect results.
How do I know when my caramel is done?
Use a reliable candy thermometer and watch for 245°F. The timing can differ depending on your stove, so temperature is your best guide to get that signature chewy consistency.
Final Thoughts
This Easy Salted Caramels Recipe is pure magic in your kitchen, transforming simple ingredients into a bite of buttery, salty-sweet heaven. It’s a small project with big rewards and a treat that will surely become your new favorite to share or savor solo. Give it a whirl and savor the joy of homemade caramel bliss!
Print
Easy Salted Caramels Recipe
- Prep Time: 5 minutes
- Cook Time: 20 minutes
- Total Time: 2 hours 25 minutes
- Yield: 25 caramels
- Category: Candy
- Method: Stovetop
- Cuisine: American
Description
These Easy Salted Caramels are a perfect blend of rich, buttery caramel with a hint of sea salt, creating a delightful treat that’s soft, chewy, and irresistible. Made with simple ingredients and cooked to the ideal firm ball stage, these caramels are perfect for gifting or enjoying as a sweet snack.
Ingredients
Caramel Ingredients
- 1 cup granulated sugar
- 1/2 cup light corn syrup
- 1/2 cup unsalted butter, cut into pieces
- 1 cup heavy cream
- 1 teaspoon pure vanilla extract
Topping
- 1 teaspoon flaky sea salt (for topping)
Instructions
- Prepare the Pan: Line an 8×8-inch baking pan with parchment paper, ensuring there is an overhang on the sides to help remove the caramel easily once set.
- Combine Ingredients: In a heavy-bottomed saucepan, mix together the granulated sugar, light corn syrup, unsalted butter pieces, and heavy cream over medium heat. Stir continuously until the butter is fully melted and the sugar dissolves completely.
- Cook to Temperature: Bring the mixture to a gentle boil while attaching a candy thermometer to the saucepan. Cook, stirring occasionally, until the caramel reaches 245°F, which is the firm ball stage, indicating the perfect texture for chewy caramels.
- Add Vanilla: Remove the saucepan from heat and stir in the pure vanilla extract thoroughly to blend the flavor evenly throughout the caramel.
- Set the Caramels: Pour the hot caramel mixture into the prepared pan and smooth the surface with a spatula. Let it cool at room temperature without disturbance for about 2 hours to allow it to set properly.
- Finish and Cut: Once cooled and set, sprinkle the surface evenly with flaky sea salt. Using the parchment paper overhang, lift the caramel out of the pan and cut into squares or rectangles. Wrap each piece individually in parchment or wax paper for storage or gifting.
Notes
- Use a heavy-bottomed saucepan to prevent burning the caramel.
- Make sure to monitor the temperature carefully with a candy thermometer for perfect texture.
- The firm ball stage at 245°F is crucial; higher temperature leads to harder caramels.
- Allow caramels to cool fully before cutting to avoid melting and uneven shapes.
- Wrapping each caramel individually helps to keep them fresh and prevents sticking.
- Store in an airtight container at room temperature for up to 2 weeks.

