
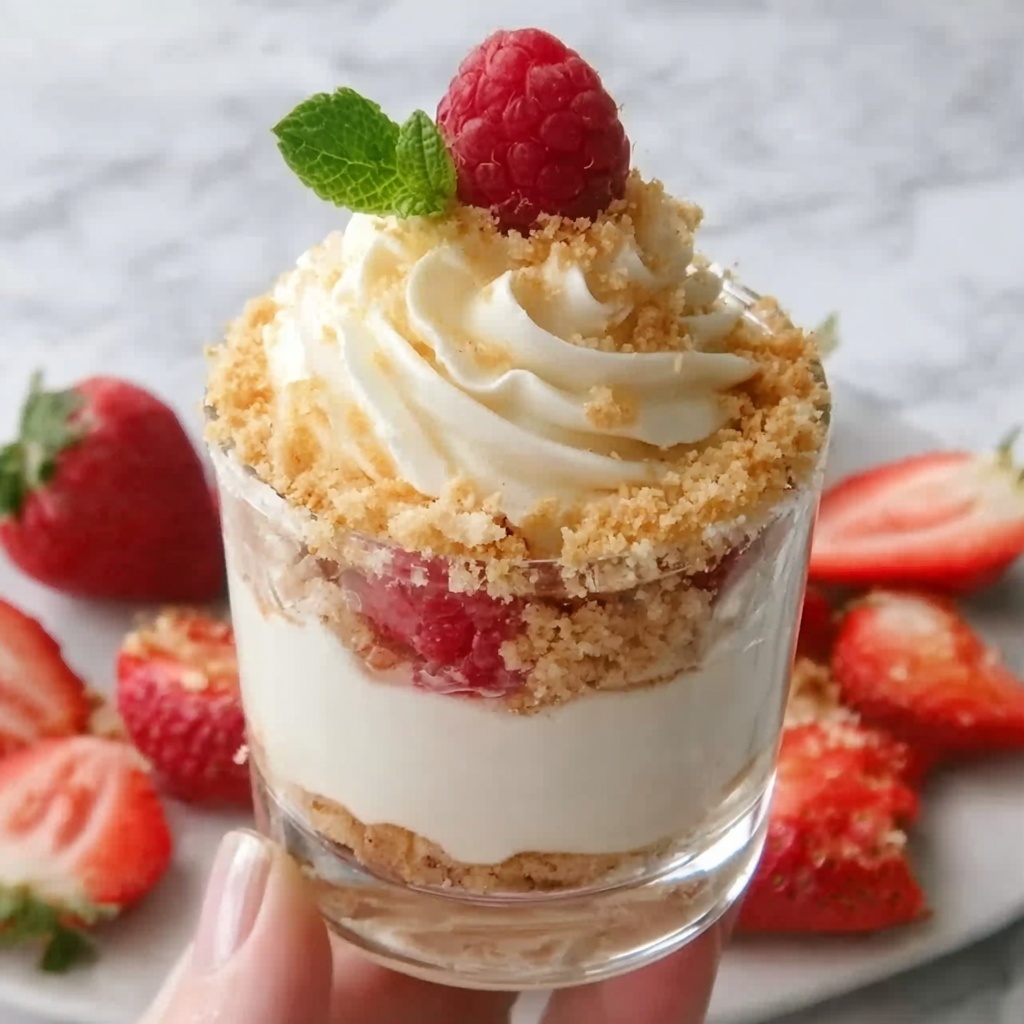
If you’re craving a dessert that feels like a celebration in every bite, you have to try this Fluffy No-Bake Cheesecake Pudding Cups Recipe. It’s the perfect balance of light, creamy, and sweet, with a buttery crust that brings everything together without heating up your kitchen. This dessert combines the rich tang of cream cheese with the smooth silkiness of whipped topping, creating irresistible pudding cups that are both easy to prepare and delightfully indulgent. Whether it’s a quick treat for yourself or a charming dish to impress friends, these no-bake cups will quickly become a favorite in your recipe collection.
Ingredients You’ll Need
Simple, classic ingredients come together in this recipe to create layers of flavor and texture that wow every time. Each component plays a key role, from the creamy smoothness of the cream cheese to the crunchy, buttery graham cracker crust.
- 8 oz cream cheese, softened: The ultimate base that provides richness and a velvety texture.
- 1/3 cup powdered sugar: Adds sweetness without graininess, blending so smoothly.
- 1 tsp pure vanilla extract: Injects a warm, aromatic note that elevates the whole cup.
- 1/2 cup plain Greek yogurt or coconut cream: Brings a subtle tang and creaminess, plus a light freshness.
- 1 cup whipped topping or whipped coconut cream: Keeps the mixture airy and fluffy, giving that melt-in-your-mouth feel.
- 1/2 cup graham cracker crumbs (or crushed digestive biscuits): Creates a crisp, buttery crust foundation.
- 2 tbsp melted butter: Binds the crumbs and adds richness to your crust.
- Optional fresh berries, chocolate shavings, or lemon zest for garnish: Adds beautiful color and complementary flavor bursts on top.
How to Make Fluffy No-Bake Cheesecake Pudding Cups Recipe
Step 1: Prepare the Crust
Start by mixing the graham cracker crumbs with melted butter in a small bowl until every crumb is perfectly coated. This ensures the crust holds together well and delivers that satisfying crunch below each creamy layer.
Step 2: Form the Base in Your Cups
Spoon about a tablespoon of the crust mixture into each serving cup. Lightly press it down to create a compact, even base. This step is key to providing the textural contrast you’ll love in every spoonful of your dessert.
Step 3: Beat the Cream Cheese and Sugar
In a medium mixing bowl, beat the softened cream cheese and powdered sugar until completely smooth and fluffy. This fluffy base is what starts to give the pudding cups their signature light and creamy personality.
Step 4: Add Vanilla and Yogurt
Mix in the vanilla extract and Greek yogurt or coconut cream. This adds layers of flavor and a refreshing tanginess that balances the sweetness perfectly, making every bite more interesting.
Step 5: Fold in the Whipped Topping
Gently fold the whipped topping or coconut whipped cream into the cream cheese mixture. Be tender here to keep that airy, fluffy texture that makes this Fluffy No-Bake Cheesecake Pudding Cups Recipe truly stand out.
Step 6: Assemble the Cups
Spoon or pipe the creamy cheesecake mixture over the crust in each cup until filled to the top. A piping bag can make this step look extra fancy and professional, but a spoon works just fine and feels more casual and fun.
Step 7: Chill to Set
Pop your pudding cups into the refrigerator for at least two hours to let everything set perfectly. This chilling step melds the flavors and gives you that classic cheesecake firmness in a wonderfully fluffy format.
Step 8: Garnish and Serve
Before serving, get creative with garnishes like fresh berries, lemon zest, or even some chocolate shavings. These add vibrant pops of color and fresh flavors that brighten up the rich cheesecake pudding cups beautifully.
How to Serve Fluffy No-Bake Cheesecake Pudding Cups Recipe
Garnishes
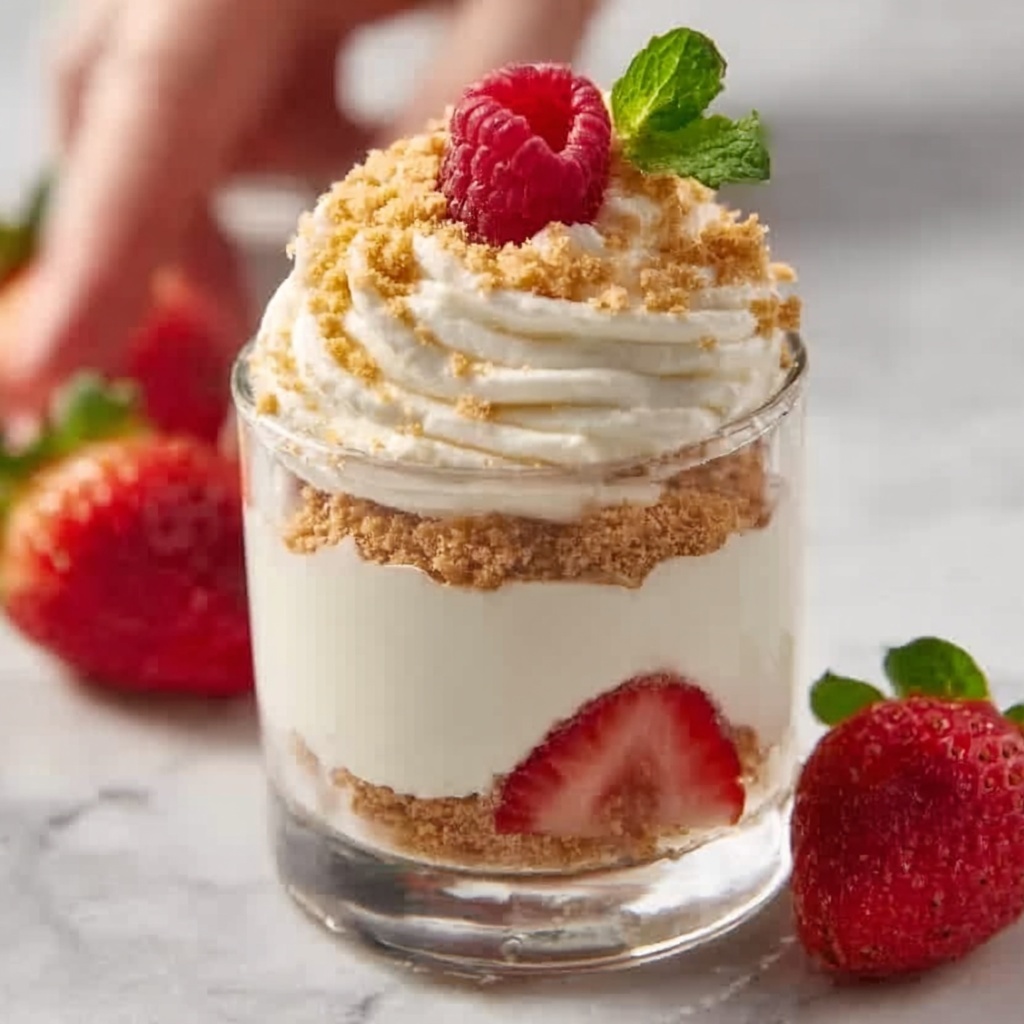
Garnishes can take this Fluffy No-Bake Cheesecake Pudding Cups Recipe from simple to spectacular. Try sprinkling fresh raspberries or blueberries on top for a juicy burst and pretty contrast, or zest a bit of lemon peel for a citrusy lift that cuts through the richness. Chocolate shavings add indulgence and texture if you’re feeling extra decadent.
Side Dishes
Serve these pudding cups alongside light, fresh fruit salads or a small scoop of sorbet to keep your dessert experience balanced and refreshing. They’re so richly satisfying on their own that you won’t need much else, but pairing with complementary lighter dishes can be a nice touch for a full dessert spread.
Creative Ways to Present
Presentation can turn this easy dessert into the star of any gathering. Try layering the crust and cheesecake mixture in clear mini jars or mason jars for a rustic yet elegant effect. Use decorative spoons or add edible flowers on top for a wow factor that guests will talk about. The Fluffy No-Bake Cheesecake Pudding Cups Recipe adapts beautifully to any style or occasion!
Make Ahead and Storage
Storing Leftovers
If you happen to have leftovers (which might not last long!), store them covered in the refrigerator for up to three days. The texture remains delightfully creamy and the flavors actually deepen as they rest overnight, making them perfect to prepare ahead for a party.
Freezing
While freezing is possible, it can slightly change the texture of the pudding cups, sometimes making them a bit less fluffy after thawing. If you choose to freeze, place the cups in an airtight container and thaw overnight in the refrigerator before serving. Give them a gentle stir or whisk to help bring back some creaminess.
Reheating
This dessert is best enjoyed cold, so reheating isn’t recommended. Just keep them chilled and serve straight from the fridge for that perfect, refreshing bite each time.
FAQs
Can I use regular yogurt instead of Greek yogurt?
Yes! Regular yogurt will work, though Greek yogurt tends to provide a thicker, creamier texture that makes these pudding cups extra luscious. Choose your favorite based on what you have or your taste preference.
Is it possible to make this recipe dairy-free?
Absolutely. Simply swap out the cream cheese for a dairy-free version and use coconut cream for both the yogurt and whipped topping. This keeps the dessert just as fluffy and delicious with a wonderful tropical twist.
Can I make this recipe ahead of time for a party?
Definitely! This Fluffy No-Bake Cheesecake Pudding Cups Recipe actually gets better with a few hours of chilling, so making it up to a day in advance is perfect. Just keep them refrigerated and add garnishes right before serving.
Can I use another type of crust instead of graham crackers?
Yes, crushed digestive biscuits or even chocolate cookies make fantastic alternatives. Just be sure to adjust the melted butter if needed to get the right texture for pressing down into the cups.
How do I get the pudding cups really light and fluffy?
The secret is folding the whipped topping gently into the cream cheese mixture without overmixing. This keeps air trapped inside, giving you that cloud-like texture that makes this recipe so special.
Final Thoughts
There’s just something magical about the Fluffy No-Bake Cheesecake Pudding Cups Recipe that makes it an instant crowd-pleaser every time. It’s approachable enough for weeknight desserts but elegant enough for special occasions, all with minimal fuss. I can’t recommend it enough if you want a sweet treat that’s creamy, dreamy, and simply unforgettable. So go ahead, gather those ingredients, and get ready to delight yourself and your loved ones with this comforting, fluffy no-bake cheesecake sensation!
Print
Fluffy No-Bake Cheesecake Pudding Cups Recipe
- Prep Time: 20 minutes
- Cook Time: 0 minutes
- Total Time: 2 hours 20 minutes
- Yield: 6 servings
- Category: Dessert
- Method: No-Cook
- Cuisine: American
- Diet: Vegetarian
Description
These Fluffy No-Bake Cheesecake Pudding Cups are a light, creamy dessert that requires no baking and minimal effort. With a buttery graham cracker crust and a luscious cream cheese filling folded with whipped topping, they offer a delightful treat perfect for summer or any time you crave a quick, satisfying dessert. Garnish options like fresh berries, chocolate shavings, or lemon zest add a refreshing touch to this easy-to-make pudding cup.
Ingredients
Crust
- 1/2 cup graham cracker crumbs (or crushed digestive biscuits)
- 2 tbsp melted butter
Filling
- 8 oz cream cheese, softened
- 1/3 cup powdered sugar
- 1 tsp pure vanilla extract
- 1/2 cup plain Greek yogurt or coconut cream
- 1 cup whipped topping or whipped coconut cream
Garnish (optional)
- Fresh berries
- Chocolate shavings
- Lemon zest
Instructions
- Prepare the crust: Combine graham cracker crumbs with melted butter in a small bowl until well coated and the mixture resembles wet sand, which will help it bind as a crust.
- Form the crust base: Spoon about 1 tablespoon of the crumb mixture into each serving cup and press lightly with the back of the spoon or your fingers to create an even, compact base layer for the cheesecake filling.
- Beat cream cheese and sugar: In a medium mixing bowl, use a hand mixer or whisk to beat the softened cream cheese with powdered sugar until the mixture is smooth, creamy, and fluffy, removing any lumps.
- Add flavor and creaminess: Mix in the vanilla extract and plain Greek yogurt (or coconut cream if dairy-free) until fully blended, adding moisture and a subtle tanginess to the filling.
- Fold in whipped topping: Gently fold the whipped topping or whipped coconut cream into the cream cheese mixture using a spatula to keep the texture light and airy without deflating the mixture.
- Assemble pudding cups: Spoon or pipe the cheesecake filling on top of the graham cracker crust in each cup, filling them up evenly and smoothing the tops for presentation.
- Chill to set: Place the assembled cups in the refrigerator and chill for at least 2 hours, allowing the filling to firm up and flavors to meld beautifully.
- Garnish and serve: Just before serving, garnish each cup with fresh berries, chocolate shavings, or lemon zest to add color, texture, and a fresh burst of flavor.
Notes
- Ensure cream cheese is fully softened to avoid lumps in the filling.
- For a dairy-free version, substitute Greek yogurt with coconut cream and use whipped coconut cream instead of dairy whipped topping.
- Press the crust firmly to prevent it from crumbling when serving.
- Chilling time is essential for the pudding cups to set properly; don’t skip this step.
- These cups can be made up to 24 hours in advance and stored covered in the refrigerator.
- Feel free to experiment with different crusts like crushed cookies or nuts.


