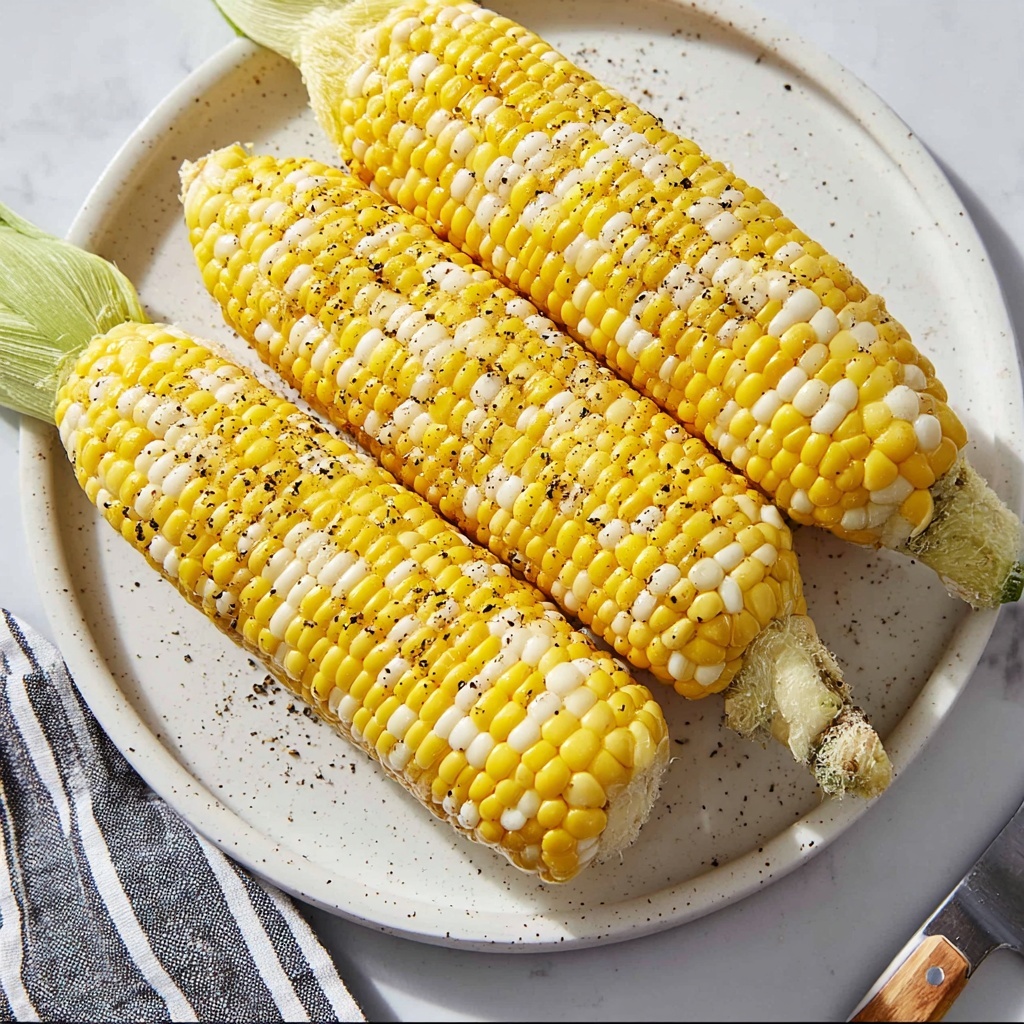
If you are looking for a simple yet incredibly flavorful way to enjoy summer’s sweetest treat, this Grilled Corn on the Cob with Husks and Butter Recipe is exactly what you need. It celebrates corn in its most rustic, natural form, grilling it right in its husk to lock in moisture and infuse a subtle smoky char, while the butter melts into every kernel for a luscious, indulgent finish. This recipe brings out the best of fresh corn, balancing juicy sweetness with a hint of savory goodness.

Ingredients You’ll Need
Don’t be fooled by the short list—each ingredient in this recipe plays a crucial role in creating that perfect burst of flavor and mouthwatering texture. These simple essentials come together to let the natural deliciousness of the corn shine through, with just the right seasoning and richness.
- 4 ears corn on the cob (with the husk): Fresh corn with husks intact allows for natural steaming and protects the kernels during grilling.
- 1 tablespoon kosher salt (plus more for serving): Helps season the corn while soaking and enhances natural sweetness.
- Ground black pepper (to taste): Adds a gentle kick of spice to complement the butter’s richness.
- Unsalted butter (optional; for serving): Provides creamy indulgence that melts perfectly over the hot grilled kernels.
How to Make Grilled Corn on the Cob with Husks and Butter Recipe
Step 1: Prepare the Corn Husk
Start by peeling back the husk gently without detaching it from the cob entirely—this makes it easy to clean and fold back afterwards. Removing the silky threads is essential for a pleasant eating experience, so take your time to strip away every bit of silk before folding the husks back in place to prepare for soaking.
Step 2: Soak the Corn
Fill a large bowl with water and stir in a tablespoon of kosher salt until it dissolves completely. Submerge the corn with husks still attached in the salty water and let it soak for 10 to 20 minutes. This step not only seasons the corn but also helps the husks stay moist, protecting the kernels during grilling and adding a gentle steam effect.
Step 3: Preheat the Grill
While your corn soaks, get your grill fired up to medium heat. This temperature range lets the corn cook slowly enough to develop a beautiful char without burning. Patience here is key to achieving that delicate balance of smokiness and juiciness that makes this Grilled Corn on the Cob with Husks and Butter Recipe so comforting.
Step 4: Grill the Corn
Remove the corn from the water and place it directly on the grill grates. Turn the ears every five minutes to ensure even cooking and an all-around charred flavor. Grill for about 20 minutes total—your corn should be tender, juicy, and lightly charred all over, with the husks slightly blackened but intact to hold the moisture in.
Step 5: Serve with Butter and Seasonings
Once the corn is off the grill, carefully peel away and discard the husks. While the corn is piping hot, generously slather it with unsalted butter so it melts into every crevice. Finish with a sprinkle of kosher salt and freshly ground black pepper to your taste. This simple finishing touch elevates the dish from ordinary to incredible.
How to Serve Grilled Corn on the Cob with Husks and Butter Recipe
Garnishes
A classic grilled corn on the cob is a joy on its own, but you can brighten things up with simple garnishes like a dusting of smoked paprika, a sprinkle of fresh chopped herbs like cilantro or parsley, or a squeeze of fresh lime juice for a zingy contrast. Adding a little parmesan cheese or a dusting of chili powder can also create a fun flavor twist that guests will love.
Side Dishes
This Grilled Corn on the Cob with Husks and Butter Recipe pairs wonderfully with a variety of summertime plates. Think fresh green salads, barbecue ribs or chicken, and creamy coleslaw for that perfect balance of textures. It also works beautifully alongside grilled meats or a hearty bean salad for an easy backyard feast.
Creative Ways to Present
For a charming touch, serve the corn with small ramekins filled with different flavored butters, such as garlic herb or chili lime. Wrapping the finished cobs in colorful napkins tied with twine makes for an inviting presentation at picnics or casual dinners. Alternatively, you can slice the grilled kernels off the cob and toss them into salads or salsas for a creative take on this classic dish.
Make Ahead and Storage
Storing Leftovers
If you happen to have leftovers (which is rare because this recipe is so addictive), wrap the cooled grilled corn tightly in plastic wrap or place it in an airtight container and store it in the refrigerator. Consume within 2 days for the best texture and flavor. Avoid storing corn on the cob with husks in the fridge once grilled, as it can make the kernels moist and soggy.
Freezing
Freezing whole grilled corn on the cob is possible, but for better results, remove the husks and cut the kernels off the cob before freezing. Spread the kernels out on a baking sheet to freeze individually, then transfer to a freezer-safe bag. This way, you can use the kernels in recipes later without compromising texture.
Reheating
To reheat leftover grilled corn, wrap it in aluminum foil and warm it in the oven at 350°F (175°C) for 10-15 minutes or until heated through. You can also pop kernel-only corn in a skillet with a little butter to refresh that grilled flavor and warmth. Avoid microwaving as it can cause uneven heating and rubbery texture.
FAQs
Can I grill corn without soaking the husks?
While you can grill corn without soaking, doing so helps prevent the husks from burning too fast and keeps the kernels juicy by steaming them from within. Soaking is highly recommended for the best texture and flavor.
Is it necessary to remove all the silk from the corn?
Yes, removing all the silk is important. Any leftover silk can be unpleasant to eat and may burn on the grill, creating bitter spots. Take your time to peel the silk away gently for the perfect bite.
Can I use salted butter instead of unsalted?
You can use salted butter if you prefer, but keep in mind you may want to reduce or omit the extra salt when serving to avoid over-seasoning. Unsalted butter offers better control over the final flavor.
How do I know when grilled corn is done?
The corn is done when the kernels are tender and juicy, and the husks are slightly charred but not completely blackened. After about 20 minutes of grilling and turning, test by piercing a kernel with a fork; it should be soft and plump.
Can I make this recipe on a stovetop grill pan?
Absolutely! A grill pan works well for this recipe—just be sure to soak the corn husks as directed to prevent burning, and turn frequently for even cooking. The flavor won’t be quite as smoky, but it’s a great indoor option.
Final Thoughts
I cannot recommend this Grilled Corn on the Cob with Husks and Butter Recipe enough for your next cookout or casual meal. It’s straightforward, uses minimal ingredients, and delivers maximum flavor with that irresistibly smoky, buttery goodness. Give it a whirl—you might just find your new favorite way to eat corn!
Print
Grilled Corn on the Cob with Husks and Butter Recipe
- Prep Time: 20 minutes
- Cook Time: 25 minutes
- Total Time: 45 minutes
- Yield: 4 ears
- Category: Side Dish
- Method: Grilling
- Cuisine: American
Description
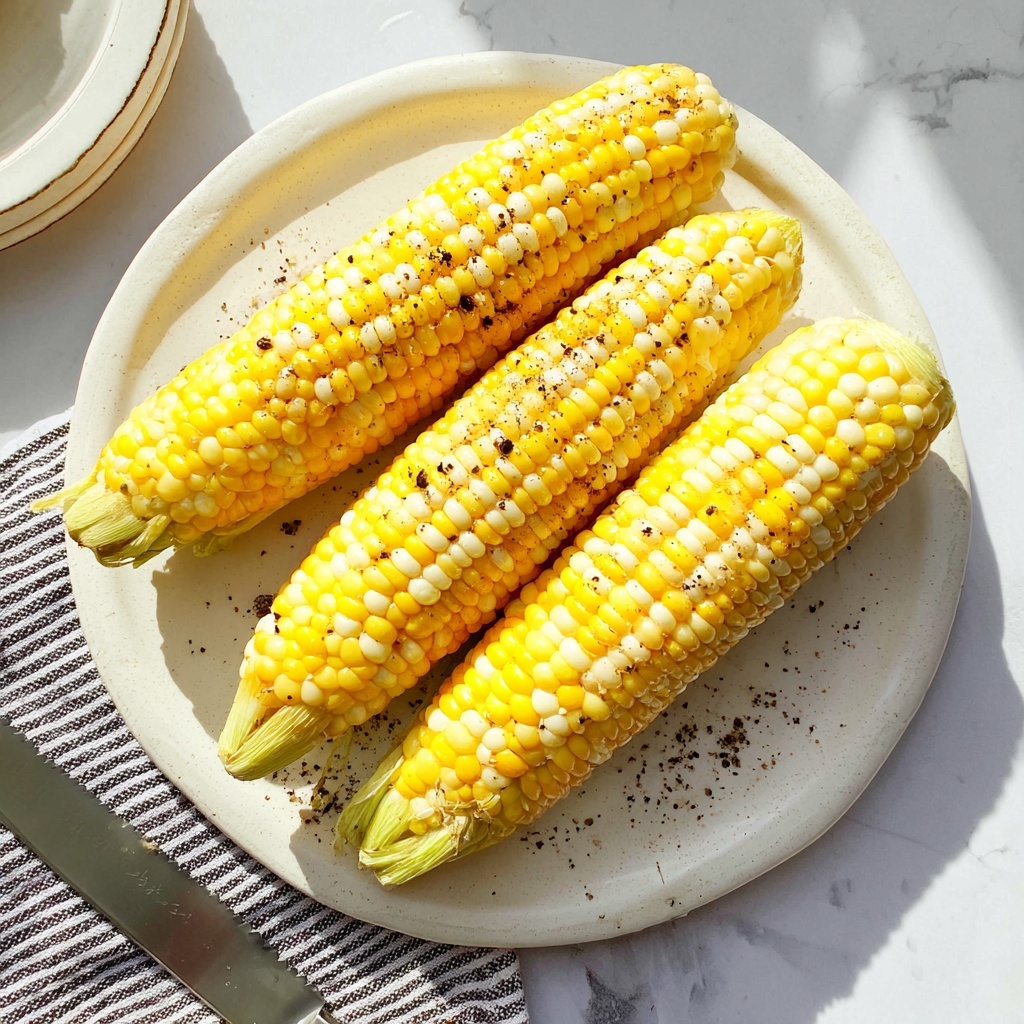
This Grilled Corn on the Cob recipe offers a simple and delicious way to enjoy fresh corn with a smoky, charred flavor. The corn is soaked in salted water, then grilled with the husks on to preserve moisture and enhance the natural sweetness. Perfect as a summer side dish, it’s served with butter, salt, and pepper for a classic touch.
Ingredients
Corn
- 4 ears corn on the cob (with the husk)
Seasonings & Serving
- 1 tablespoon kosher salt (plus more for serving)
- Ground black pepper (to taste)
- Unsalted butter (optional; for serving)
Instructions
- Prepare the corn: Peel back the husks of each ear of corn without removing them completely. This allows you to access the silk for removal while keeping the husks attached for grilling.
- Remove the silk: Carefully pull off all the corn silk strands from each ear. Then, fold the husks back over the corn to cover it completely.
- Soak the corn: In a large bowl, dissolve 1 tablespoon of kosher salt in water. Place the corn ears into the salted water and let them soak for 10 to 20 minutes. This step helps season the corn and keeps it moist during grilling.
- Preheat the grill: Heat your grill to medium heat, creating an ideal environment for slow, even grilling of the corn.
- Grill the corn: Remove the corn from the water and place the ears directly on the grill. Cook for about 20 minutes total, turning every 5 minutes to ensure all sides are evenly grilled and the husks get lightly charred.
- Serve: Carefully remove the corn husks before serving. Slather the hot corn with unsalted butter if desired, and season with additional kosher salt and ground black pepper to taste. Serve immediately for best flavor.
Notes
- Soaking the corn in salted water helps season the kernels and prevents the husks from burning too quickly during grilling.
- Turning the corn regularly ensures even cooking and prevents charring on one side.
- Use medium heat to allow the corn to cook through without burning the husks.
- You can leave some husk on if you prefer a smokier flavor, but be cautious of flare-ups on the grill.
- Butter is optional but adds richness; you can also use flavored butters or sprinkle with herbs for variety.

