
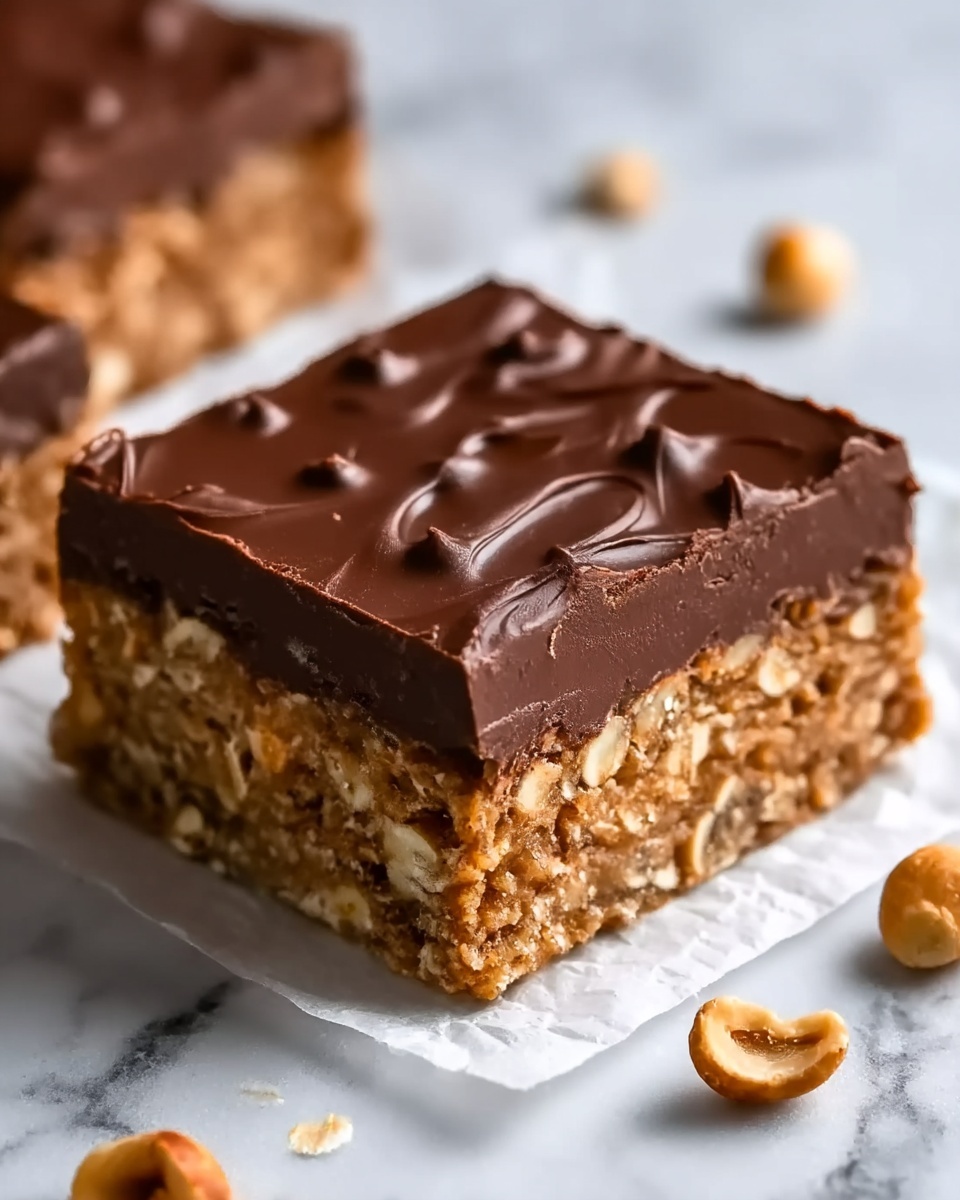
If you’re craving a treat that feels indulgent yet keeps things on the healthier side, the Healthy No-Bake Chocolate Peanut Butter Crunch Bars Recipe is your new best friend. These bars bring together the comforting flavors of creamy peanut butter and rich chocolate with a satisfying crispy crunch that’s simply irresistible. Best of all, they come together without heating up the oven, making them perfect for any time you want a quick, wholesome snack that feels like a celebration in every bite.
Ingredients You’ll Need
This recipe uses simple, wholesome ingredients that each play an essential role in building the bars’ delicious texture and flavor. From the creamy peanut butter that binds everything, to the crispy rice cereal that delivers that much-loved crunch, every item works in harmony to create something truly special.
- 1 cup smooth peanut butter: Acts as the creamy base, giving the bars their rich, nutty flavor and helping to hold everything together.
- 1/2 cup maple syrup or agave nectar: Provides natural sweetness while keeping the bars moist and chewy.
- 1/4 cup coconut oil: Adds smoothness and assists in setting the bars without baking.
- 1 tsp vanilla extract: Lifts the flavor profile with a warm and aromatic note.
- 3 cups crispy rice cereal: Delivers the joyful crunch that makes these bars so fun to eat.
- 1 1/2 cups dairy-free chocolate chips: Brings a luscious, melty chocolate layer that perfectly complements the peanut butter.
- 1/4 cup peanut butter (for topping): Adds a decorative swirl and extra peanut butter punch on top.
How to Make Healthy No-Bake Chocolate Peanut Butter Crunch Bars Recipe
Step 1: Prepare Your Pan
Start by lining an 8-by-8-inch baking pan with parchment paper. This simple step makes it much easier to lift out the bars later and helps keep your cleaning quick and painless.
Step 2: Melt Peanut Butter Mixture
In a large microwave-safe bowl, combine the smooth peanut butter, maple syrup, and coconut oil. Heat them in 20-second bursts in the microwave, stirring gently between intervals until everything is melted and well blended. This creates the luscious glue that will hold your bars together perfectly.
Step 3: Flavor It Up
Stir in the vanilla extract into your peanut butter blend. This small addition makes a big difference, infusing the mixture with a fragrant warmth that amps up the overall deliciousness of your bars.
Step 4: Mix in the Cereal
Next, add your crispy rice cereal to the bowl and mix it in thoroughly. The cereal should be fully coated with that peanut buttery mixture — this is where the crunch and chew come alive!
Step 5: Press Into the Pan
Transfer your mixture to the prepared pan. Press it down firmly and evenly with the back of a spoon or your hands lined with parchment. Firm packing here ensures your bars will hold together once chilled.
Step 6: Melt the Chocolate
Place the dairy-free chocolate chips in a microwave-safe bowl and heat in 20-second increments. Stir between each round until the chocolate melts into a smooth, glossy layer that’s ready to be poured.
Step 7: Add Chocolate Layer
Pour the melted chocolate over the pressed cereal mixture, carefully spreading it out to cover the surface evenly. This chocolate top is what elevates these bars from simple to sensational.
Step 8: Swirl with Peanut Butter
Drizzle the remaining 1/4 cup of peanut butter over the chocolate and use a knife or toothpick to create beautiful swirls. Apart from looking pretty, this adds an extra layer of nutty flavor right on top.
Step 9: Chill Until Set
Pop the pan into the refrigerator for at least 1 hour. This chilling step firms up the chocolate and peanut butter layers, making the bars easier to slice and enjoy.
Step 10: Slice and Serve
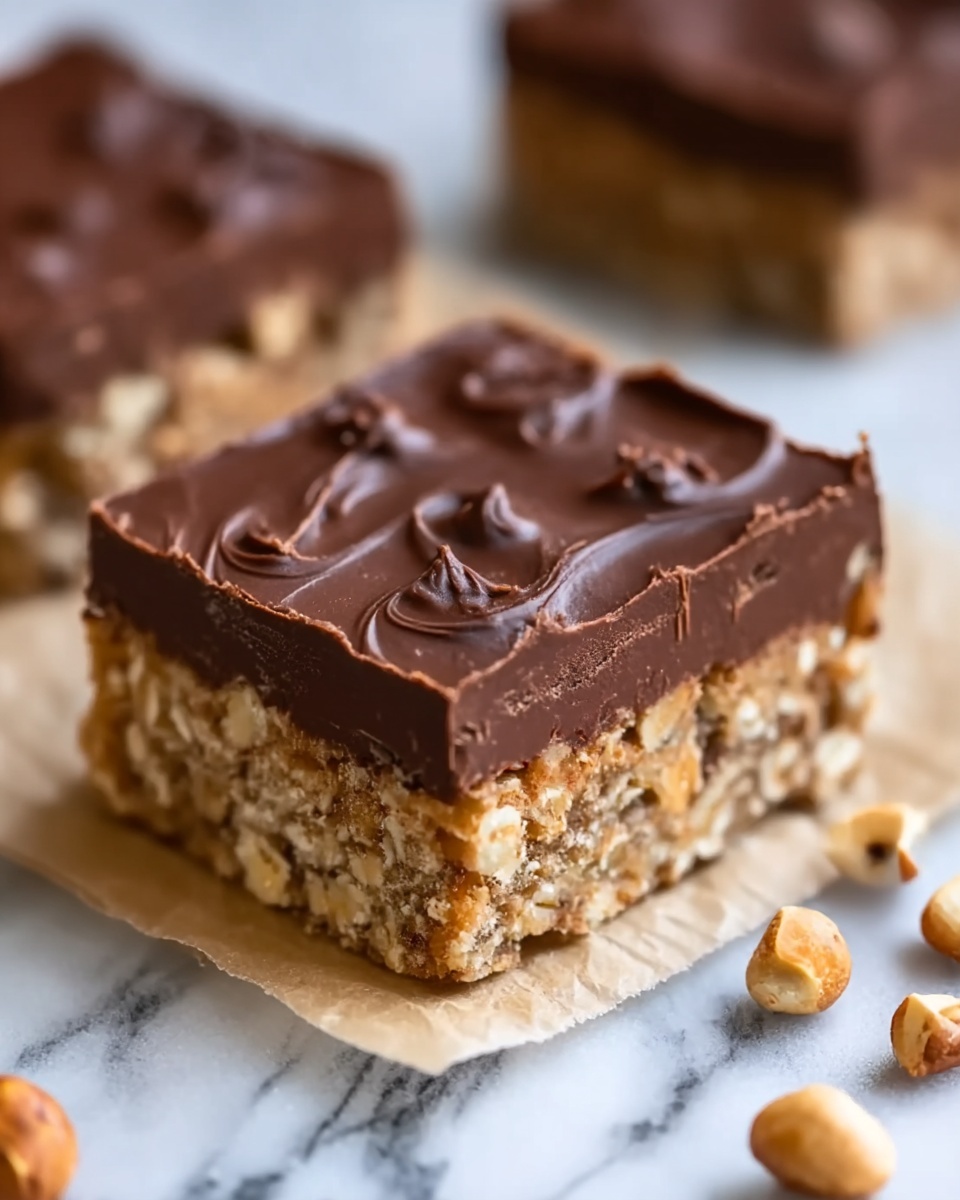
Once set, lift the whole block from the pan using the parchment paper edges and transfer it to a cutting board. Cut into squares or rectangles, serve, and watch everyone’s eyes light up with delight.
How to Serve Healthy No-Bake Chocolate Peanut Butter Crunch Bars Recipe
Garnishes
These bars are delightful on their own, but a sprinkle of crushed peanuts or a light dusting of sea salt over the peanut butter swirls can add an exciting crunch and a subtle salty contrast. Fresh berries on the side also brighten the plate and balance the richness.
Side Dishes
Pair your Healthy No-Bake Chocolate Peanut Butter Crunch Bars Recipe with a tall glass of cold almond milk or a cup of herbal tea for a comforting snack experience. They also make a fantastic midday energy boost alongside a handful of fresh fruit.
Creative Ways to Present
Try layering these bars in a pretty glass jar lined with parchment for gifting or pack them in colorful boxes as delightful treats for friends and family. Cutting the bars into bite-sized chunks and serving them in small bowls makes for great finger food at parties!
Make Ahead and Storage
Storing Leftovers
Keep your bars fresh by storing leftovers in an airtight container in the refrigerator. They will stay perfectly crisp and delicious for up to a week, making it easy to grab a quick snack anytime.
Freezing
If you want to make a big batch, these bars freeze wonderfully. Wrap individual pieces tightly in plastic wrap or store in a freezer-safe container. When ready to enjoy, thaw at room temperature for about 15 to 20 minutes.
Reheating
Since these bars are best enjoyed chilled or at room temperature, reheating is rarely needed. If you prefer them slightly softer, sitting at room temperature for a little while before serving does the trick beautifully without melting the chocolate.
FAQs
Can I use crunchy peanut butter instead of smooth?
Absolutely! Using crunchy peanut butter will add extra texture and little bits of peanut to the bars, making the crunch factor even more enjoyable.
What can I substitute for the maple syrup or agave nectar?
You can swap these for honey or brown rice syrup if you prefer, though these might slightly change the flavor and consistency of the bars. Maple syrup gives the bars a lovely depth that’s hard to replicate exactly.
Are these bars nut-free if I substitute peanut butter?
You can make them nut-free by using sunflower seed butter or soy nut butter instead of peanut butter. Just keep in mind the flavor will change, but be sure to still use a smooth, spreadable variety for the best results.
Can I use regular chocolate chips instead of dairy-free?
Yes, regular chocolate chips work perfectly if you’re not concerned about dairy. The dairy-free option is great for those with dairy sensitivities or who prefer plant-based treats.
How long do these bars last outside the fridge?
Thanks to the coconut oil and peanut butter, these bars can last a few hours at room temperature without losing texture, but they’re best kept refrigerated to maintain their shape and freshness.
Final Thoughts
The Healthy No-Bake Chocolate Peanut Butter Crunch Bars Recipe is truly a gem for anyone who loves a treat that’s both delicious and made from wholesome ingredients. It’s easy, fun, and endlessly customizable, making it perfect for snack lovers, busy bees, and dessert enthusiasts alike. I can’t wait for you to try this recipe and see just how simple it is to bring a smile to your taste buds with a bar that feels like a little celebration in every bite!
Print
Healthy No-Bake Chocolate Peanut Butter Crunch Bars Recipe
- Prep Time: 10 minutes
- Cook Time: 10 minutes (melting and mixing time)
- Total Time: 1 hour 20 minutes (including refrigeration)
- Yield: 16 servings
- Category: Snack
- Method: No-Cook
- Cuisine: American
- Diet: Vegan
Description
These Healthy No-Bake Chocolate Peanut Butter Crunch Bars are a delicious and easy-to-make treat that combines smooth peanut butter, crispy rice cereal, and melted dairy-free chocolate. Perfect for a quick snack or dessert, these bars require no baking and set firmly in the refrigerator for a satisfying crunch with a rich chocolate-peanut butter flavor.
Ingredients
Main Ingredients
- 1 cup smooth peanut butter
- 1/2 cup maple syrup or agave nectar
- 1/4 cup coconut oil
- 1 tsp vanilla extract
- 3 cups crispy rice cereal
Topping Ingredients
- 1 1/2 cups dairy-free chocolate chips
- 1/4 cup peanut butter (for topping)
Instructions
- Prepare Pan: Line an 8×8-inch baking pan with parchment paper and set it aside to prevent sticking and make removing the bars easier later.
- Combine Base Ingredients: In a large microwave-safe bowl, mix the smooth peanut butter, maple syrup, and coconut oil. Heat in the microwave in 20-second intervals, stirring after each, until fully melted and smoothly combined.
- Add Vanilla: Stir in the vanilla extract thoroughly to infuse flavor evenly.
- Mix with Cereal: Add the crispy rice cereal to the peanut butter mixture and gently fold until all cereal pieces are evenly coated.
- Press Into Pan: Transfer the coated cereal mixture into the prepared pan and press it down firmly to create an even layer.
- Melt Chocolate: In a separate microwave-safe bowl, melt the dairy-free chocolate chips in 20-second increments, stirring between each until smooth and fully melted.
- Spread Chocolate: Pour the melted chocolate evenly over the cereal layer and spread using a spatula or the back of a spoon.
- Top with Peanut Butter Swirl: Drizzle the remaining 1/4 cup peanut butter over the chocolate layer and create swirls by gently dragging a knife or toothpick through the surface.
- Refrigerate: Place the pan in the refrigerator for at least 1 hour to allow the chocolate to set firmly.
- Serve: Once set, lift the bars out of the pan using the parchment paper, cut into 16 squares, and enjoy!
Notes
- For a nut-free version, substitute peanut butter with sunflower seed butter and ensure cereal is nut-free.
- Use dairy-free chocolate chips to keep the recipe vegan and dairy-free.
- Press the mixture firmly into the pan to help the bars hold together better.
- Store bars in an airtight container in the refrigerator for up to one week.
- For added texture, mix in some chopped nuts or seeds if desired.


