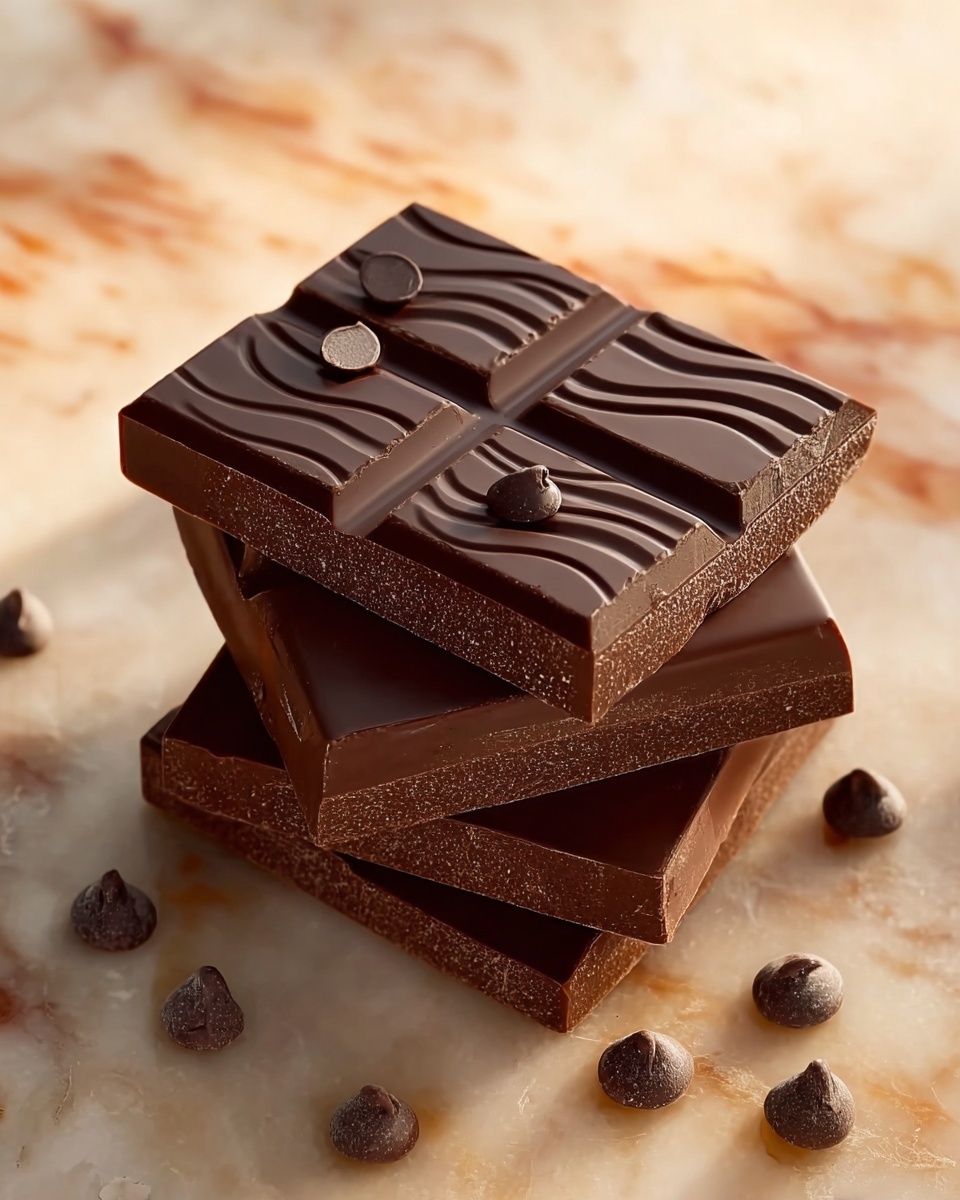
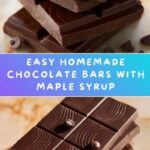
If you have ever dreamed of creating a sweet treat that is both delicious and customizable, then this Homemade Chocolate Bars Recipe will quickly become your go-to. With its rich, velvety texture achieved by simple ingredients, this recipe invites you to make chocolate bars exactly to your taste—from the perfect balance of cocoa to the natural sweetness of maple syrup. There is something incredibly satisfying about crafting your own chocolate bars at home, knowing every bite is made with care and free from unwanted additives. Let me take you through this delightful journey where minimal effort leads to maximum flavor, and you end up with a treat that feels indulgent yet wholesome.
Ingredients You’ll Need
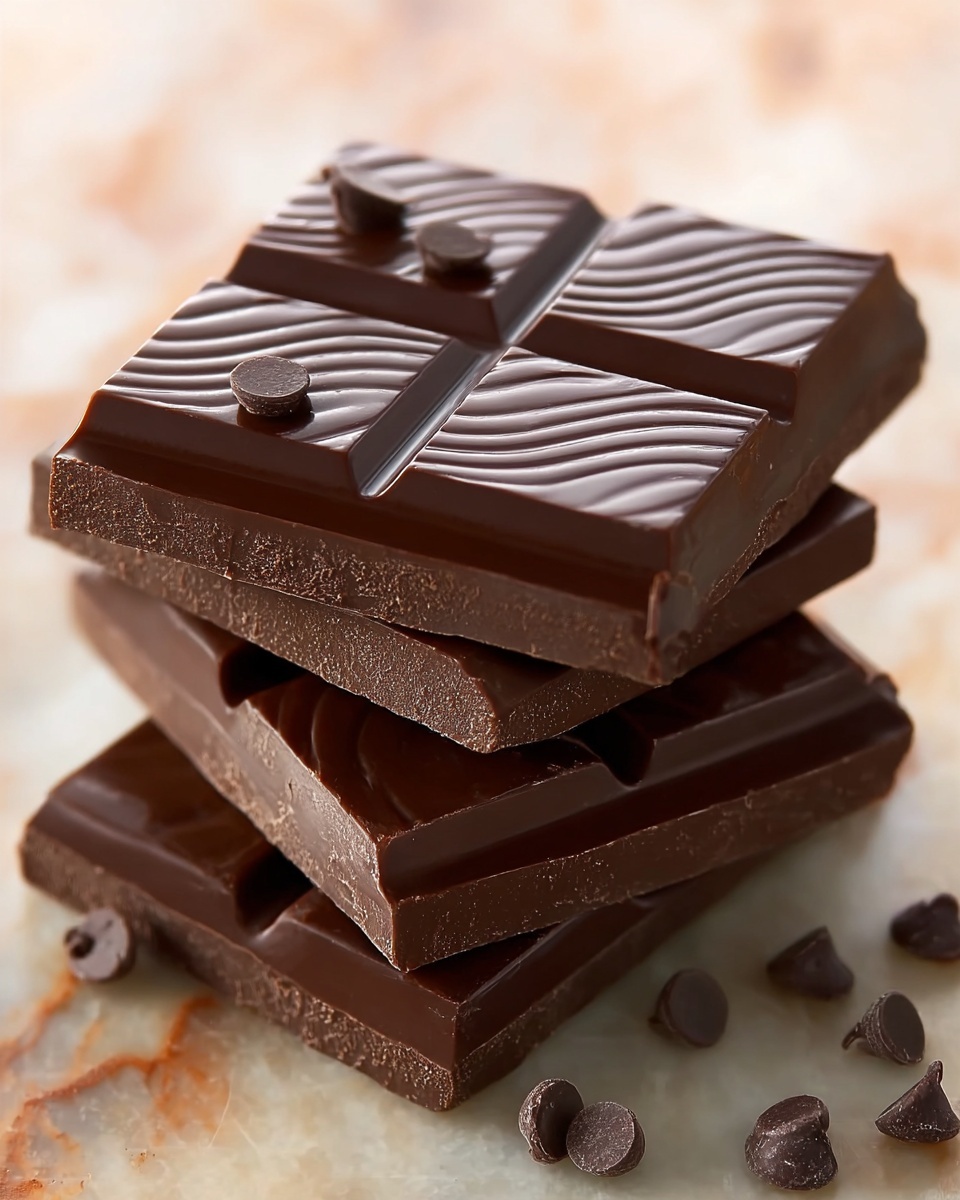
The magic of this Homemade Chocolate Bars Recipe lies in its simplicity. Each ingredient plays a crucial role in creating that silky melt-in-your-mouth quality, along with layered flavors and textures. From the richness of coconut oil to the natural sweetness of maple syrup, these few essentials promise a chocolate bar that’s as wholesome as it is delicious.
- ½ cup coconut oil, melted: This is the base that gives your bars a smooth, creamy texture and ensures they set perfectly.
- ¼ cup unsweetened cocoa powder: Packed with intense chocolate flavor, it’s the heart and soul of your homemade bars.
- 3 tablespoons maple syrup (or honey): A natural sweetener that adds a subtle caramel note and balances the bitterness of cocoa.
- 1 teaspoon vanilla extract: Enhances the chocolate’s aroma and adds depth to your bars.
- Pinch of sea salt: Just a touch to contrast and elevate the sweetness, making every bite pop.
- Optional add-ins: Think chopped nuts, dried fruit, shredded coconut, or an extra sprinkle of sea salt—these add texture and personalize your bars.
How to Make Homemade Chocolate Bars Recipe
Step 1: Melt and Mix
Start by gently melting your coconut oil until it’s liquid and smooth. Pour it into a mixing bowl and whisk in the cocoa powder until the color is evenly dark and glossy—no lumps allowed. This step sets the foundation of your chocolate’s luscious texture and rich flavor.
Step 2: Sweeten the Blend
Add maple syrup and vanilla extract to the cocoa-coconut oil mix. The maple syrup not only sweetens but also gives your bars a hint of warmth and complexity. Whisk everything together until the mixture is silky and homogenous.
Step 3: Flavor Boost with Sea Salt
Sprinkle in a pinch of sea salt and mix it thoroughly. Sea salt might seem minor, but it truly heightens the chocolate’s natural flavors, making your bars taste far more sophisticated and balanced than store-bought varieties.
Step 4: Customize and Pour
Now is the fun part—fold in your favorite add-ins! Whether it’s crunchy nuts, chewy dried fruits, or shredded coconut, these additions turn simple chocolate bars into a treat bursting with texture. Then, pour the mixture into molds or a lined pan and smooth the top.
Step 5: Chill Until Set
Place your filled molds or pan in the refrigerator for at least an hour to let the bars harden completely. This chilling step is where the magic of setting happens, giving you that perfect snap when you bite in.
How to Serve Homemade Chocolate Bars Recipe
Garnishes
Serving your homemade chocolate bars with a thoughtful garnish can elevate the experience. Consider a light dusting of cocoa powder, a sprinkle of crushed nuts, or a few flakes of sea salt on top. These simple touches add visual appeal and that extra hit of flavor right on the surface.
Side Dishes
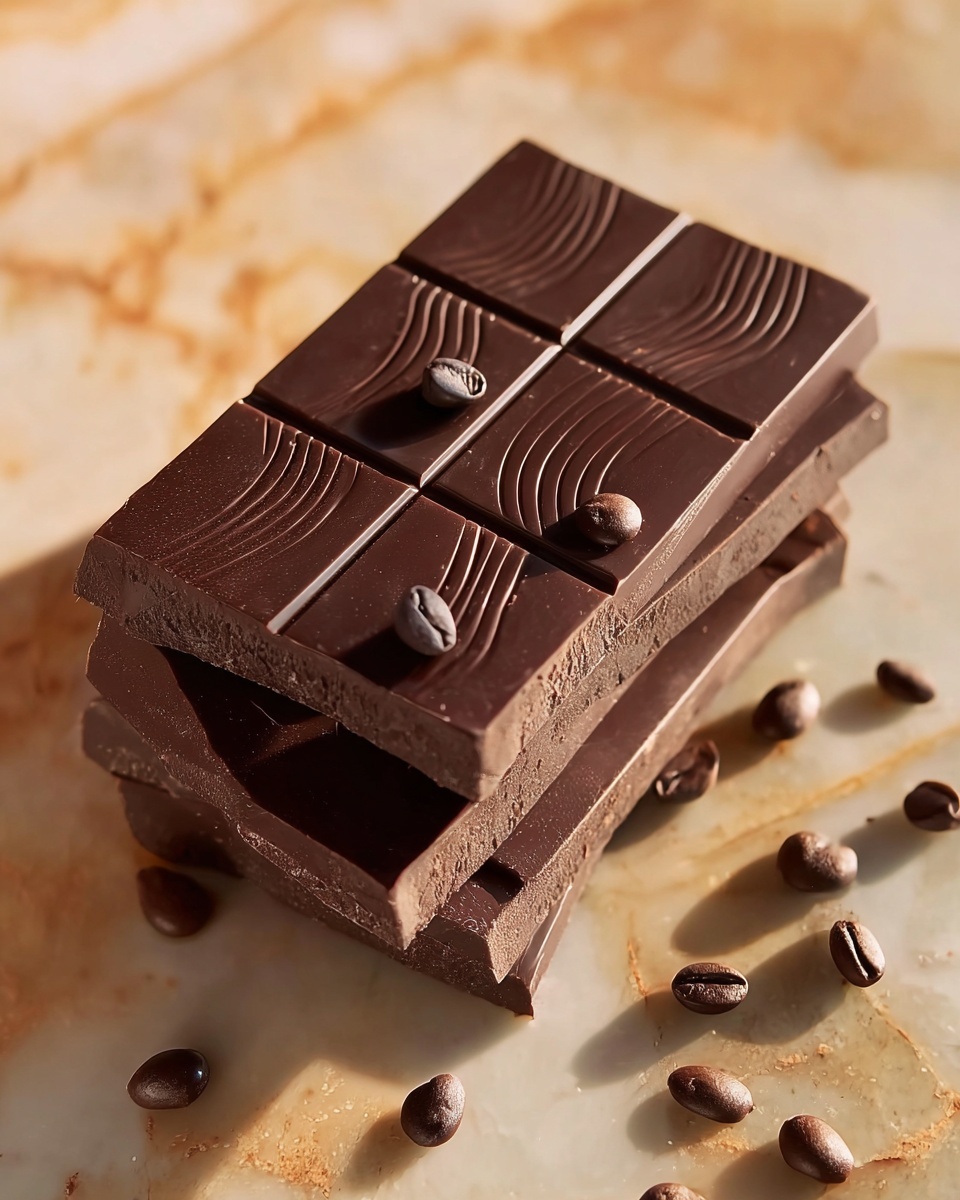
These chocolate bars pair beautifully with fresh berries or a dollop of whipped cream, which bring vibrant freshness and creaminess to complement the intense chocolate. For an adult twist, serving alongside a glass of red wine or rich coffee can create an elegant dessert moment.
Creative Ways to Present
Package your Homemade Chocolate Bars Recipe in small, clear bags tied with twine for a charming homemade gift. You could also break the bars into rustic chunks and serve them as part of a dessert platter with nuts and fruits. Presentation can make your homemade treats feel extra special, no matter the occasion.
Make Ahead and Storage
Storing Leftovers
Your homemade chocolate bars will keep best stored in an airtight container in the refrigerator. This helps maintain their texture and prevents melting, especially on warmer days. Proper storage can keep them fresh for up to two weeks, making it easy to enjoy a guilt-free indulgence anytime.
Freezing
If you want to make a big batch ahead of time, freezing your chocolate bars is a great option. Wrap them individually in parchment paper and place them in a freezer-safe container or bag. They can stay frozen for up to three months, ready to thaw quickly when a chocolate craving strikes.
Reheating
Reheating chocolate bars isn’t usually necessary, but if they become too firm, allow them to sit at room temperature for about 10 minutes before enjoying. This softens the bars just enough to appreciate their creamy texture without melting into a mess.
FAQs
Can I substitute the coconut oil with something else?
Yes! Coconut oil works best for its firm setting properties and mild flavor, but you can try cocoa butter or even butter in a pinch. Keep in mind that different fats will affect the texture and firmness of the bars.
Is maple syrup necessary or can I use another sweetener?
Maple syrup adds a lovely depth and natural sweetness, but honey works well too. If you prefer a sugar-free option, consider using a liquid stevia or monk fruit syrup, although this might slightly alter the taste.
How do I make my chocolate bars crunchier?
Add chopped nuts like almonds, hazelnuts, or walnuts into the chocolate mixture before pouring it into molds. Toasting the nuts beforehand intensifies their crunch and flavor.
Can I make these bars vegan and dairy-free?
Absolutely! This recipe is naturally vegan and dairy-free, especially if you use maple syrup instead of honey. It’s a perfect treat for anyone following those diets without sacrificing taste.
What’s the best way to melt the coconut oil for this recipe?
The quickest way is to gently heat it in a small saucepan over low heat or microwave it in short bursts, stirring often until fully melted but not hot. Avoid overheating, as this can impact the texture of your final bars.
Final Thoughts
Trying this Homemade Chocolate Bars Recipe will open your eyes to how simple ingredients can come together to create something truly indulgent and customizable. Making chocolate bars at home offers a rewarding way to enjoy your favorite sweet treat with complete control over what goes inside. I promise, once you make these, you’ll never want to go back to store-bought chocolate again. So roll up your sleeves, gather your ingredients, and enjoy every luscious bite of your homemade masterpiece!
Print
Homemade Chocolate Bars Recipe
- Prep Time: 1 hour 10 minutes
- Cook Time: 0 minutes
- Total Time: 1 hour 10 minutes
- Yield: 8 bars
- Category: Dessert
- Method: No-Cook
- Cuisine: American
- Diet: Vegan
Description
This recipe for Homemade Chocolate Bars offers a simple, natural way to enjoy rich, creamy chocolate without any artificial ingredients. Made with just a few wholesome components like coconut oil, cocoa powder, and maple syrup, these bars are customizable with optional add-ins such as nuts or dried fruit. Perfect for a healthy treat or gift, the process involves mixing, setting, and chilling to create smooth, delicious chocolate bars.
Ingredients
Main Ingredients
- ½ cup coconut oil, melted
- ¼ cup unsweetened cocoa powder
- 3 tablespoons maple syrup (or honey)
- 1 teaspoon vanilla extract
- Pinch of sea salt
Optional Add-ins
- Chopped nuts
- Dried fruit
- Shredded coconut
- Sprinkle of sea salt for topping
Instructions
- Prepare Ingredients: Melt the coconut oil gently until fully liquid, either in a warm water bath or on low heat to avoid overheating. Measure out the cocoa powder, maple syrup, vanilla extract, and sea salt so they are ready to combine.
- Mix Chocolate Base: In a mixing bowl, whisk the melted coconut oil with the unsweetened cocoa powder until smooth and well integrated. Add the maple syrup, vanilla extract, and a pinch of sea salt, continuing to mix until the mixture is glossy and free of lumps.
- Add Optional Ingredients: If desired, fold in any optional add-ins like chopped nuts, dried fruit, or shredded coconut for added texture and flavor, making sure they are evenly distributed.
- Pour into Mold: Pour the chocolate mixture into a silicone chocolate bar mold or lined loaf pan, spreading it evenly. Optionally, sprinkle a little sea salt on top for extra flavor.
- Chill to Set: Place the mold in the refrigerator or freezer for about 1 hour or until the chocolate bars have fully hardened and can be easily removed from the mold.
- Unmold and Serve: Carefully remove the bars from the mold and serve. Store leftovers in an airtight container in the refrigerator to prevent melting.
Notes
- Use high-quality unsweetened cocoa powder for the best chocolate flavor.
- Maple syrup can be substituted with honey if not strictly vegan.
- Melt coconut oil gently to prevent overheating and separation.
- Customize bars with your favorite nuts or dried fruits for texture.
- Store chocolate bars in the refrigerator, especially in warm climates, to keep them solid.


