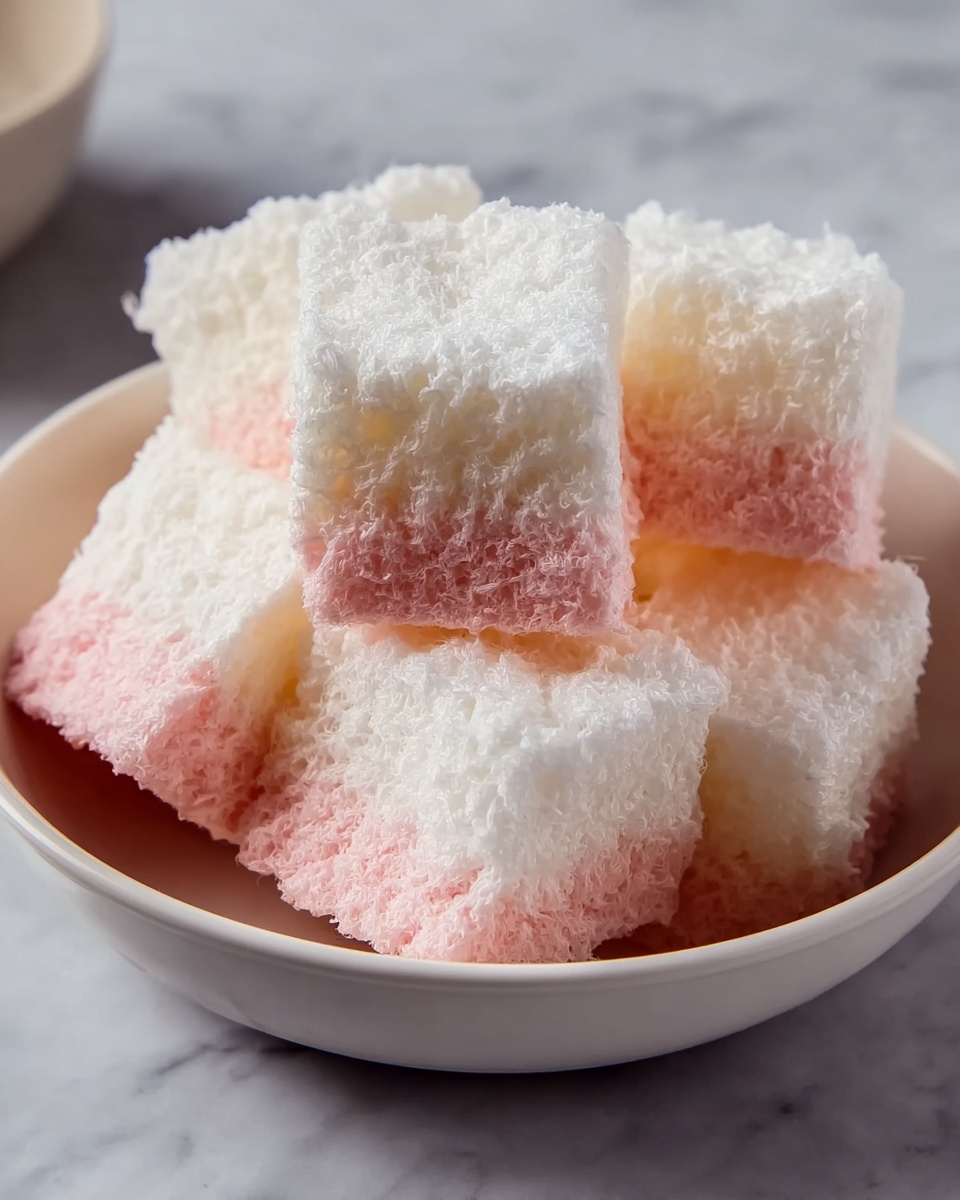
If you have a soft spot for nostalgic sweets with a delightful burst of tropical flavor, then you’re going to fall head over heels for this Pink and White Coconut Ice Squares Recipe. These charming squares are a perfect balance of creamy sweetness and chewy coconut texture, layered beautifully in a classic pink and white color combo that instantly catches the eye. Whether you’re making them for a festive occasion or just to satisfy a homemade candy craving, this recipe brings that old-fashioned treat back to life with so much ease and joy.
Ingredients You’ll Need
Gathering your ingredients for this recipe is as straightforward as it gets. Each one plays a crucial role in delivering the perfect taste, texture, and that iconic pink and white look we all adore in coconut ice.
- Icing sugar: Provides sweetness and structure to hold the squares together while giving a smooth finish.
- Desiccated coconut: Adds delightful chewiness and authentic coconut flavor.
- Sweetened condensed milk: The magic binder that creates creamy richness and sweetness in every bite.
- Vanilla extract: Infuses a subtle warmth and depth that elevates the overall flavor.
- Pink or red food coloring: Gives the dish its signature charming pink hue, making these squares impossible to resist.
How to Make Pink and White Coconut Ice Squares Recipe
Step 1: Mix the Ingredients
Start by combining the icing sugar, sweetened condensed milk, desiccated coconut, and vanilla extract in a large bowl. Stir everything together until you get a thick, sticky mixture that’s evenly blended. This is the base of your coconut ice, so getting a smooth consistency here is key.
Step 2: Divide and Color the Mixture
Transfer half of your mixture to a second bowl, then add a drop of pink or red food coloring. Knead this gently until the color is spread evenly throughout. It’s the simple step that creates those iconic pink squares that contrast so beautifully with the white layer below.
Step 3: Prepare Your Pan
Line an 8-inch (20cm) square baking pan with baking paper. This step makes for easy removal once the mixture has set, so be sure to cover every corner.
Step 4: Layer the Mixture
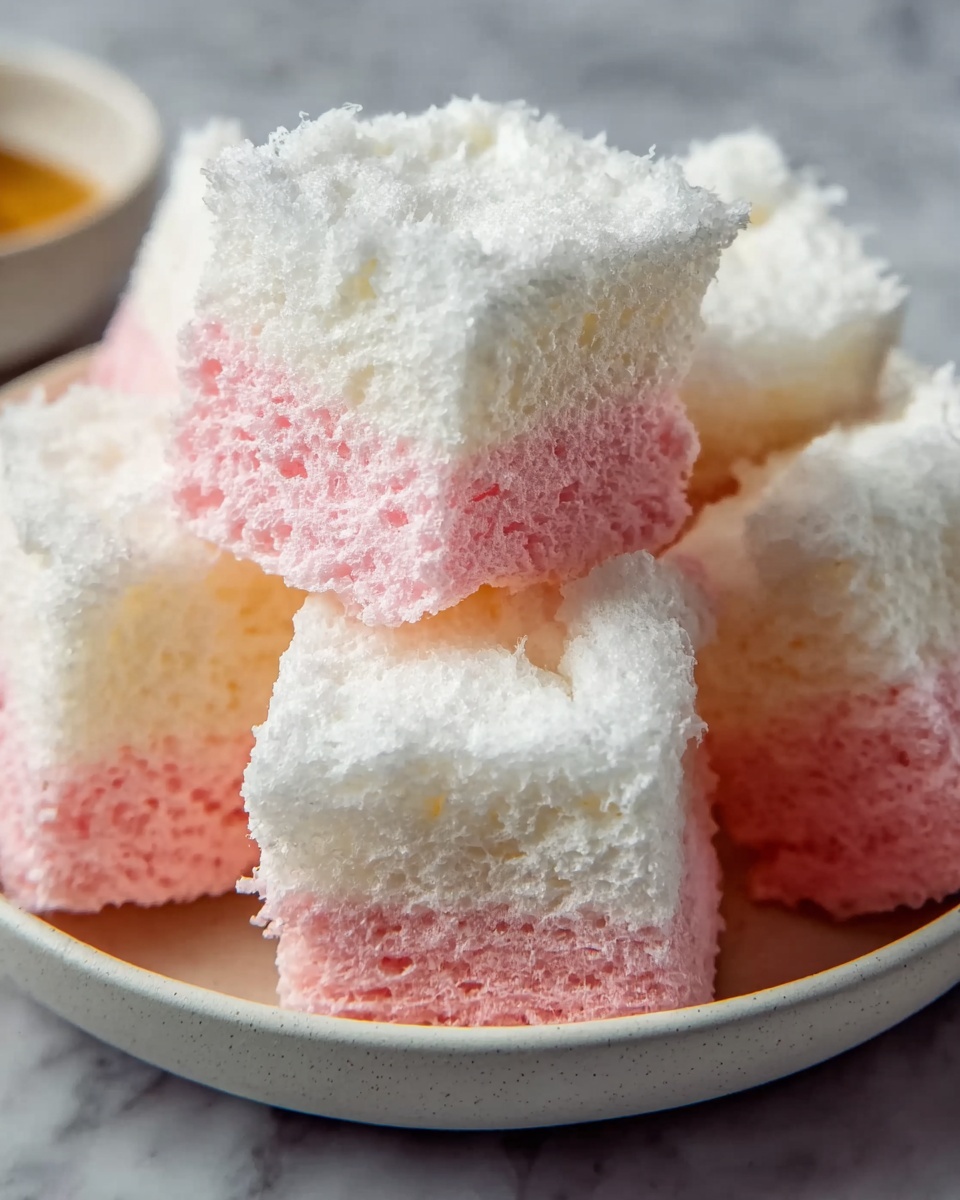
Press the white coconut mixture firmly into the bottom of your prepared pan to create an even layer. Then, break the pink coconut mixture into chunks and press these rough pieces on top of the white base. This layering technique gives your squares a fun texture and vibrant look.
Step 5: Chill to Set
Place the pan in the fridge and let it chill for about 3 hours. This resting time allows the mixture to set firmly, turning from sticky to sturdy coconut squares that hold their shape beautifully.
Step 6: Slice into Squares
Once chilled and set, use a sharp knife to cut the coconut ice into 25 perfect squares. The colors will look magical side by side, a true feast for the eyes.
Step 7: Serve and Enjoy!
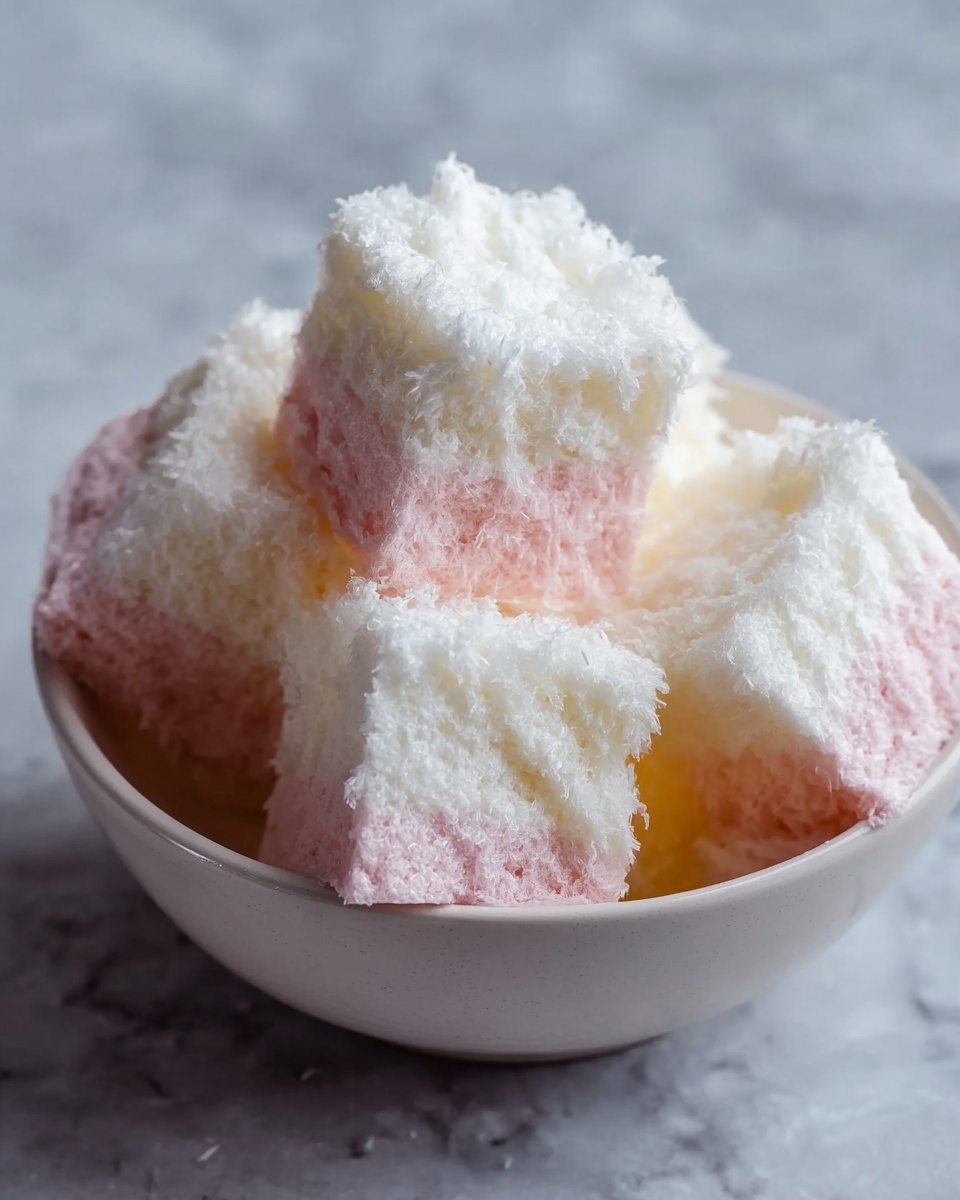
Your Pink and White Coconut Ice Squares are now ready to enjoy! Whether you serve them at a party, give them as gifts, or just treat yourself, their sweet, creamy texture is sure to make any moment special.
How to Serve Pink and White Coconut Ice Squares Recipe
Garnishes
While these squares are lovely as they are, you can sprinkle some toasted desiccated coconut or edible glitter on top for an extra festive touch. A light dusting of icing sugar also adds a pretty snowy finish that makes these treats irresistible to little ones and adults alike.
Side Dishes
Pair your coconut ice squares with a cup of strong tea or a creamy latte for a delightful afternoon snack. They also work wonderfully alongside fresh fruit or light desserts, balancing rich flavors with their sweet chewiness.
Creative Ways to Present
For gifting or parties, stack the squares in cellophane bags tied with a pastel ribbon or arrange them on a pretty platter layered with tropical leaves. Serving smaller bite-sized pieces on colorful cocktail sticks can be a whimsical and fun way to offer these at gatherings.
Make Ahead and Storage
Storing Leftovers
If you have any leftovers (which might be unlikely, but let’s be realistic), store them in an airtight container at room temperature for up to a week. This keeps them fresh and prevents the delicate coconut from drying out.
Freezing
You can freeze your coconut ice squares by wrapping each piece individually in plastic wrap before placing them in a freezer-safe container. When you want a sweet treat, just thaw a few squares at room temperature, and they’ll be ready to enjoy without losing their texture or flavor.
Reheating
Since coconut ice is best enjoyed chilled or at room temperature, there’s really no need to reheat it. If you prefer a slightly softer texture, simply leave the squares out for a few minutes before serving.
FAQs
Can I use shredded coconut instead of desiccated coconut?
Shredded coconut tends to be coarser and moister, which might affect the texture and setting of the coconut ice. Desiccated coconut is ideal for this recipe because it’s drier and helps the squares hold their shape perfectly.
Is there a way to make this recipe dairy-free?
Yes! You can substitute the sweetened condensed milk with a dairy-free condensed milk alternative made from coconut or soy milk. The flavor will be slightly different but still delicious and creamy.
How long do Pink and White Coconut Ice Squares last?
When stored properly in an airtight container, these coconut ice squares can last about a week at room temperature or up to a month in the freezer.
Can I make different colored layers?
Absolutely! While pink is classic, you can get creative using other food colorings like green for a minty twist or blue for a fun pop of color. The flavor stays the same, but it makes the squares visually exciting.
What’s the best way to cut the coconut ice without it crumbling?
Use a very sharp knife and wipe it clean between cuts for neat squares. Press down firmly in one smooth motion rather than sawing to avoid crumbling.
Final Thoughts
Making your own Pink and White Coconut Ice Squares Recipe is a sweet and satisfying way to bring a touch of nostalgia and tropical joy into your kitchen. Whether you’re gifting them to friends or enjoying them yourself, these squares offer a perfect blend of creamy texture, sweet coconut flavor, and charming color that’s simply irresistible. So grab your ingredients, get mixing, and prepare to share a lovingly handmade treat that everyone will adore!
Print
Pink and White Coconut Ice Squares Recipe
- Prep Time: 10 minutes
- Cook Time: 0 minutes
- Total Time: 3 hours 10 minutes
- Yield: 25 pieces
- Category: Dessert
- Method: No-Cook
- Cuisine: Australian
Description
Coconut Ice is a classic no-bake sweet treat consisting of creamy layers of white and pink coconut flavored with vanilla and condensed milk. This easy-to-make dessert combines desiccated coconut and icing sugar, creating a rich, chewy texture that sets perfectly in the fridge. Ideal for sharing, these colorful squares offer a delightful balance of sweetness and coconut flavor.
Ingredients
Ingredients
- 390 grams icing sugar
- 320 grams desiccated coconut
- 395 grams sweetened condensed milk
- 2 teaspoons vanilla extract
- Pink or red food coloring, a few drops
Instructions
- Mix the base ingredients: In a large bowl, combine the icing sugar, sweetened condensed milk, desiccated coconut, and vanilla extract. Stir thoroughly until all ingredients are well combined into a sticky mixture.
- Color half the mixture: Transfer half of the combined mixture to a second bowl. Add a drop of pink or red food coloring and knead with your hands or a spoon until the color is evenly distributed throughout the coconut mixture.
- Prepare the pan: Line an 8-inch (20 cm) square baking pan with baking paper to prevent sticking and help with easy removal after setting.
- Layer the mixture: Press the white (uncolored) coconut mixture firmly into the bottom of the prepared pan, creating an even layer. Next, break the colored coconut mixture into pieces and press them evenly on top of the white layer to create a marbled effect.
- Chill to set: Place the baking pan in the refrigerator and allow the coconut ice to set for at least 3 hours, or until firm enough to cut.
- Cut into squares: Remove the set coconut ice from the fridge. Using a sharp knife, carefully cut the coconut ice into approximately 25 equal-sized squares.
- Serve and enjoy: Arrange the squares on a serving plate and enjoy this sweet, creamy coconut delight as a snack or dessert.
Notes
- Use fresh desiccated coconut for the best texture and flavor.
- If you prefer a stronger vanilla flavor, you can add an extra teaspoon of vanilla extract.
- The colored layer can be customized with any food coloring of your choice, though pink or red is traditional.
- Pressing the layers firmly will help the coconut ice hold its shape when sliced.
- Store any leftovers in an airtight container in the fridge and consume within a week for optimal freshness.

