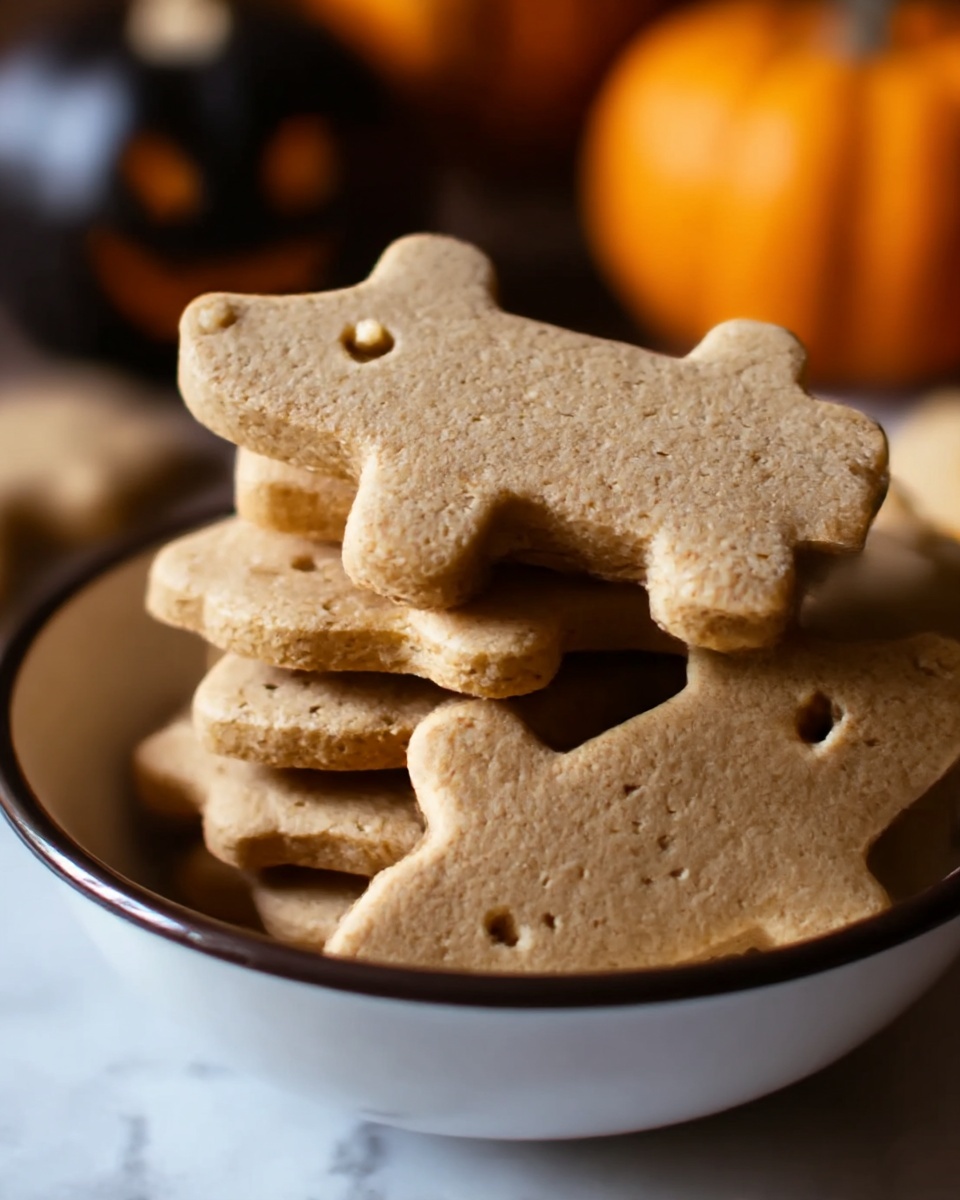
If you’re looking to spoil your furry best friend with a wholesome and delicious snack, this Pumpkin Dog Treats Recipe is an absolute game-changer. It combines the rich, natural sweetness of pumpkin with the irresistible flavor of peanut butter to create treats that are as healthy as they are tasty. Whether your pup is a picky eater or just in need of some extra love, these homemade dog biscuits will have their tail wagging in no time. Plus, making them yourself means you know exactly what goes into every bite—no mystery additives, just pure goodness that supports your dog’s well-being.
Ingredients You’ll Need
This recipe relies on a handful of simple ingredients, each playing a crucial role for taste, texture, and nutrition. The pumpkin brings moisture and fiber, peanut butter adds protein and a savory undertone, eggs bind everything together, while whole wheat flour provides structure and a wholesome base. A little cinnamon can add warmth, but that’s totally optional if you want to keep it basic.
- 1/2 cup canned pumpkin puree (unsweetened): Packed with fiber and vitamins, pumpkin is the star ingredient offering gentle digestion support.
- 1/4 cup natural peanut butter (no xylitol): Adds a creamy, nutty flavor dogs adore, plus protein—just make sure it’s xylitol-free!
- 2 large eggs: They act as a natural binder holding your treats together with extra protein and nutrients.
- 2 1/2 cups whole wheat flour (plus more for rolling): Gives the dough structure and a hearty texture. Whole wheat also sneaks in some fiber.
- 1/2 teaspoon ground cinnamon (optional): Adds a gentle spice that many pups enjoy and offers antioxidant properties.
How to Make Pumpkin Dog Treats Recipe
Step 1: Preheat and Prepare
Set your oven to 350°F (175°C) and line a baking sheet with parchment paper. This simple step ensures your dog treats won’t stick and bake evenly. Preparing everything in advance helps the process flow smoothly.
Step 2: Combine Wet Ingredients
In a large mixing bowl, whisk together the canned pumpkin puree, natural peanut butter, and eggs until completely smooth. This blend forms the moist, flavorful base of your dough and promises treats that are tender yet durable.
Step 3: Mix in Dry Ingredients
Add the whole wheat flour and optional cinnamon to the wet mixture. Stir with a sturdy spoon until a stiff dough forms. If it feels sticky, sprinkle in a bit more flour—this will make rolling out much easier without drying out your dough.
Step 4: Roll and Cut
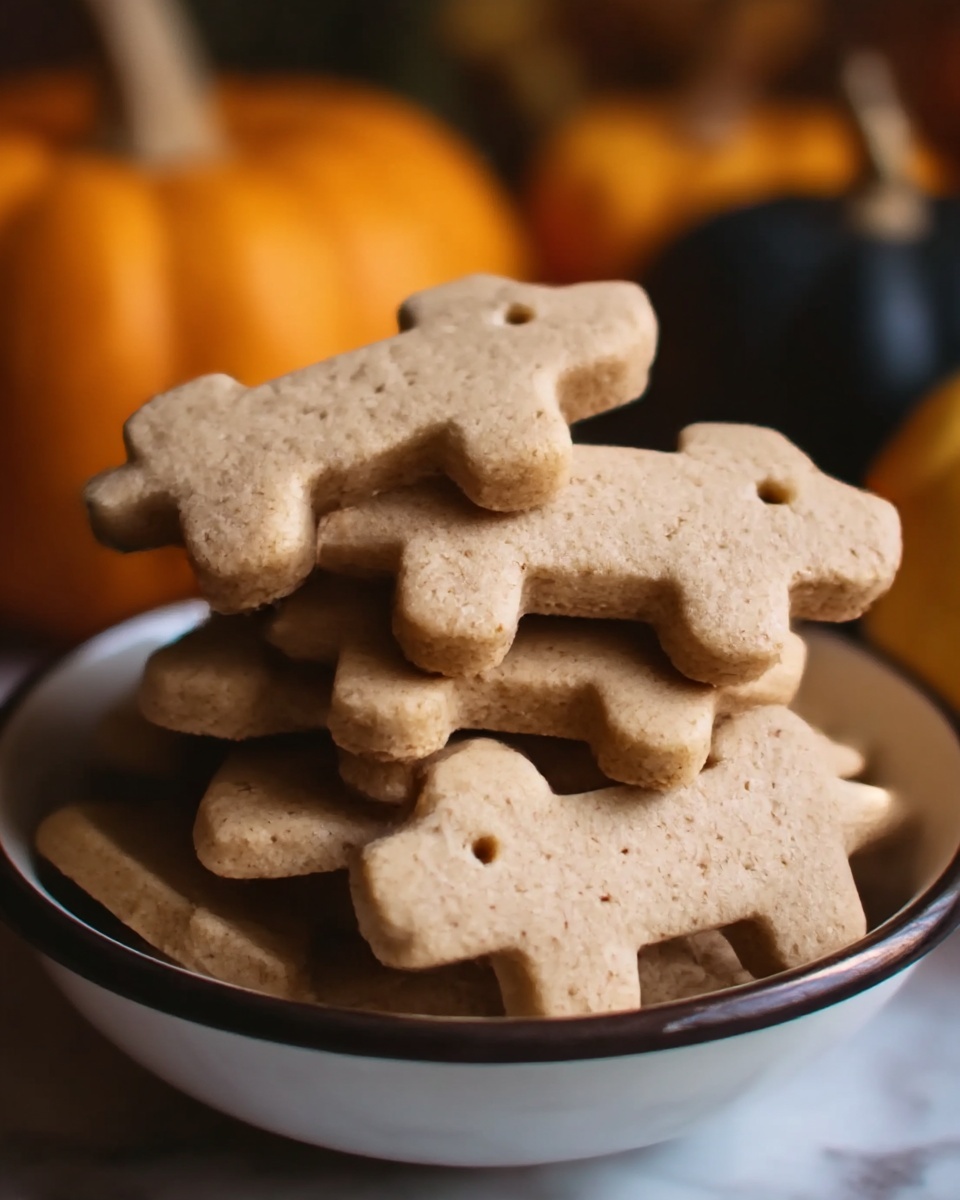
Lightly flour your work surface and roll the dough to about 1/4-inch thickness. Use cookie cutters to shape the treats into fun or familiar shapes. This is where your creativity can shine—bone shapes, hearts, or stars work beautifully and will delight both you and your pup.
Step 5: Bake to Perfection
Arrange your treats on the prepared baking sheet and bake for 20 to 25 minutes, or until they turn golden brown and feel firm to the touch. Once baked, let them cool completely. This cooling step is key to achieving the perfect crunch every dog loves.
How to Serve Pumpkin Dog Treats Recipe

Garnishes
While these treats are delicious on their own, adding a small dollop of peanut butter on top before serving can turn snack time into a special event. Just be sure to use dog-safe peanut butter free of xylitol. You can also sprinkle a pinch of finely crushed oats for a rustic look and texture.
Side Dishes
These treats make fantastic rewards after training sessions or a quick snack between meals. Pair them with a few slices of fresh apple or carrot sticks for variety and extra crunch. It’s a wholesome mini-meal that keeps pups energized and happy.
Creative Ways to Present
Want to get fancy? Try packaging these treats in a cute jar tied with a ribbon as a homemade gift for your dog-loving friends. Or, place them in a decorative bowl during a dog party to add an adorable and tasty touch everyone will appreciate.
Make Ahead and Storage
Storing Leftovers
Once cooled, store these Pumpkin Dog Treats in an airtight container at room temperature for up to one week. Keeping them sealed helps the treats stay fresh and crunchy so your dog can enjoy them over several days.
Freezing
If you want to keep these goodies for longer, freezing is a fantastic option. Simply place the treats in a freezer-safe bag or container. They can be frozen for up to three months, making it easy to have healthy treats ready at a moment’s notice.
Reheating
No need to microwave these treats, but if you want to bring back some warmth or soften them slightly, let them sit at room temperature for about 15 minutes after pulling from the freezer. This also helps enhance that fresh-baked aroma your pup will surely appreciate.
FAQs
Is peanut butter safe for all dogs?
Most dogs enjoy peanut butter, but it’s very important to choose natural, unsweetened peanut butter without xylitol, a sweetener that’s toxic to dogs. Always check labels before using it in treats.
Can I use fresh pumpkin instead of canned?
Absolutely! If using fresh pumpkin, cook and puree it well before measuring. Canned pumpkin puree is convenient and consistent, but fresh pumpkin works great if prepared properly.
How long do homemade dog treats usually last?
Homemade treats without preservatives generally last about a week when stored in an airtight container at room temperature. For longer storage, freezing is your best bet.
Can I substitute whole wheat flour with another type?
You can try oat flour or rice flour if your dog has wheat sensitivities, but keep in mind the texture might differ slightly. Adjust with small amounts to maintain dough consistency.
Are these treats suitable for puppies?
Yes, but since puppies have more sensitive stomachs, introduce these treats gradually and monitor how your little one responds. Consulting with your vet beforehand is always a good idea.
Final Thoughts
Making your own Pumpkin Dog Treats Recipe is such a rewarding way to show your dog love through food that’s both tasty and nourishing. Every time you bake these treats, you’re not just giving your pup a snack—you’re giving them a bit of homemade joy. Give it a try soon, and watch your dog’s eyes light up with delight!
Print
Pumpkin Dog Treats Recipe
- Prep Time: 10 minutes
- Cook Time: 25 minutes
- Total Time: 35 minutes
- Yield: 30 small treats
- Category: Pet Treats
- Method: Baking
- Cuisine: Dog-Friendly
Description
These homemade Pumpkin Dog Treats are a nutritious and tasty snack for your furry friend, made with natural ingredients like pumpkin puree, peanut butter, and whole wheat flour. They are easy to prepare and bake to a perfect crunchy texture that dogs love.
Ingredients
Dry Ingredients
- 2 1/2 cups whole wheat flour (plus more for rolling)
- 1/2 teaspoon ground cinnamon (optional)
Wet Ingredients
- 1/2 cup canned pumpkin puree (unsweetened)
- 1/4 cup natural peanut butter (no xylitol)
- 2 large eggs
Instructions
- Preheat Oven: Preheat your oven to 350°F (175°C) and line a baking sheet with parchment paper to prevent sticking and ensure even baking.
- Mix Wet Ingredients: In a large mixing bowl, combine the canned pumpkin puree, natural peanut butter, and eggs. Stir well until the mixture becomes smooth and uniform.
- Add Dry Ingredients: Gradually add the whole wheat flour and ground cinnamon (if using) into the wet mixture. Mix thoroughly until a stiff dough forms. If the dough is sticky, add more flour a little at a time until it is easy to work with.
- Roll Out Dough: Lightly flour your work surface and roll the dough to about 1/4-inch thickness. Use cookie cutters to cut the dough into desired shapes suitable for your dog.
- Arrange & Bake: Place the cut-out treats onto the prepared baking sheet, spacing them evenly. Bake in the preheated oven for 20 to 25 minutes or until the treats become firm and take on a golden brown color.
- Cool Down: Remove from the oven and allow the treats to cool completely on a wire rack before serving them to your dog to ensure they are safe to eat.
Notes
- Ensure the peanut butter used does not contain xylitol, as it is toxic to dogs.
- Store the treats in an airtight container for up to one week.
- For longer storage, freeze the treats and thaw before serving.
