
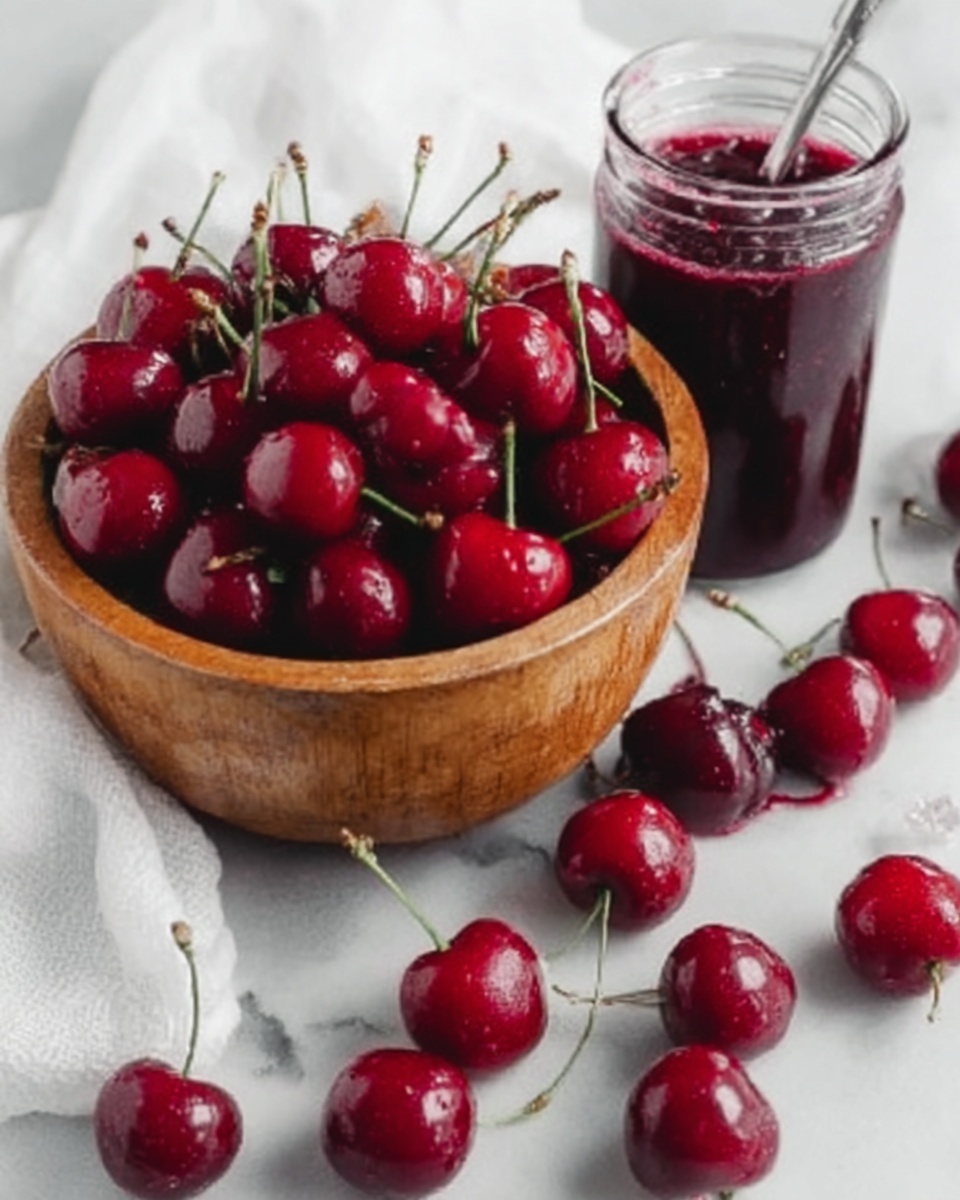
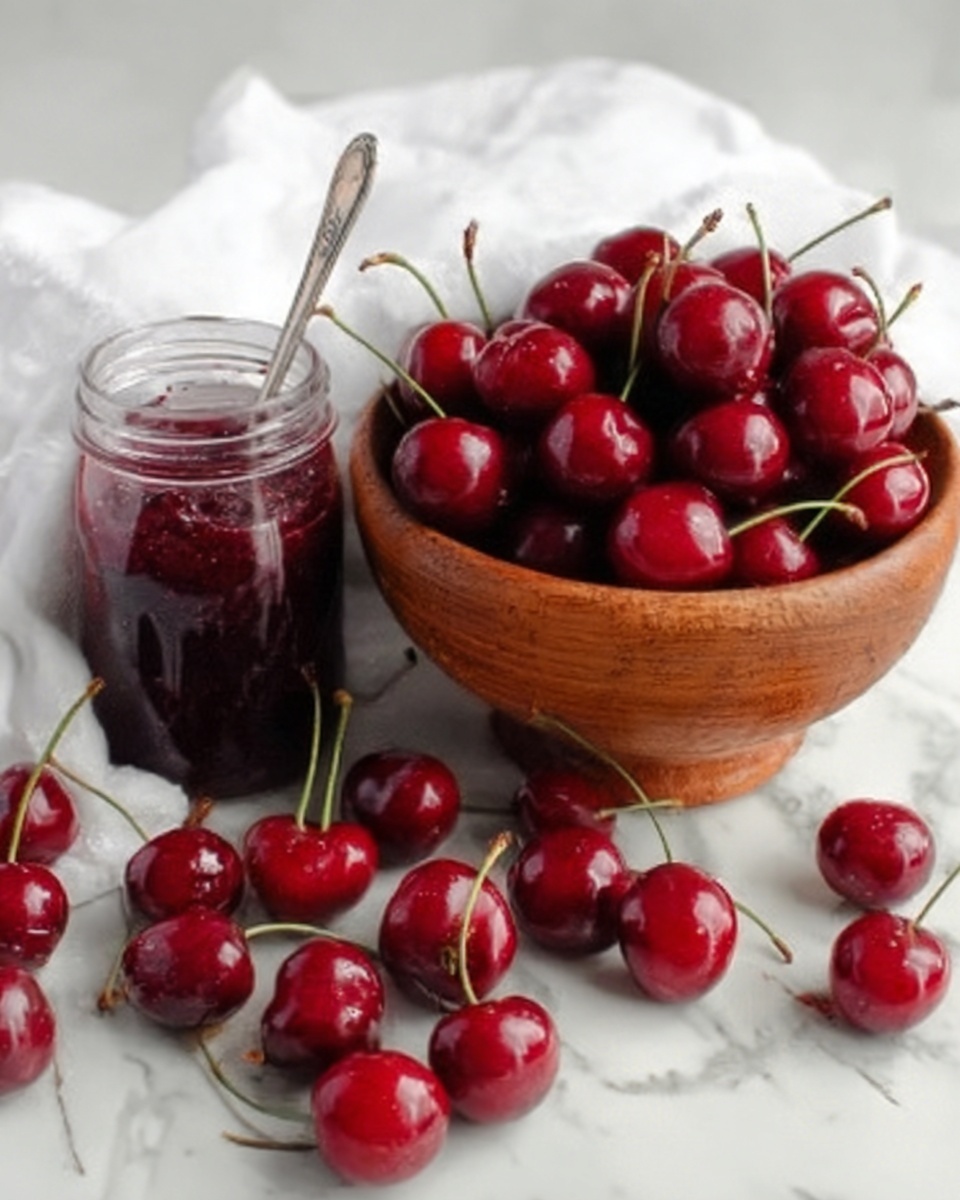
There is something irresistibly delightful about making your own preserves, and this Small Batch Cherry Jam Recipe captures that joy perfectly. With just a handful of fresh or frozen cherries, a splash of lemon juice, and a bit of sugar, you can create a vibrant, tangy-sweet jam that’s bursting with authentic cherry flavor. Not only is this recipe wonderfully straightforward, but it also yields just the right amount to enjoy without overwhelming your pantry. Whether you’re spreading it on toast or swirling it into yogurt, this jam brings a taste of sunshine and sweetness to any moment.
Ingredients You’ll Need
These ingredients might be minimal, but each plays a vital role in crafting a jam that’s perfectly balanced between sweet and tangy, with a smooth, luscious texture and beautiful ruby color.
- Sweet cherries, 2½ cups: Fresh or frozen, these provide the juicy base and rich cherry essence that makes this jam shine.
- Granulated sugar, 1 cup: Essential for sweetness and helping the jam to set with that classic preserve consistency.
- Lemon juice, 2 tablespoons: Derived from about one lemon, this adds the perfect hint of acidity to brighten flavors and aid the gelling process.
How to Make Small Batch Cherry Jam Recipe
Step 1: Combine Ingredients
Start by placing your halved and pitted cherries into a medium pot. Add in the sugar and lemon juice. This simple trio begins the transformation of fresh fruit into a luscious spread. Giving the ingredients a gentle stir before heating helps ensure everything starts off evenly mixed.
Step 2: Heat and Dissolve Sugar
Set the pot over medium heat and keep a watchful eye while stirring occasionally. The goal is to fully dissolve the sugar into the fruit juices, which takes about 5 minutes if you’re working with fresh cherries and closer to 10 minutes for frozen ones. You’ll notice the syrup darken to a deep red as the cherries soften, releasing their natural sweetness and color.
Step 3: Boil and Thicken
Turn the heat up to bring your mixture to a rolling boil, one that you can’t simply stir down. Let the jam bubble merrily for 8 to 10 minutes while stirring occasionally to prevent sticking or burning. Keep an eye on the temperature and aim for 220°F (105°C) to ensure the jam sets. To test, drop a small spoonful onto a cold plate—if it holds its shape and doesn’t run, congratulations, your jam is ready.
Step 4: Blend the Jam
Remove the pot from heat and grab an immersion blender. Pulse just a few seconds at a time to break up the larger cherry chunks, transforming the mixture into a smooth yet textured spread. Tilt the pot as needed so the blender head stays submerged and operates efficiently without splashes.
Step 5: Jar and Chill
Pour the hot, fragrant cherry jam into clean jars while it’s still warm to help create a good seal. Once sealed, pop the jars into the refrigerator. Allow the jam to chill and thicken, ideally overnight. This resting period enhances flavors and gives you that satisfying thick spread to enjoy on everything from morning toast to desserts.
How to Serve Small Batch Cherry Jam Recipe
Garnishes
Adding a few fresh cherries or a small sprig of mint on top of your jam-adorned dishes can elevate the presentation beautifully. The subtle color contrast and fresh aroma make every bite feel special.
Side Dishes
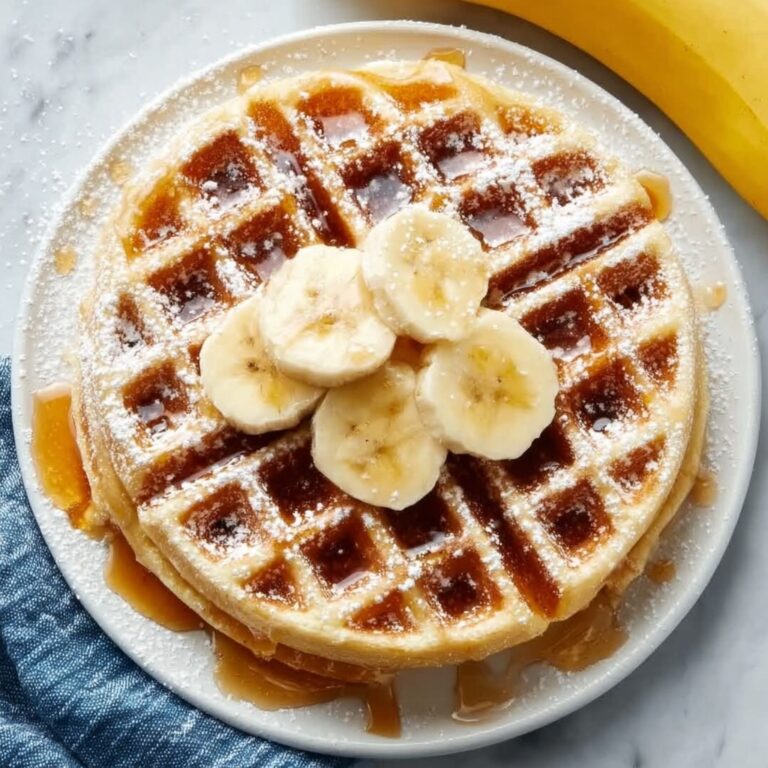
This cherry jam is a fantastic companion to simple buttered toast, freshly baked scones, or soft cheeses like brie or cream cheese. It also pairs wonderfully with pancakes and waffles for a breakfast treat that feels both indulgent and wholesome.
Creative Ways to Present
Try swirling this Small Batch Cherry Jam Recipe into vanilla yogurt or oatmeal for a burst of flavor. You can also create charming thumbprint cookies filled with a dollop of cherry jam or layer it between cake layers for a delightfully fruity surprise.
Make Ahead and Storage
Storing Leftovers
Your homemade cherry jam will keep well in the refrigerator for up to three weeks when stored in a sealed jar. This makes it easy to enjoy fresh flavors without worrying about waste, perfect for small households or occasional use.
Freezing
If you want to extend the life of your Small Batch Cherry Jam Recipe even longer, freezing is a great option. Transfer the cooled jam into airtight containers, leaving some headspace for expansion, and freeze for up to six months. When you’re ready to use it, thaw in the refrigerator overnight.
Reheating
Reheat your cherry jam gently on the stove or in the microwave before serving if it has thickened too much in the cold. A little warming loosens the texture and revives the luscious, spreadable consistency you love.
FAQs
Can I use frozen cherries for this jam?
Absolutely! Frozen cherries work wonderfully for this Small Batch Cherry Jam Recipe. Just remember it will take a bit longer for the sugar to dissolve and for the mixture to reach a boil compared to fresh cherries.
Do I need to sterilize the jars?
Since this recipe is intended for refrigeration and quick consumption, thorough washing of jars is sufficient. For long-term shelf storage, sterilizing is recommended, but for refrigerated jam, clean jars sealed and chilled are perfectly safe.
How can I tell when the jam is done?
The classic test is to drop a small spoonful of jam onto a cold plate. If it wrinkles and doesn’t run when you push it with your finger, your jam has reached the right consistency. You can also use a candy thermometer and look for 220°F (105°C).
Is this recipe suitable for beginners?
Definitely! This Small Batch Cherry Jam Recipe is straightforward and forgiving, making it an ideal starting point for those new to jam-making. The small quantity reduces waste and pressure, allowing you to enjoy the process fully.
Can I adjust the sweetness?
Yes, you can tweak the amount of sugar according to your taste or the sweetness of your cherries. Just keep in mind that sugar also helps the jam to set properly, so try not to reduce it too much without compensating with other gelling agents.
Final Thoughts
I can’t recommend this Small Batch Cherry Jam Recipe enough for anyone who loves fresh, homemade flavors with minimal fuss. It’s a little jar of happiness that you can whip up quickly and enjoy in so many ways. Give it a try—you’ll be amazed at how such a simple collection of ingredients can transform into something truly special, perfect for treating yourself or sharing with loved ones.
Print
Small Batch Cherry Jam Recipe
- Prep Time: 10 minutes
- Cook Time: 25 minutes
- Total Time: 8 hours 35 minutes (including chilling time)
- Yield: Approximately 14 servings (about 1 ¾ cups jam)
- Category: Preserves
- Method: Stovetop
- Cuisine: American
- Diet: Vegetarian
Description
This Small Batch Cherry Jam recipe lets you create a delicious, fresh cherry jam with just a few simple ingredients. Perfect for those who want homemade jam without the hassle of large quantities, this recipe uses fresh or frozen sweet cherries, sugar, and lemon juice. The jam is cooked on the stovetop and finished with an immersion blender for a smooth yet textured consistency. Ideal for spreading on toast, dolloping on yogurt, or adding to desserts.
Ingredients
Jam Ingredients
- 2½ cups (400 g) halved and pitted sweet cherries, fresh or frozen
- 1 cup (200 g) granulated sugar
- 2 Tablespoons (30 ml) lemon juice, from about one lemon
Instructions
- Combine Ingredients: In a medium pot, add the prepared cherries, sugar, and lemon juice, ensuring all ingredients are measured accurately for the perfect balance of sweetness and acidity.
- Heat and Dissolve Sugar: Place the pot over medium heat. Stir occasionally until the sugar completely dissolves and the syrup turns a rich dark red color. This step takes about 5 minutes with fresh cherries or 10 minutes if using frozen.
- Boil and Thicken: Increase the heat to bring the mixture to a rolling boil that cannot be stirred down. Let it boil for approximately 8-10 minutes, stirring as needed. The jam is ready when it thickens and reaches 220°F (105°C). Test the consistency by dropping a small amount on a cold plate; if it runs, continue boiling and test again until it stays in place.
- Blend the Jam: Remove the pot from the heat. Use an immersion blender to break up the cherry pieces, blending in short bursts for a few seconds at a time until no large chunks remain. Tilt the pot as needed to keep the blender fully submerged and achieve an even texture.
- Jar and Chill: Pour the hot cherry jam into clean jars, seal tightly, and refrigerate. Allow the jam to thicken as it cools; for best texture and flavor, let it set overnight before using.
Notes
- Using frozen cherries may require a slightly longer cooking time for the sugar to dissolve.
- Ensure jars are sterilized to extend the shelf life of the jam.
- You can adjust the lemon juice slightly to balance sweetness and acidity according to taste.
- Jam will keep refrigerated for up to 3 weeks.
- For a chunkier jam, blend less; for a smoother jam, blend longer but avoid over-blending.

