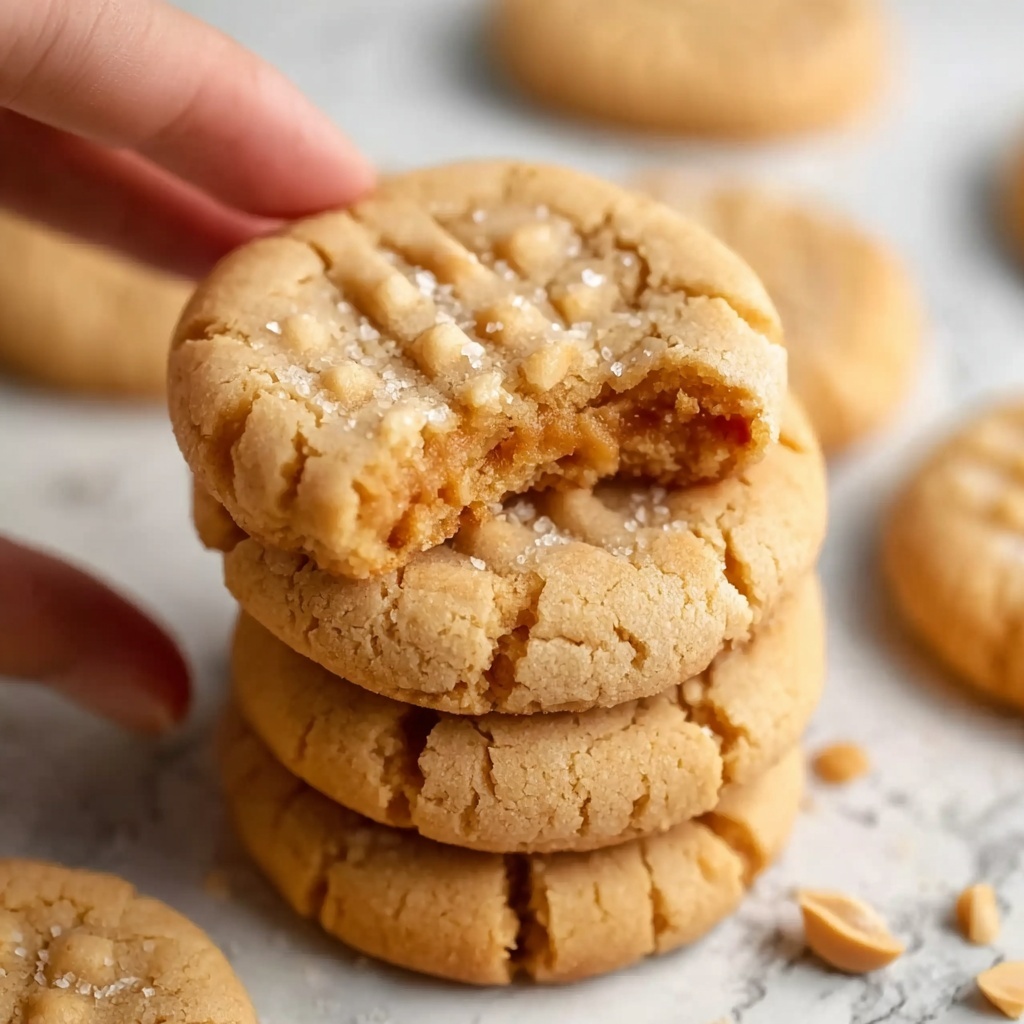
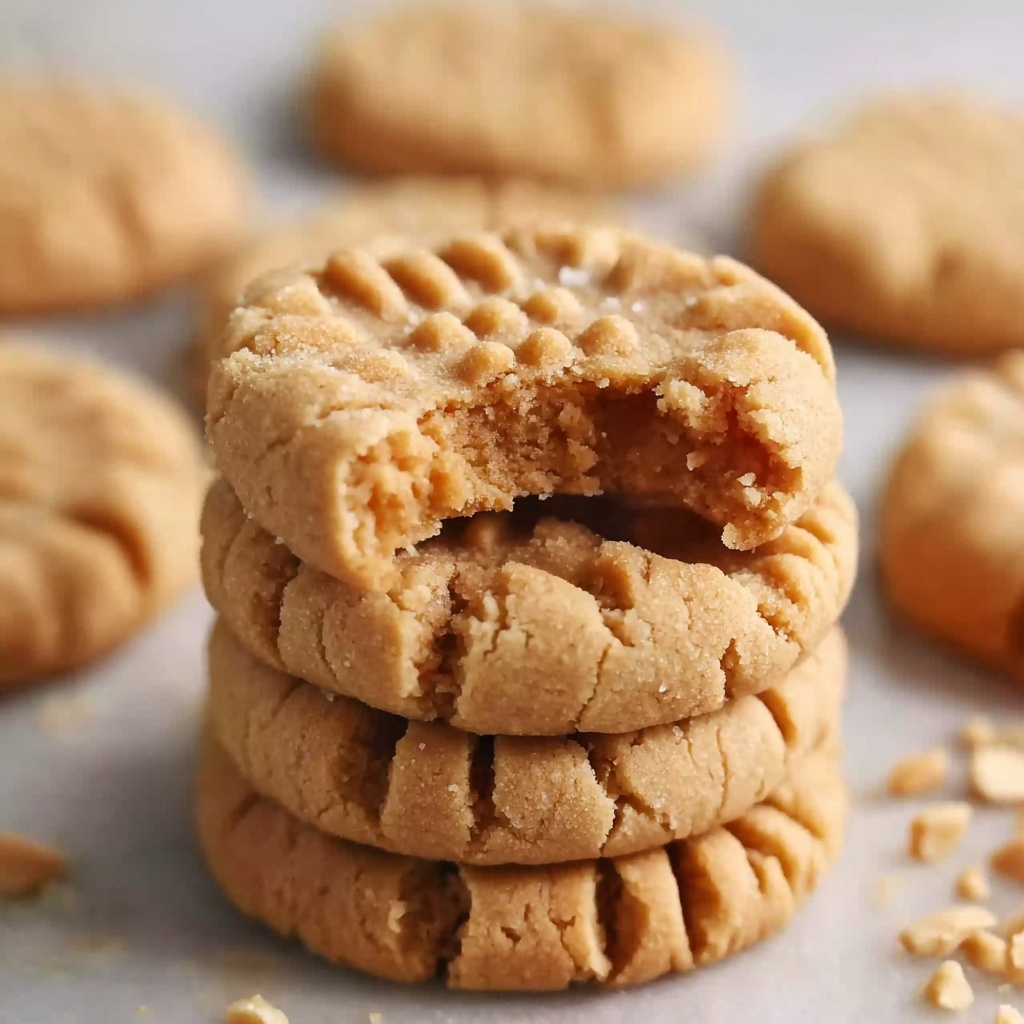
When it comes to indulgent treats that instantly bring a smile, nothing beats these melt-in-your-mouth delights. The BEST Soft and Chewy Peanut Butter Cookies Recipe is exactly what you need when craving that perfect balance of rich peanut butter flavor and a tender, chewy texture that feels just like a warm hug. Each bite bursts with the goodness of creamy peanut butter, complemented by the right touch of sweetness and a delicate crisp on the edges. Trust me, once you try this recipe, these cookies will become your go-to for every occasion.
Ingredients You’ll Need
Gathering simple, wholesome ingredients is the secret to nailing this recipe every single time. Each component plays a vital role in delivering that ideal softness, chewiness, and peanut butter punch while giving your cookies a gorgeous golden color and beautiful crumb.
- 1 cup creamy peanut butter: Provides that rich, nutty base that defines these cookies and ensures moisture.
- 1 cup granulated sugar: Sweetens while helping to create a slight crunch on the edges.
- 1/2 cup brown sugar, packed: Adds depth with molasses notes and promotes chewiness.
- 1/2 cup unsalted butter, softened: Adds richness and tender texture, so cookies aren’t dry or crumbly.
- 1 large egg: Binds everything together and contributes to the softness.
- 1 teaspoon vanilla extract: Enhances the peanut butter flavor and adds warmth.
- 1/2 teaspoon baking soda: Helps cookies rise just enough without becoming cakey.
- 1/4 teaspoon salt: Balances sweetness and amplifies the peanut butter richness.
- 1 cup all-purpose flour: The structure of the cookie that keeps everything perfectly chewy.
How to Make The BEST Soft and Chewy Peanut Butter Cookies Recipe
Step 1: Preheat and Prepare
Start by heating your oven to 350°F (175°C). Line a baking sheet with parchment paper to prevent sticking and make cleanup a breeze. This little step sets the stage for beautifully baked cookies that release easily.
Step 2: Cream the Peanut Butter and Sugars
In a large bowl, beat together the creamy peanut butter, granulated sugar, brown sugar, and softened butter until the mixture becomes smooth and luscious. This creaming process is crucial because it helps to incorporate air, giving the cookies a light texture that still feels rich.
Step 3: Add Egg and Vanilla
Mix in the egg and vanilla extract until everything is fully combined and glossy. The egg acts as a binder, while vanilla adds that subtle aromatic lift that makes each bite more memorable.
Step 4: Combine Dry Ingredients
In another bowl, whisk the baking soda, salt, and all-purpose flour. Gradually add these dry ingredients to the wet mixture, stirring carefully just until a soft dough forms. Be gentle here; overmixing can make the cookies tough rather than tender.
Step 5: Shape Your Cookies
Roll tablespoon-sized portions of dough into balls and place them on your prepared baking sheet, leaving enough space (about 2 inches) so they don’t merge as they bake. This little spacing detail ensures each cookie gets its own perfect shape.
Step 6: Create the Signature Crisscross
Using a fork, lightly press down on each ball, making that classic crisscross pattern. Not only does this look iconic, but it also helps the cookies bake evenly and gives a hint of that crispy edge we adore.
Step 7: Bake to Perfection
Bake in the preheated oven for 10 to 12 minutes. Look for edges that are set but centers that still have a slight softness – this is the sweet spot that guarantees chewy, tender cookies instead of dry or crunchy ones.
Step 8: Cool Slightly and Transfer
Allow the cookies to cool on the baking sheet for about 5 minutes. This resting time lets them firm up a little so they don’t break when moved. Then transfer them to a wire rack to cool completely. By cooling this way, they maintain the perfect chewiness that keeps you reaching for more.
How to Serve The BEST Soft and Chewy Peanut Butter Cookies Recipe

Garnishes
If you want to take your cookies presentation to the next level, try a light sprinkle of flaky sea salt on top right after baking; it adds a fantastic contrast to the sweetness. You could also drizzle melted chocolate or add a few chopped peanuts for extra texture and visual appeal.
Side Dishes
These cookies are delightful on their own but pairing them with a cold glass of milk or a hot cup of coffee or tea makes the experience so comforting. For a fun snack plate, serve alongside fresh fruit or a creamy yogurt dip to balance the richness.
Creative Ways to Present
Stack these beauties in a rustic tin lined with parchment paper for gifting, or place them on a pretty cookie platter with little labels describing how special and soft they truly are. You can also sandwich your cookies with chocolate or peanut butter cream for an irresistible twist.
Make Ahead and Storage
Storing Leftovers
Keep your leftover peanut butter cookies in an airtight container at room temperature for up to 5 days. Placing a slice of bread inside the container helps keep them moist and soft, maintaining that delightful chew.
Freezing
If you want to keep these cookies fresh for longer, freeze them in a single layer on a baking sheet until firm, then transfer to a freezer-safe bag or container. They freeze beautifully and can last up to 3 months without losing their wonderful texture.
Reheating
To enjoy frozen or stored cookies as if freshly baked, warm them briefly in the microwave for 10-15 seconds or in a low oven (300°F) for 5 minutes. The warmth revives the softness and melts those peanut buttery flavors right back to life.
FAQs
Can I use crunchy peanut butter instead of creamy?
Absolutely! Using crunchy peanut butter will add lovely bits of peanuts in each bite, giving your cookies extra texture and crunch while still staying soft and chewy.
Why do my cookies turn out dry?
Dry cookies can result from overbaking or using too much flour. Be sure to measure flour correctly and watch the baking time closely—remove them when edges are set but centers still look slightly soft.
Can I make these gluten-free?
Yes, swapping all-purpose flour for a 1:1 gluten-free baking flour blend works well. Just make sure your baking soda and other ingredients are gluten-free to keep the recipe safe.
How do I prevent cookies from spreading too much?
Chilling the dough for 20–30 minutes before baking can help control spreading. Also, making sure the butter isn’t too melted keeps the dough firm, resulting in thicker cookies.
Can I add chocolate chips or other mix-ins?
Definitely! Stirring in chocolate chips, chopped nuts, or even a handful of mini M&Ms can make this recipe even more decadent and personalized to your taste.
Final Thoughts
I can’t recommend enough that you dive into making The BEST Soft and Chewy Peanut Butter Cookies Recipe as soon as possible. It’s a comforting classic you’ll want to bake again and again, perfect for sharing or just savoring one quietly (or not so quietly) all to yourself. Trust me, these cookies will become a staple in your baking repertoire, delivering sweet, peanut buttery joy every time!
Print
The BEST Soft and Chewy Peanut Butter Cookies Recipe
- Prep Time: 10 minutes
- Cook Time: 12 minutes
- Total Time: 22 minutes
- Yield: 20 cookies
- Category: Dessert
- Method: Baking
- Cuisine: American
Description
These soft and chewy peanut butter cookies offer the perfect balance of rich peanut flavor and delightful texture. With a simple combination of creamy peanut butter, sugars, and a hint of vanilla, these cookies are easy to make and guaranteed to satisfy your sweet tooth with every bite.
Ingredients
Cookie Dough
- 1 cup creamy peanut butter
- 1 cup granulated sugar
- 1/2 cup brown sugar, packed
- 1/2 cup unsalted butter, softened
- 1 large egg
- 1 teaspoon vanilla extract
- 1/2 teaspoon baking soda
- 1/4 teaspoon salt
- 1 cup all-purpose flour
Instructions
- Preheat Oven: Preheat your oven to 350°F (175°C) and line a baking sheet with parchment paper to prevent the cookies from sticking and to ensure even baking.
- Mix Wet Ingredients: In a large mixing bowl, beat together the creamy peanut butter, granulated sugar, brown sugar, and softened butter until the mixture is smooth and creamy. This step helps to incorporate air for a light texture.
- Add Egg and Vanilla: Incorporate the egg and vanilla extract into the peanut butter mixture, mixing well until fully combined to add moisture and flavor to the dough.
- Combine Dry Ingredients: In a separate bowl, whisk together the baking soda, salt, and all-purpose flour. Gradually add this to the wet ingredients, mixing until a soft dough forms, ensuring all ingredients are evenly distributed.
- Shape Cookies: Roll tablespoon-sized portions of dough into balls and place them on the prepared baking sheet about 2 inches apart to allow for spreading during baking.
- Create Crisscross Pattern: Using a fork, gently press down on each dough ball to create a crisscross pattern, which also helps flatten the cookies for even cooking.
- Bake: Bake for 10-12 minutes, until the edges are set but the centers remain slightly undercooked to maintain softness and chewiness.
- Cool: Allow the cookies to cool on the baking sheet for 5 minutes before transferring them to a wire rack to cool completely, so they firm up without becoming hard.
Notes
- For an extra nutty flavor, try using crunchy peanut butter instead of creamy.
- Do not overbake; removing cookies when centers are slightly undercooked ensures a soft and chewy texture.
- These cookies can be stored in an airtight container at room temperature for up to 5 days.
- To enhance shelf life, you can freeze the dough balls before baking and bake directly from frozen, just add 1-2 extra minutes to baking time.


